How to Manage Devices and the benefits of device management?
AnyViewer, is excellent remote desktop software for Windows computers, enabling you to connect to a remote PC from anywhere. The Device Management column includes three parts: My devices, Recently connected, and New Team.
Way 1. Manage Devices on computers
My devices:
You need to log in to the Anyviewer with the same account in devices. When you use the same Anyviewer account login to the devices, the device will be listed in My Devices list automatically if the number of login devices isn't up to the maximum number of the account.
Step 1. Download, install AnyViewer on your device.

Step 2. Create an AnyViewer account and then, you can log in to the AnyViewer account on all your devices.
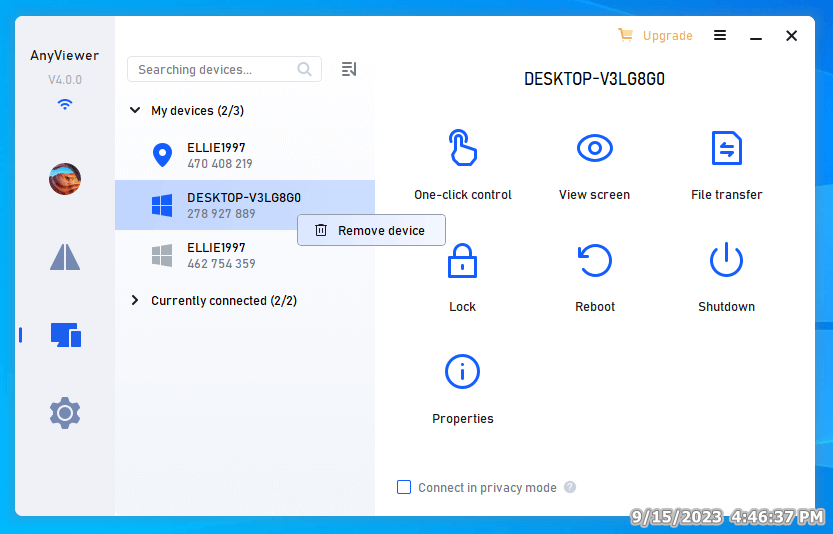
Thedevices will be listed automatically. Go to "Device"> "My Devices", click the device and you can take the operations listed above.
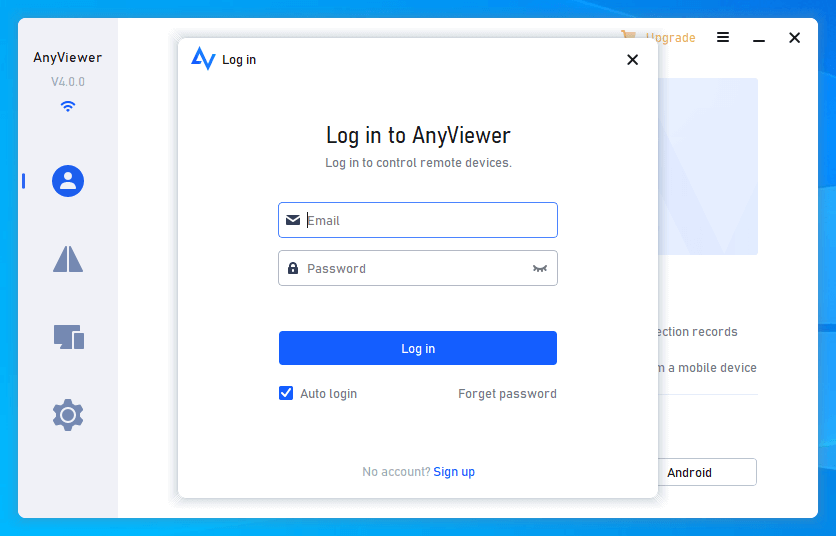
✍ Note: the "Auto login" is checked by default, if you uncheck the option, you'll be logged out every time you reboot the software.
Operations available when adding to My devices list
Once you have login to devices with the same AnyViewer account, which will listed in My device list, you can complete the following operations.
- One-click control:Access unattended computer with 1 click.
- View the screen: Only view the remote screen without taking control of it.
- Reboot/Shutdown: click to reboot/shut down the remote computer.
- File Transfer: Open File Transfer windows and transfer files between the two connected devices.
- Properties: Check the device properties of the device, including Device Name, Remark, Device ID, Computer Name, Lost Login IP, and Lost Login Time.
- Lock: click lock will present the computer lock screen interface, the program will still run in the background. When it show unlock, you need establish a remote connection, enter your computer password to unlock it.

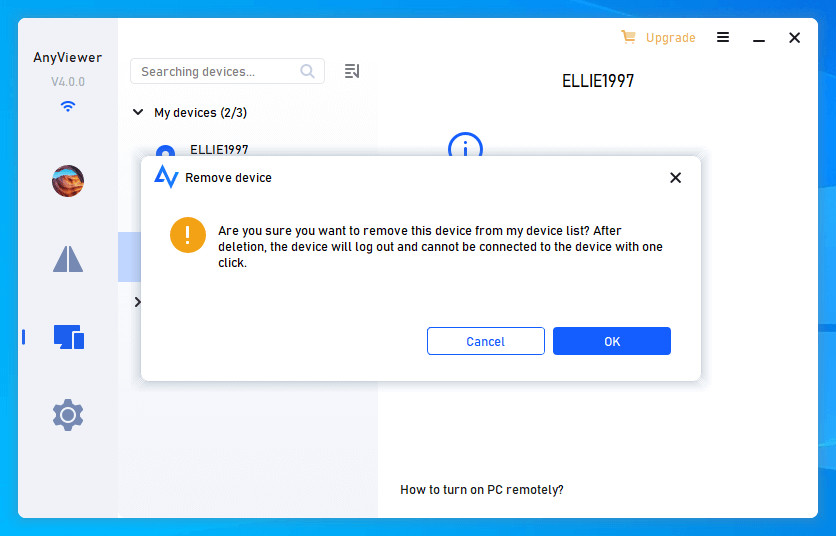
When the number of assigned device for AnyViewer account reaches the limit, and you log in to the account on a new device, you need to remove a device from the My Devices' list, then the new device can be listed here, steps for removal are as follows.
Note: For a free account, it can only support to log in to 3 devices.
To log in to more devices, it's recommended to upgrade your account to Professional or Enterprise, which respectively enables you to assign 10 and 100 devices to one account. Then, you can manually manage the new computer. After upgrading, you can enjoy other highlights of AnyViewer, like high-speed file transfer, accessing in privacy mode, and managing more devices.
Step 1. Select a device under "Device"> "My Devices", right-click it,and select "Remove device".
Step 2. After removing the device,you won't be able to achieve one-click remote access to this account. Click "OK" to confirm the operation.
Step 3. On the device that you want to bundle to the account, log into the AnyViewer account, then the device will be automatically listed in My devices list.
Or you can remove the device in the Management Center.
Recently Connected:
Any recently connected devices will be listed in "Currently connected list", including team devices/mobile devices.
This option mainly used to remember previously connected device IDs and security codes.
Operations available in the Recently connected list
If devices are only in the recently connected list, not in My devices, you can complete the following operations: Remote control, View screen, File transfer, Screen wall, Properties.
Regarding the remote control function, it requires consideration on a case-by-case basis:
If the security code of the last connection remains unchanged, a remote connection can be initiated directly without entering the device ID.
If the security code changes, when initiating a remote connection again from the Recently connected devices, a request connection request window will pop up, waiting for the recipient side to accept.
This proves useful for temporary client devices requiring subsequent reconnections, enabling swift initiation of remote sessions from this location.
New Team
For enterprises that frequently need to provide remote support to customers, customer devices can be added to team devices. Afterward, quickly initiate remote control of team devices under the team device management list.
Team devices mainly involve enterprise users, who can only see them by logging in to the administrator account or a subaccount assigned to the team device.
If devices only in New Team, not in My devices, you can complete the following operations as same as devices in Recently connect list: Remote control, View screen, File transfer, Screen wall, Properties. These devices in team don’t need to log into the same AnyViewer account, even don’t need to log in account. Once the AnyViewer program is installed and running on the team devices, the admin and user accounts can manage them remotely, no extra configuration needed.
Way 2. Manage Devices on the mobile device
If you use the same account to log in to your phone and pc, you can manage your devices from your phone. you can complete these operations on phone or Andriod isted in My devices list.
The functions of managing devices on mobile devices are similar to those on computers, except for unlocking passwords, When the remote connection is successful, the function of the unlock password is to record the lock screen code of the pc and help the user to enter it with one click.
Above is how to manage my devices. You can learn more about the Screen Wall. Users can centralize the screens of the devices they want to manage on a single screen.