
2026 Top 5 Free Alternatives to ConnectWise [Pros & Cons]
Are you in search of a ConnectWise alternative? This post compiles a list of the five best free alternatives to ConnectWise, each with its pros and cons. Read on to discover the perfect solution that best aligns with your specific requirements!
By AnyViewer / Updated on December 26, 2025
Scenario: What is better than ConnectWise?
Good afternoon, all. I hope someone can assist me in this situation. I have officially launched a project that needs remote access between PCs, and we are trying to pick which remote desktop solution to go with. I tried ConnectWise for some days but would love to hear opinions about other alternatives to ConnectWise. Cheers."
- Question from Tech Forum
![]()
Why need a ConnectWise Control alternative?
ConnectWise Control, formerly known as ScreenConnect, is a remote access, remote support, and file transfer software specializing in IT management and services. It also empowers the ability of file transfer. Despite its focus on IT-related functions, many users have expressed reservations about selecting ConnectWise Control and would like to choose an alternative to ConnectWise Control, primarily due to the following reasons:
➤It’s complicated. Connectwise is well-known for its high learning curve. Consumers comment that it "never seemed to complete" taking time to grasp and maintain the tool.
➤It’s costly. With ConnectWise, you're not only paying for the product but also for the extensive training required to get the most out of it, as well as the overhead of the dedicated workers required to manage the tool.
5 free alternatives to ConnectWise Control
Considering a free alternative to ConnectWise Control? Here we provide you with six free remote access software that offers similar benefits to ConnectWise. Check them out and find the best one for your work.
Option 1. AnyViewer [flexible all-in-one solution]
AnyViewer is a flexible all-in-one remote desktop solution developed by a strong technical team. It is highly praised among users for its convenient yet powerful features: unattended remote access, file transfer, multiple sessions, multiple monitors, etc. The following are the pros and cons of AnyViewer.
Pros:
- Stable and fast connection regardless of whether you are using it over WiFi or a network.
- Setting up remote connections is typically straightforward, and the software provides clear instructions and guides.
- Remote session secured by end-to-end Elliptic Curve Cryptography (ECC) encryption.
- Optimized connection algorithm, ensuring faster and smoother performance.
Cons:
- Mac & Linux are not supported at present.
► How to connect via AnyViewer:
Step 1. Start up AnyViewer on the host computer, and click Sign up to register a personal account.

Step 2. Fill in the blanks and click Sign up.

Step 3. On the client computer, launch AnyViewer, and log in with the same account. The client computer will automatically assign to the account when you successfully log in.

Step 4. Go to Device, click the host device, and select One-click control to start a connection.

- Tips:✎...AnyViewer also has different plans for business purposes at competitive prices. You can select a Professional or Enterprise plan to enjoy more rights!
- More concurrent remote sessions
- Increased device assignment
- Faster file transfer speeds
- Enhanced security with the inclusion of privacy mode
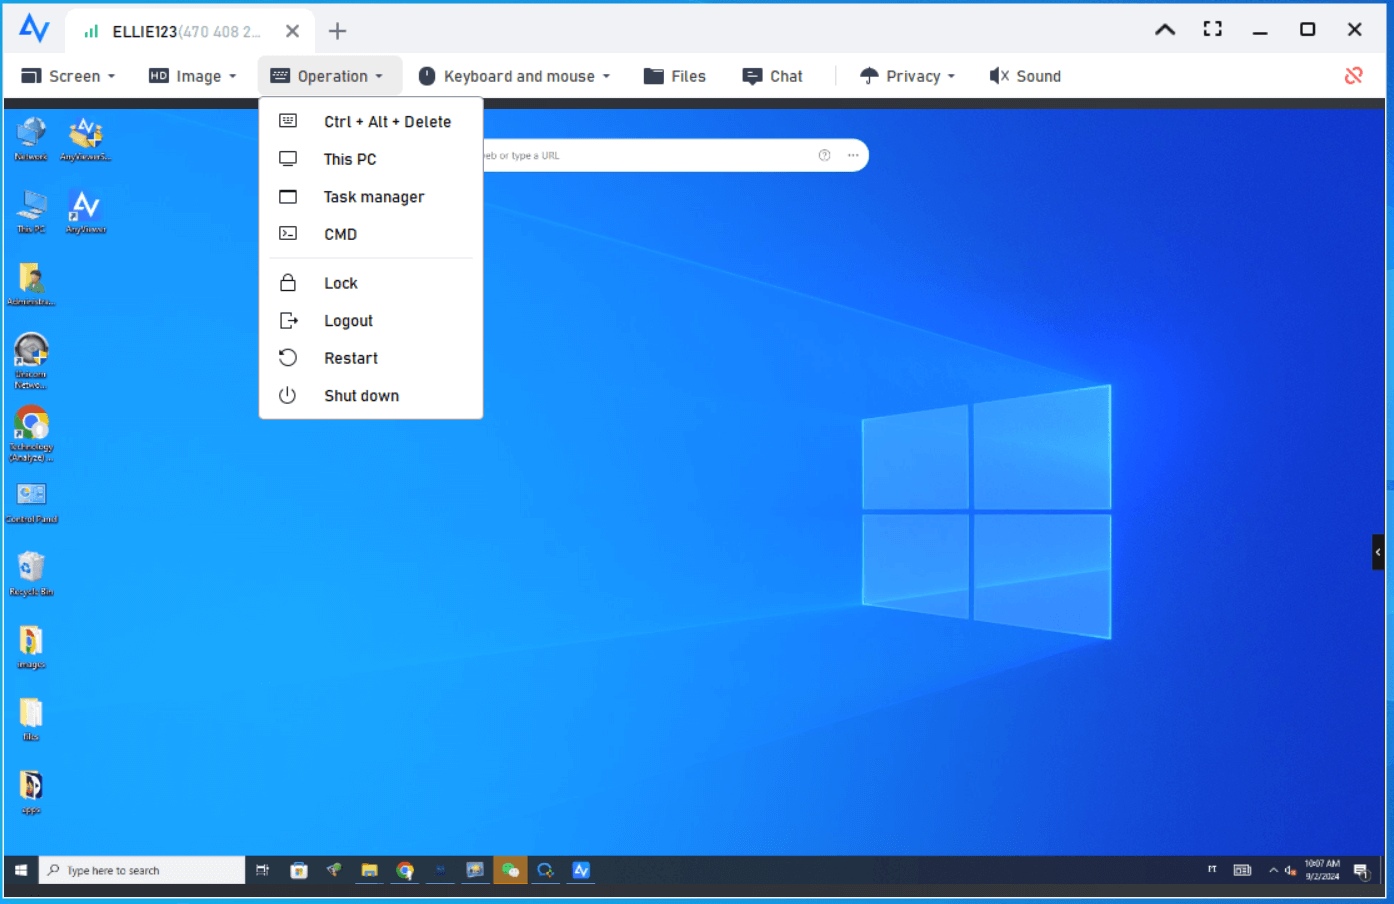
Now you can control the host computer like you were physically using it. There are several options you can use in the toolbar.
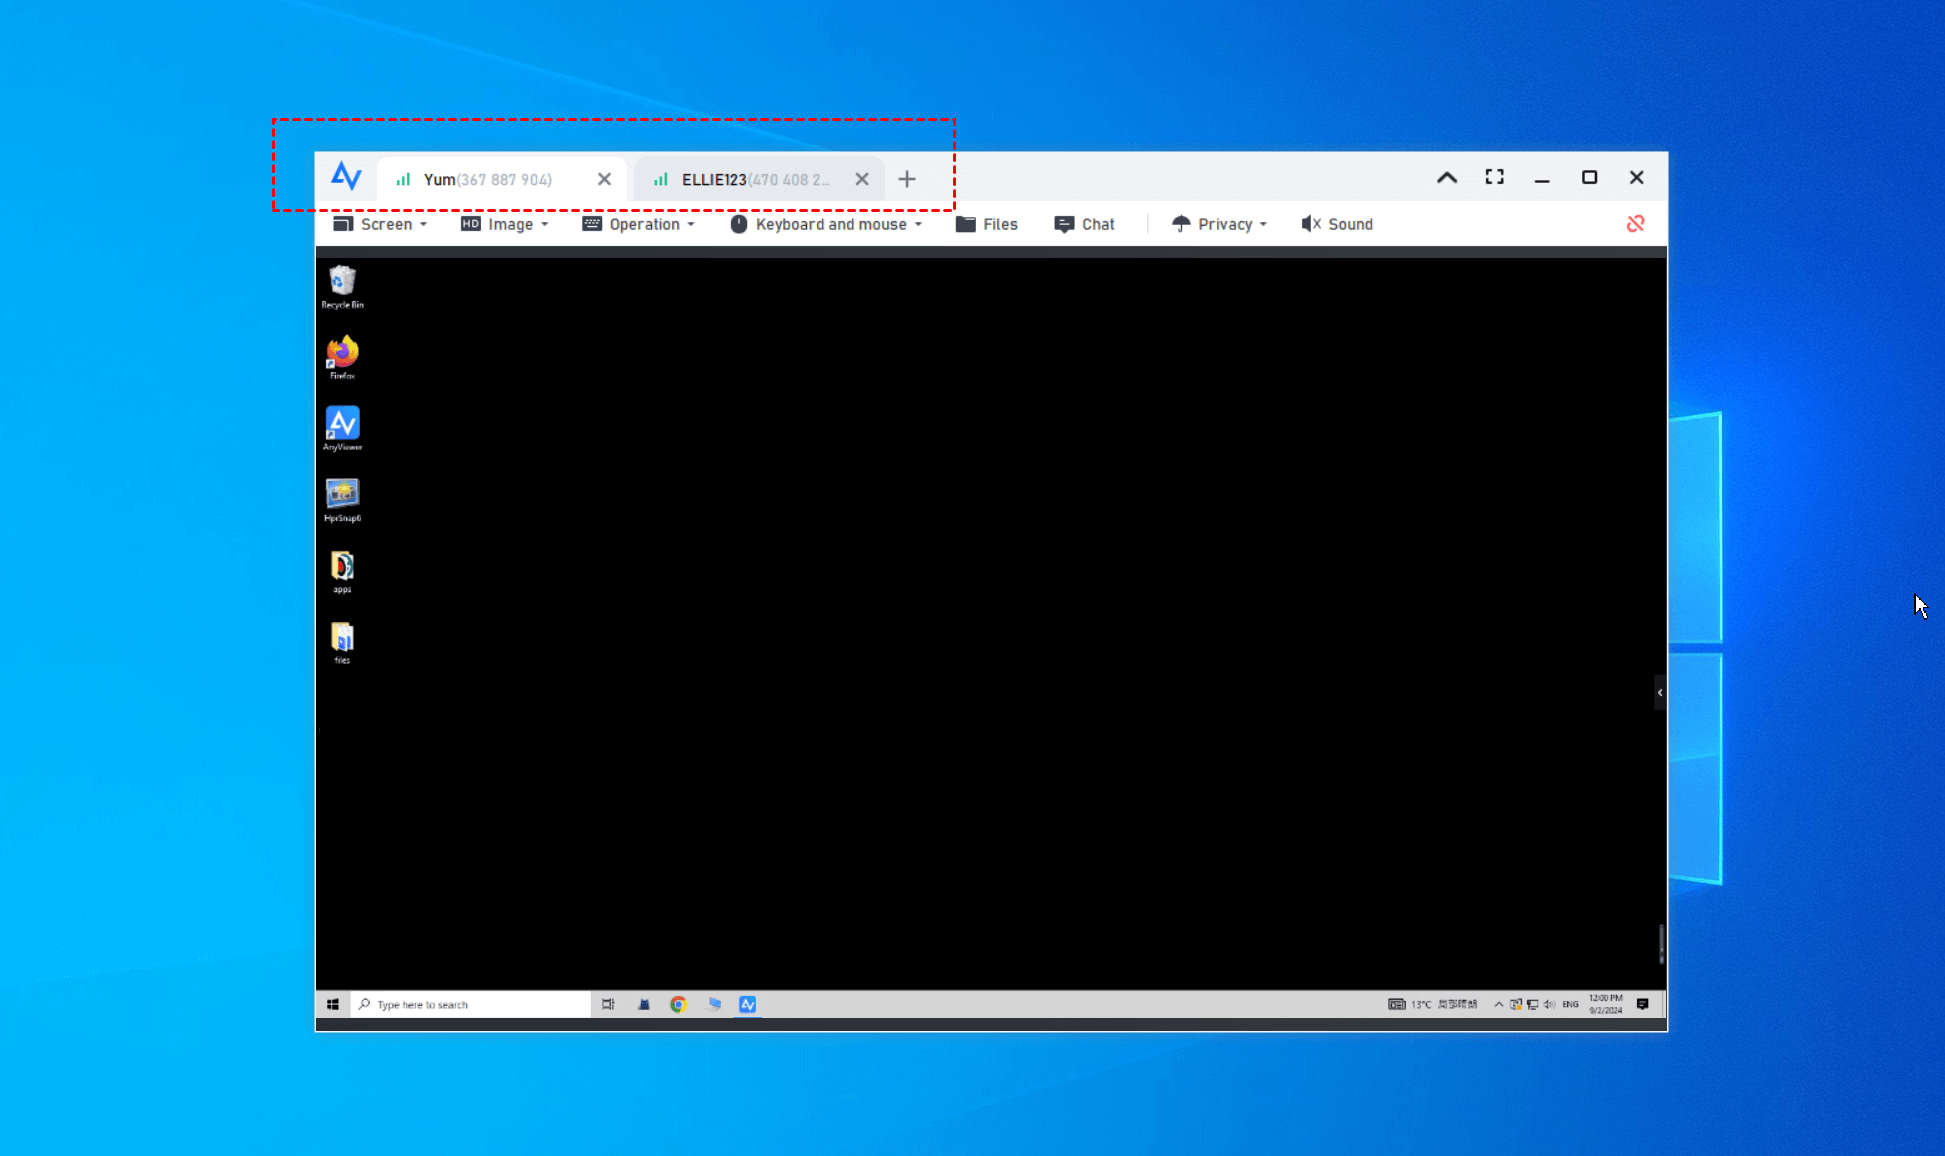
If you want to control multiple computers remotely, repeat the same steps to establish other sessions.
Option 2. Chrome Remote Desktop [limited features]
Chrome Remote Desktop is a Google extension designed for remote access and remote support between two computers. It's easy to set up and use, requiring only the Chrome browser and a Google account. With a simple interface, it allows remote desktop access from any device with Chrome.
Pros:
- Quick installation.
- Supports multiple monitors.
- Updates often.
- Continues to function even when the host user is logged off.
- Works between operating systems.
Cons:
- File transfer functionality is clumsy.
- There is no ability to print remote files to a local printer.
- The software lacks chat capability for communication between users.
- It is limited to usage on Chrome browsers only.
- A Google account is mandatory to utilize the remote desktop service.
► How to perform remote access via Chrome Remote Desktop:
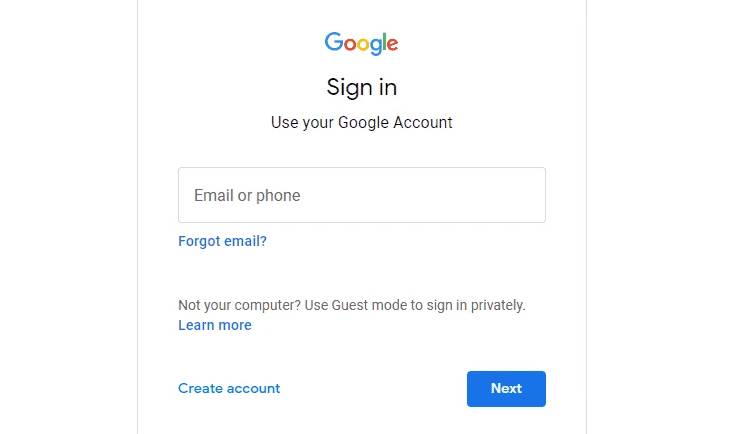
Step 1. On your computers, open Google Chrome and log in to the same Google account.
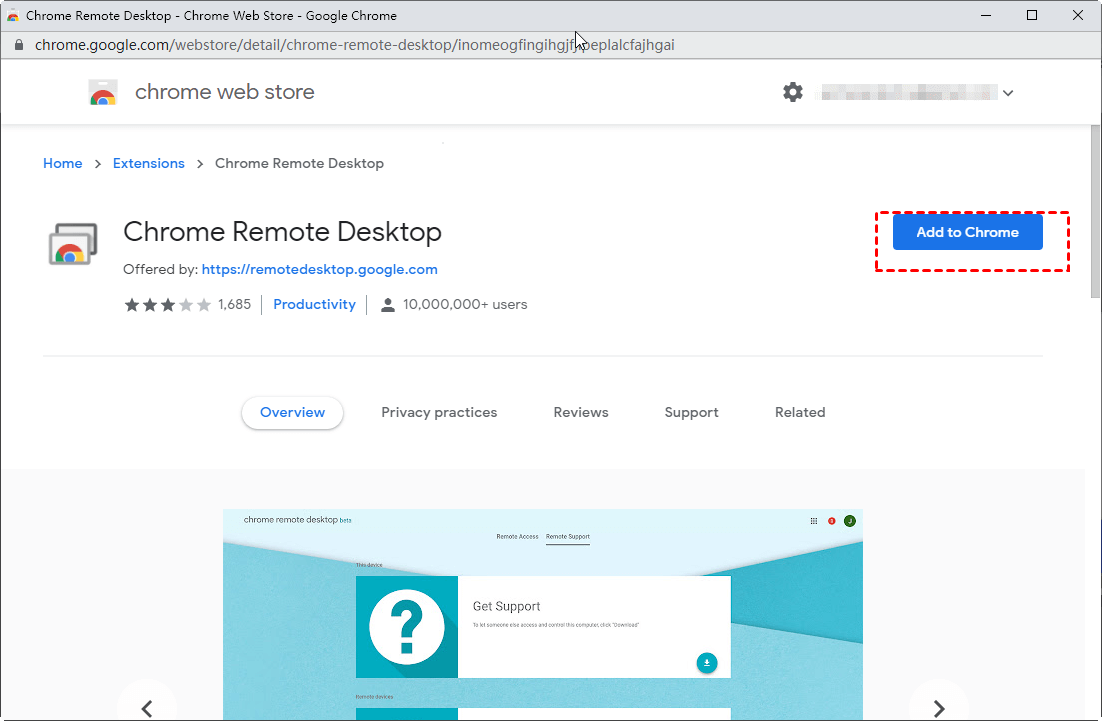
Step 2. Find Chrome Remote Desktop from Google extensions and click Add to Chrome.
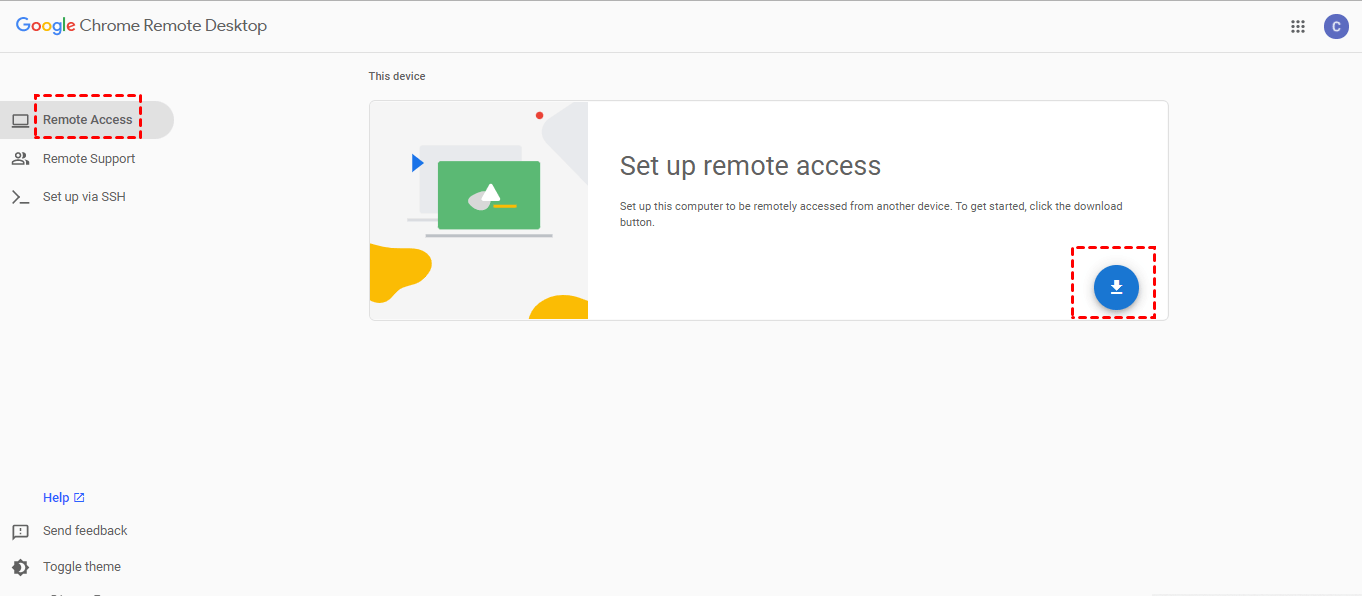
Step 3. When it is added, click Remote Access and the download button.
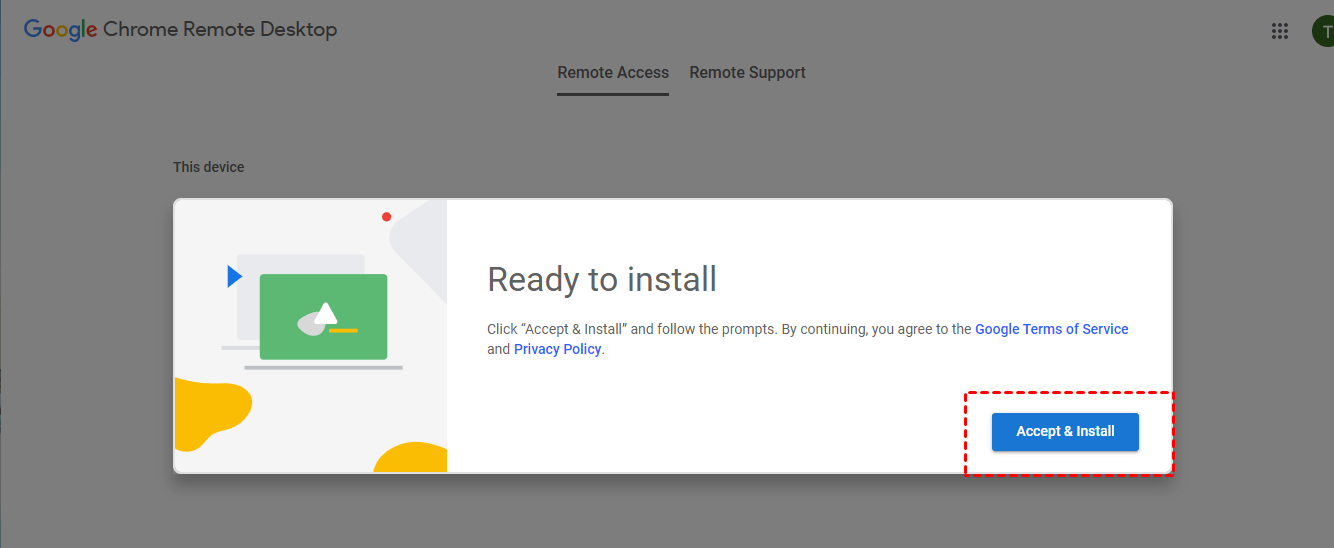
Step 4. Click Accept & Install.
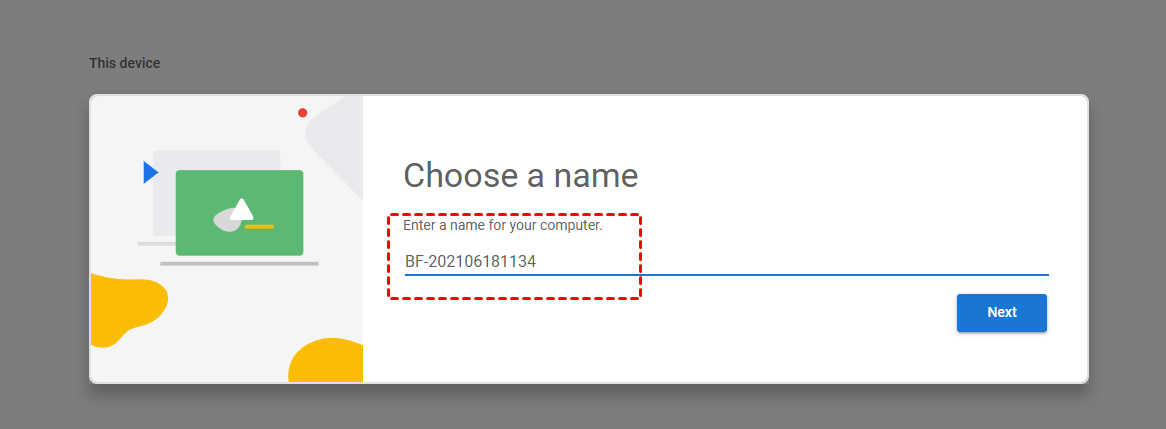
Step 5. Enter a name and click Next.
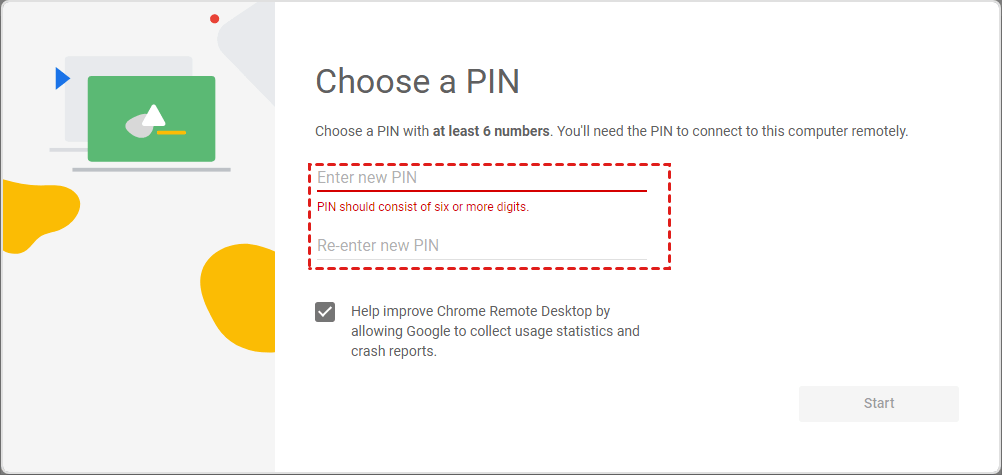
Step 6. Enter and re-enter a PIN, then click Start.
Step 7. There are available devices. On the client side, click the device you want to connect to.
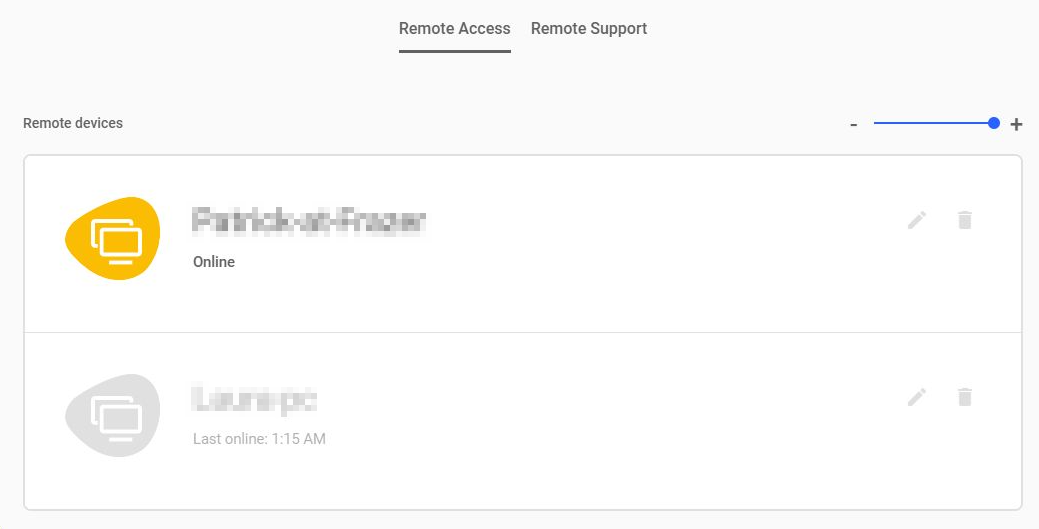
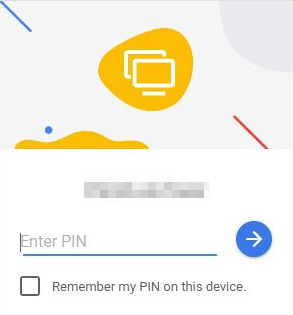
Step 8. Enter the PIN of the host, and click the blue arrow to start the session.
Option 3. Microsoft Remote Desktop [same network only]
The third alternative to ConnectWise is Remote Desktop Connection. As a Windows built-in program developed by Microsoft, it enables remote connection without extra downloading. Here are the advantages and limitations:
Pros:
- Free with Windows Pro or above.
- Excellent performance.
- Clients for Windows, macOS, Android, and iOS.
Cons:
- By default, it only allows connection on the LAN, or you need to act Remote Desktop port forwarding.
- Remote Desktop server-side restricts functionality on Windows Home/Standard editions, and you need to upgrade to Pro/Enterprise.
- Controls only Windows computers.
► How to remote desktop into another computer via Microsoft Remote Desktop:
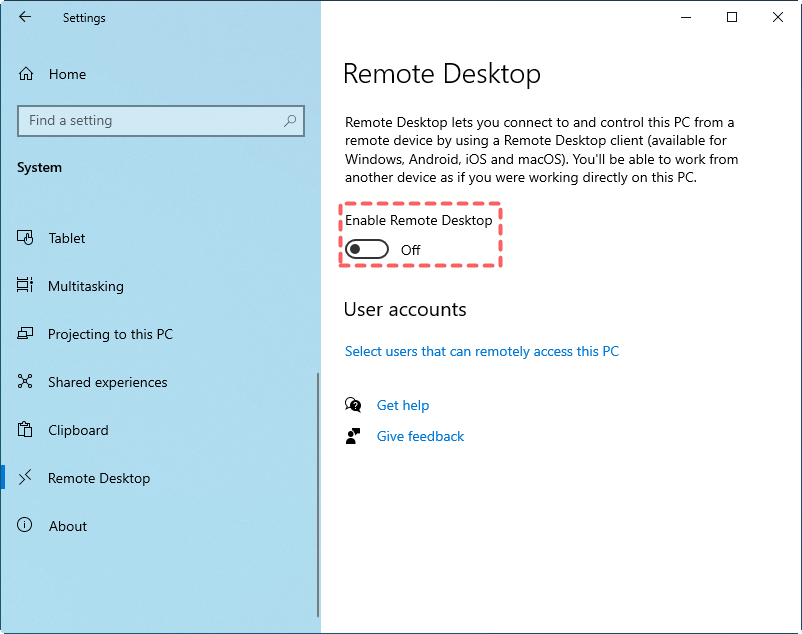
Step 1. On the remote PC, go to Settings > System > Remote Desktop, turn On Remote Desktop option, and click Confirm.
Step 2. Navigate to: Control Panel> System and Security > Windows Defender Firewall > Allowed apps. Click Change settings, tick Remote Desktop, and click OK.

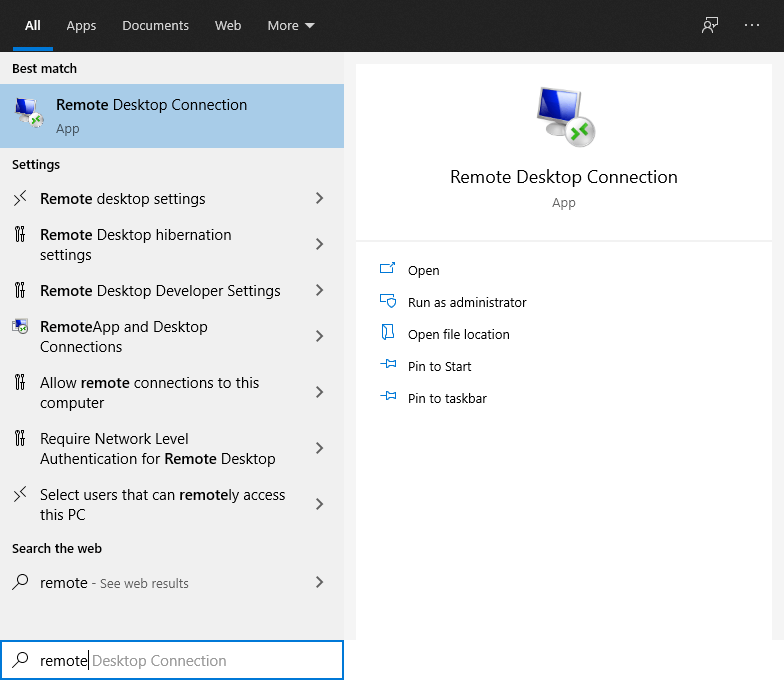
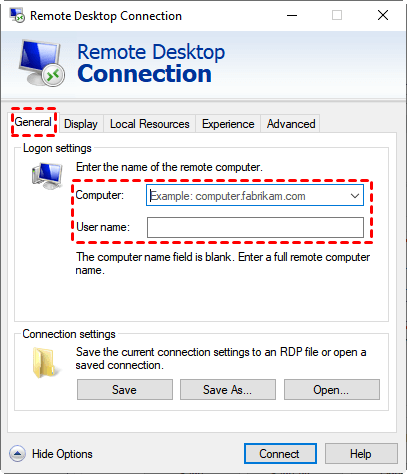
Step 3. On the local computer, open Remote Desktop Connection from the start menu.
Step 4. Enter the IP address and username of the remote PC, then click Connect to start the session.
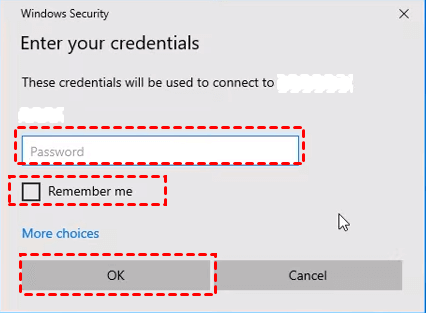
Step 5. If prompted, enter your credentials and click OK.
Option 4. Quick Assist [Windows 10 & 11 only]
Quick Assist is a Windows built-in feature that allows remote connection between PCs. But it is only compatible with Windows 10, 11. If you are using other systems or Windows versions, try other options. Here are its pros and cons:
Pros:
- It is free to use.
- You don't have to install it externally as it is pre-installed by default in Microsoft Windows-supported versions.
- It supports multiple machines on a target machine.
- You can quickly launch it by pressing the Windows+ctrl+Q keys.
Cons:
- As a remote support tool, Quick Assist only offers attended access. An end-user must be present to accept a remote connection. Unattended remote access is not available.
- Quick Assist only supports remote connections from a Windows 10/11 computer to another Windows 10/11 computer. Computers running other OS and mobile devices like Android can’t use Quick Assist.
- Quick Assistlacks many practical features, for example, file transfer, remote restart, and clipboard sharing.
► How to provide remote support via Quick Assist:
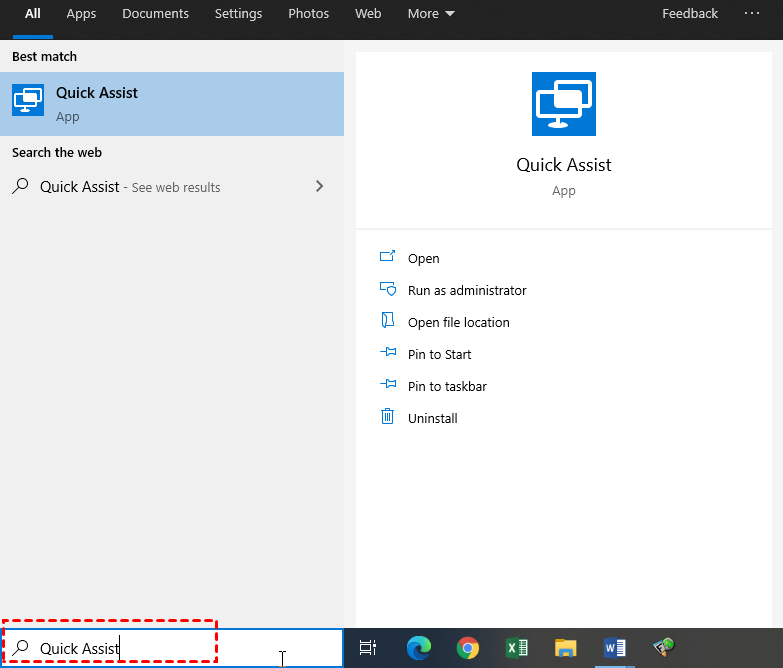
Step 1. Open Quick Assist from the Search box.
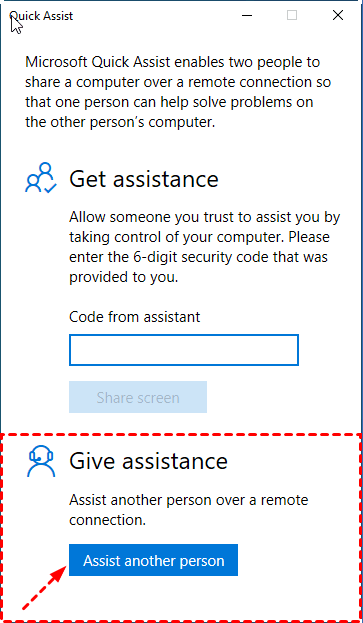
Step 2. On the client computer, click Assist another person.
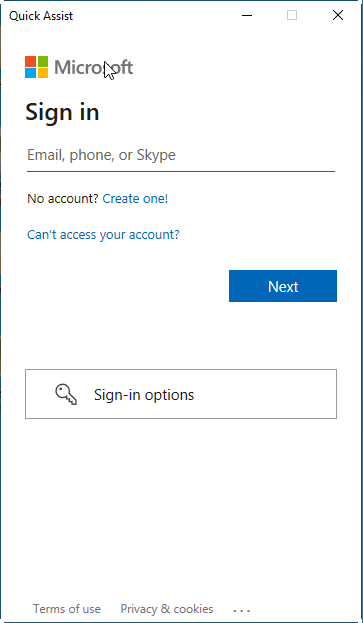
Step 3. Sign in to your microsoft account and click Next.
Step 4. You will get a security code when you successfully log in. Please send it to your partner on the remote side.
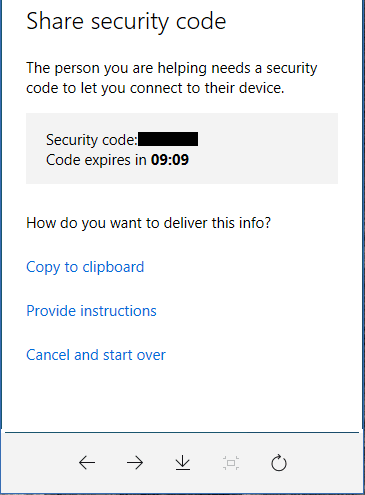
Step 5. On the remote computer, launch Quick Assist, enter the security code, and click Share screen.

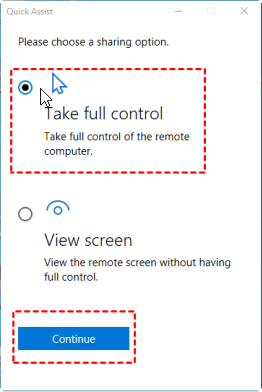
Step 6. Tick Take full control and click Continue.
Step 7. The remote computer will receive a request. Make sure that the client is trusted and click Allow.
Step 8. When the connection is established, you can manage the device remotely.

Option 5. TeamViewer [limited free features]
Another option is using TeamViewer. TeamViewer is one of the most trusted remote access, control, and support solutions. TeamViewer works across various operating systems, including Windows, macOS, Linux, and mobile platforms like Android and iOS. Here are its pros and cons:
Pros:
- Secured by top-tier security with end-to-end 256-bit AES encryption, two-factor authentication, and various industry-grade features like conditional access and SSO.
- Highly compatible, covering the highest combined total of 127 manufacturers for mobile devices, operating systems, and embedded devices on the market today.
- Stable and immersive remote access and support sessions with fast transfer speeds and high image quality.
Cons:
- Free license is only free for private use. Commercial use requires paid licenses.
- The cost for paid licenses may be far beyond the affordable of many organizations or individuals.
- Very limited features for a free license.
- Poor or unreliable internet connectivity can negatively impact performance.
► How to remotely control another computer via TeamViewer:
Step 1. Download and install TeamViewer on the client and host computers respectively. Select the purpose (commercial or personal) for downloading this software during installation. Here, take the accessible version of individual users as an example.

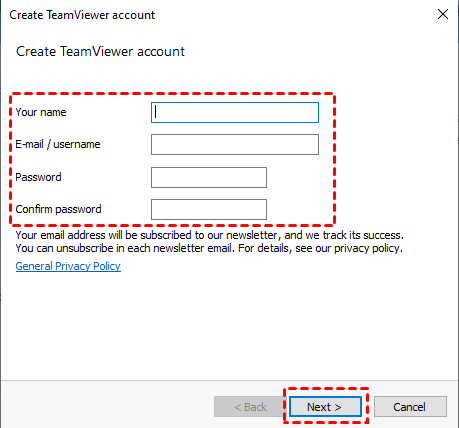
Step 2. Run TeamViewer on both computers. Select Login in the main interface. You need to create your own TeamViewer account for the first time. Click Next to complete account registration (you also need to verify the account before use).
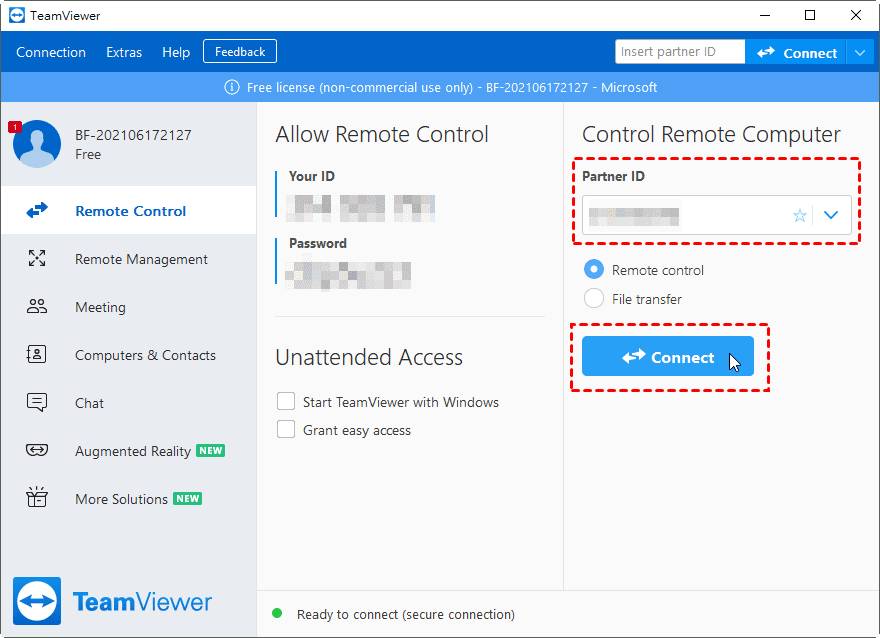
Step 3. Click Remote Control on the left side of the TeamViewer main interface on the client computer, enter the ID of the host computer under Partner ID, and click Connect.
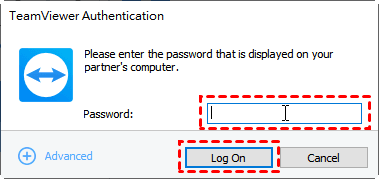
Step 4. Enter the password of the host computer in the TeamViewer Authentication window to realize the remote control.
Conclusion
This post primarily introduced six alternative options to ConnectWise, each tailored for various remote purposes. However, if you seek a solution encompassing extensive features, AnyViewer emerges as the prime contender for your consideration!
