
Five Free Remote Access Solutions for You
Are you looking for remote access solutions? Read this article to learn more about five remote access solutions that will allow you to successfully remote into different devices.
By Ellie / Updated on December 26, 2025
What is remote access?
Nowadays, when computer technology is becoming more and more developed. Many of you are probably familiar with the term “remote access”. Put it simply, it means that you can access a computer or device and all the files and applications in it through other devices anytime, anywhere, using remote access software or tools, just like you are sitting in front of it.
In fact, remote access is greatly convenient for your work and life. Imagine if you are traveling in a foreign country and suddenly receive an overtime notice from your boss, and you need to process important documents on your work computer as soon as possible. What should you do at this time? Don’t worry, remote access to the computer can help you solve the problem.
What are the remote access solutions?
Then what are the remote access solutions? Based on your purpose of use, remote access solutions can be divided into remote access software for business use, personal use, and educational use, of which personal use is the most common. For the majority of users, the remote access solutions they want must be free first. Based on this, here are five kinds of best free remote access software.
Method 1. Windows built-in RDP
Remote Desktop Connection is a built-in remote access tool in the Windows system. The prerequisite of remote access is to specify the IP address and user name of the computers. The steps are introduced in detail in the following.
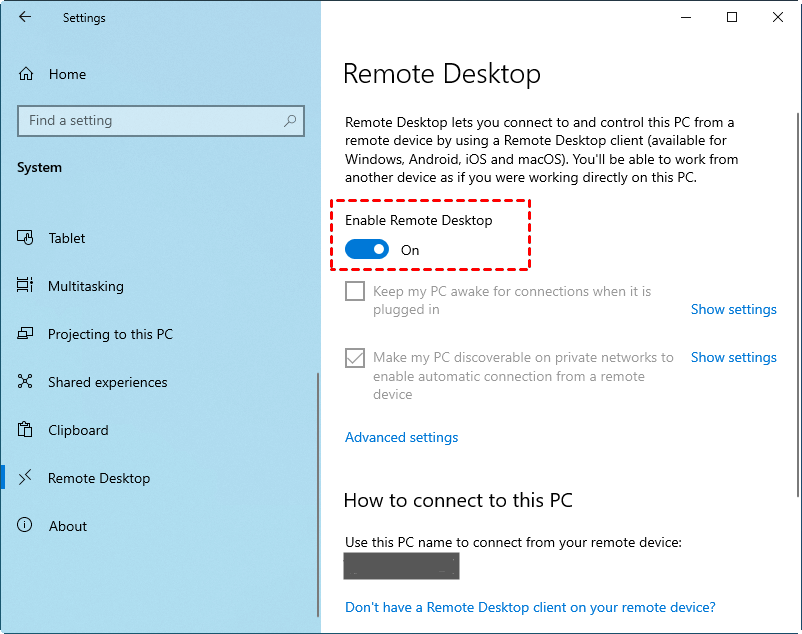
Step 1. On the host computer, right-click This PC and select Properties. Then click Remote Desktop in the left sidebar, and switch the Enable Remote Desktop option to On.
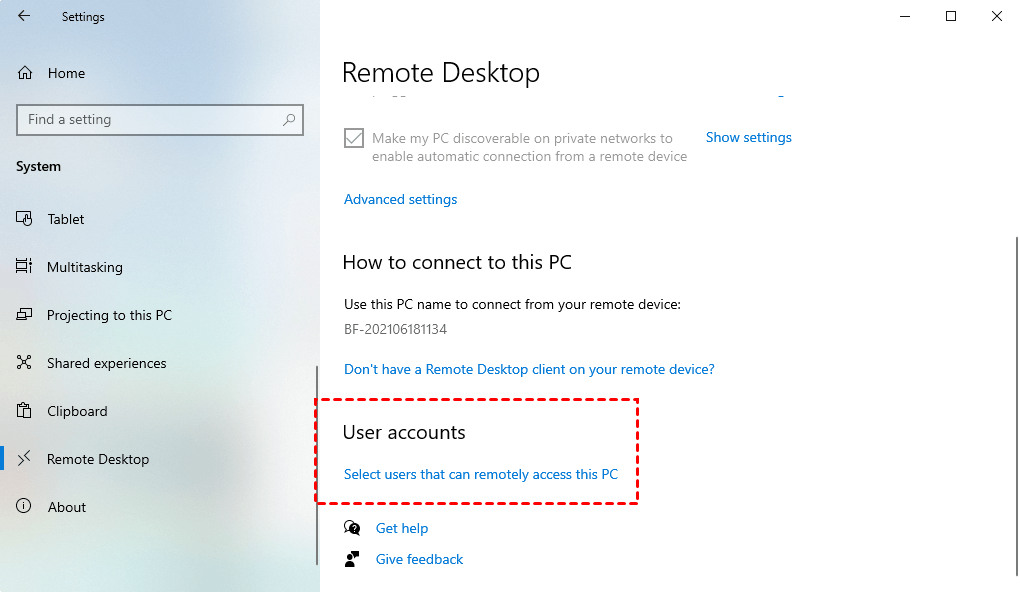
Step 2. Find User accounts and click Select users that can remotely access this PC.
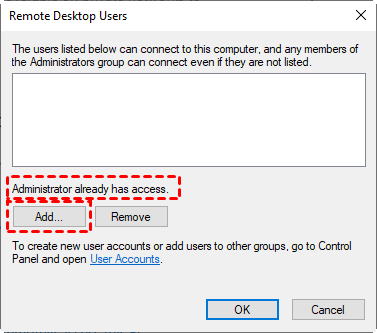
Step 3. After opening the Remote Desktop Users window, click Add to add users who are allowed to access this computer.
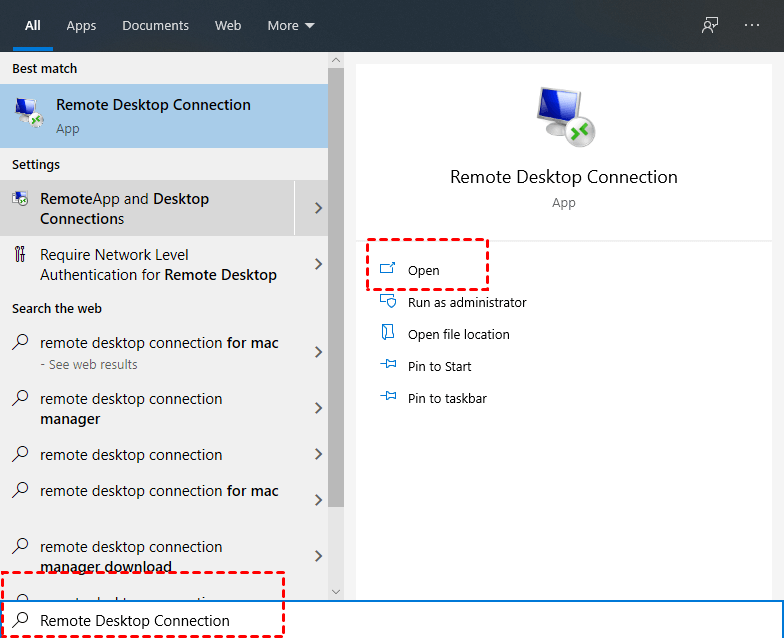
Step 4. On the client computer, search for Remote Desktop Connection in the Search box. And then open it.
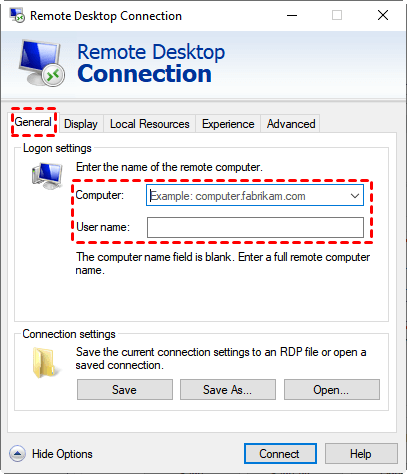
Step 5. Enter the IP address and PC name in the Remote Desktop Connection interface to achieve connection.
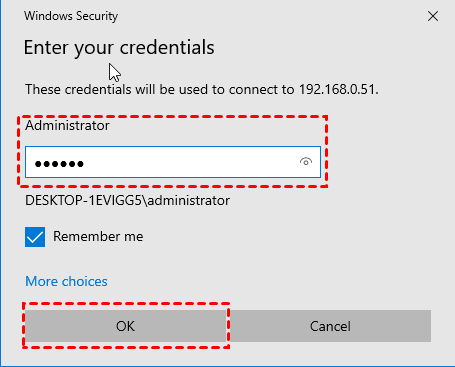
Step 6. In the pop-up Windows Security window, find the user name you just entered and enter the power-on password. If there is no power-on password, click OK.
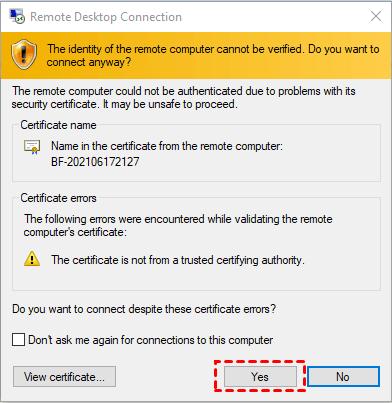
Step 7. In the authentication pop-up window, click “Yes” directly to realize remote access (it is recommended to check Don’t ask me again for connection to this computer).
- When you use it on different networks, you need to set up port forwarding or use a VPN.
- It is not available for Windows Home editions, like Windows 10 Home edition. If you want to use it, please upgrade to Pro or Enterprise versions.
Method 2. Windows Remote Assistance
Windows Remote Assistance allows someone (or helper) you trust to take over your PC and provide remote technical support. Next, the specific setting method will be introduced in detail.
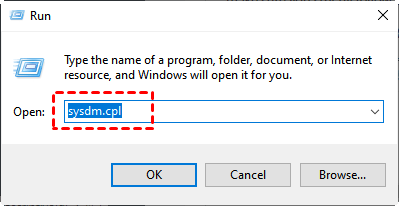
Step 1. On the host computer, press Win + R. Then type in “sysdm.cpl” and click OK to access System Properties.
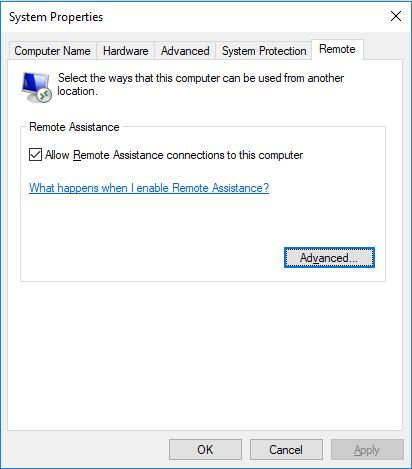
Step 2. Go to the Remote tab, and check Allow Remote Assistance connections to this computer under Remote Assistance.
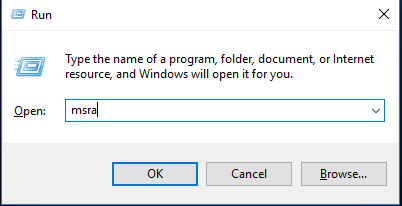
Step 3. After that, press Win + R again and then type in “msra” to open Windows Remote Assistance.
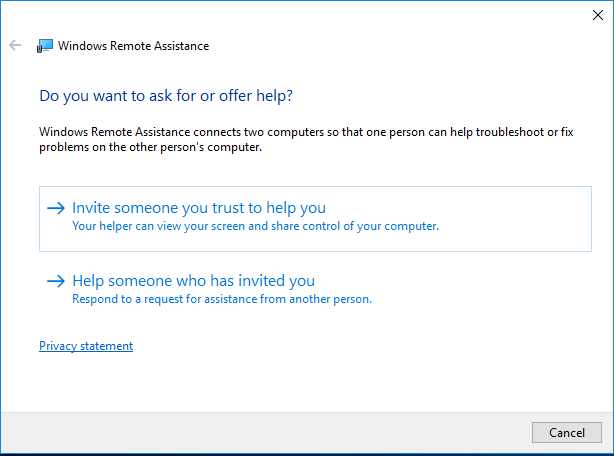
Step 4. Choose Invite someone you trust to help you and click Save this invitation as a file. Save this file on the desktop and a pop-up window that contains a password will appear.
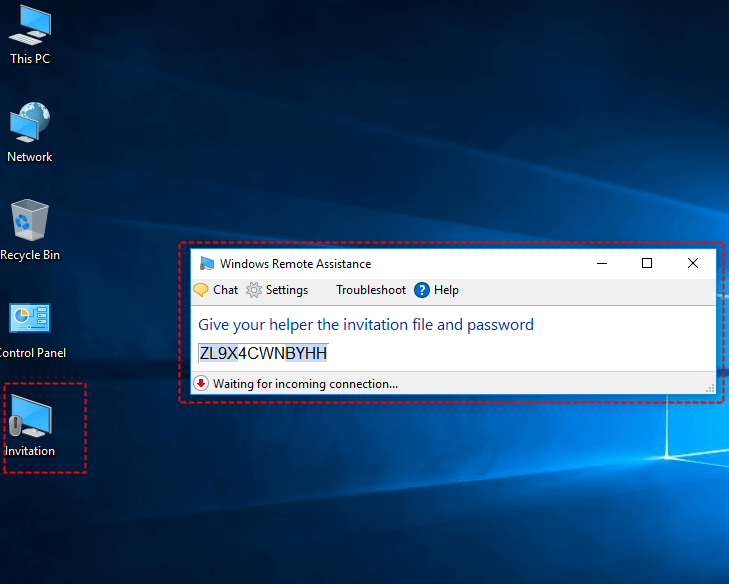
Step 5. Send this invitation file and the password to the client computer (the computer that used to offer technical help).
Step 6. On the client computer, double-click the invitation file and type the password in the entry bar.
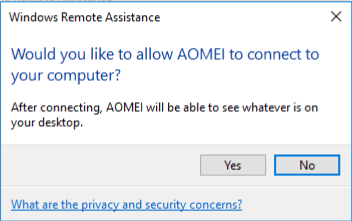
Step 7. After clicking OK, a pop-up window will appear on the host computer. Click Yes to share the screen with the client computer.
Step 8. On the client computer, on the top of the window, click Request control to send a request to the host computer, and then another pop-up window will appear on the host computer. After your friend click Yes, you can control his computer.


Windows Remote Assistance is not very complicated in operation. But according to the feedback from some users, they always encounter Remote Assistance not working problem.
Method 3. Quick Assist
Quick Assist is a new remote assistance tool in Windows 10, which is used to replace the traditional Remote Assistance. Quick Assist is installed on Windows 10 computers by default. Next, the specific setting method will be introduced in detail.
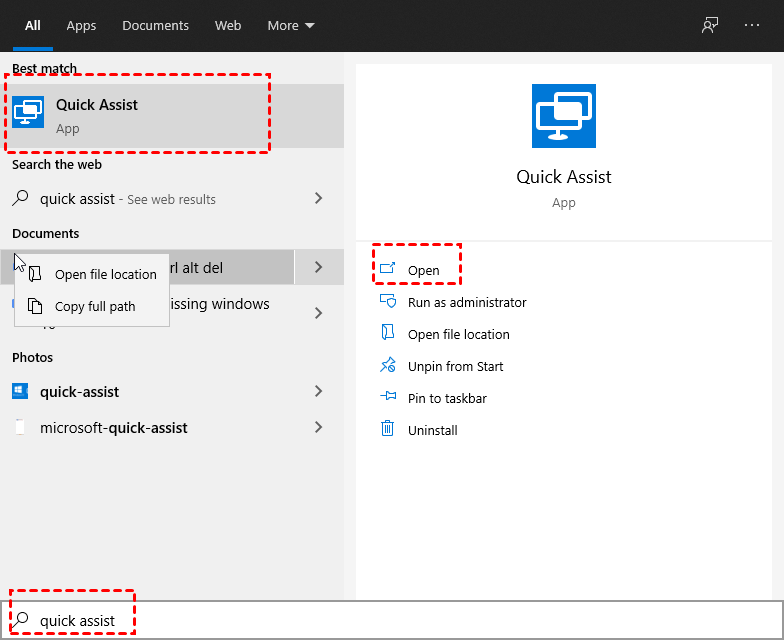
Step 1. In the PC that is used to offer support, type “Quick Assist” in the Search box and run it.
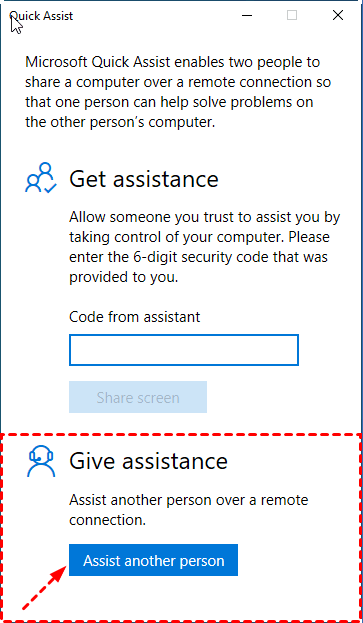
Step 2. Click Assist another person under Give Assistance.
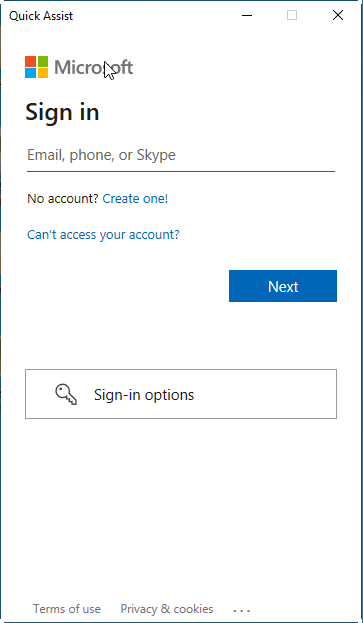
Step 3. Now, you need to sign in to your Microsoft account.
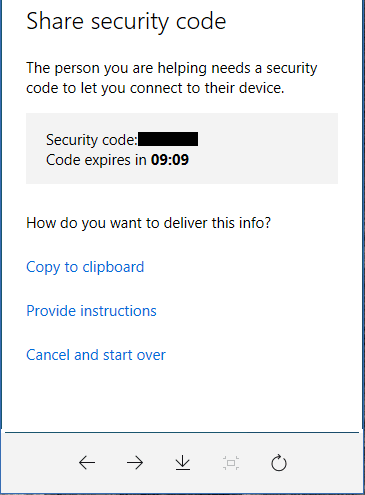
Step 4. After successful login, you can see your security code.
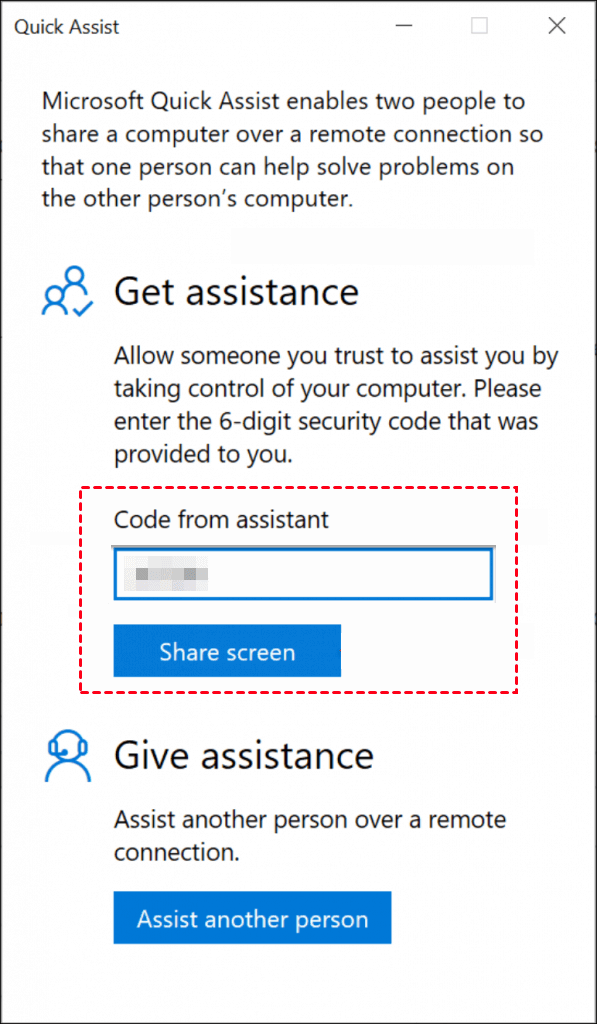
Step 5. In the computer accepting assistance, run Quick Assist, input the security code under Code from assistance and click Share screen.
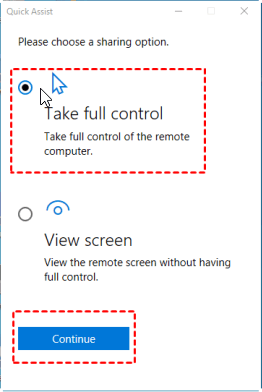
Step 6. Then, in the PC offering assistance, choose Take full control or View screen based on the specific situation. Finally, click Continue.
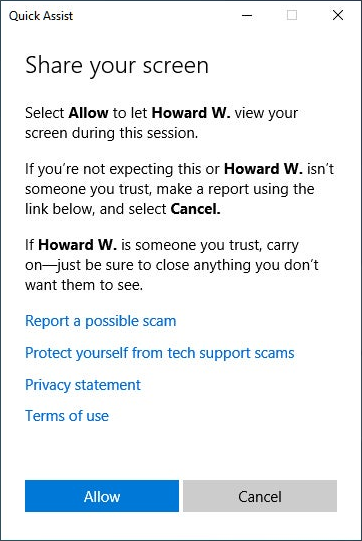
Step 7. Next, in the computer accepting assistance, click the Allow button, granting permission for you to access their PC.
Compared with RDP and RD Client, Quick Assist is simpler in operation, which makes it more suitable for novice users. Its disadvantage is that it needs to log in to a Microsoft account and cannot realize unattended remote access. Besides, users have reported that they’ve always encountered Quick Assist not working problem.
Method 4. Chrome Remote Desktop
Chrome Remote Desktop is a popular remote connection software invented by Google. It has powerful functions and high security. It can be used for both personal and commercial purposes for free. Next, the specific setting method will be introduced in detail.
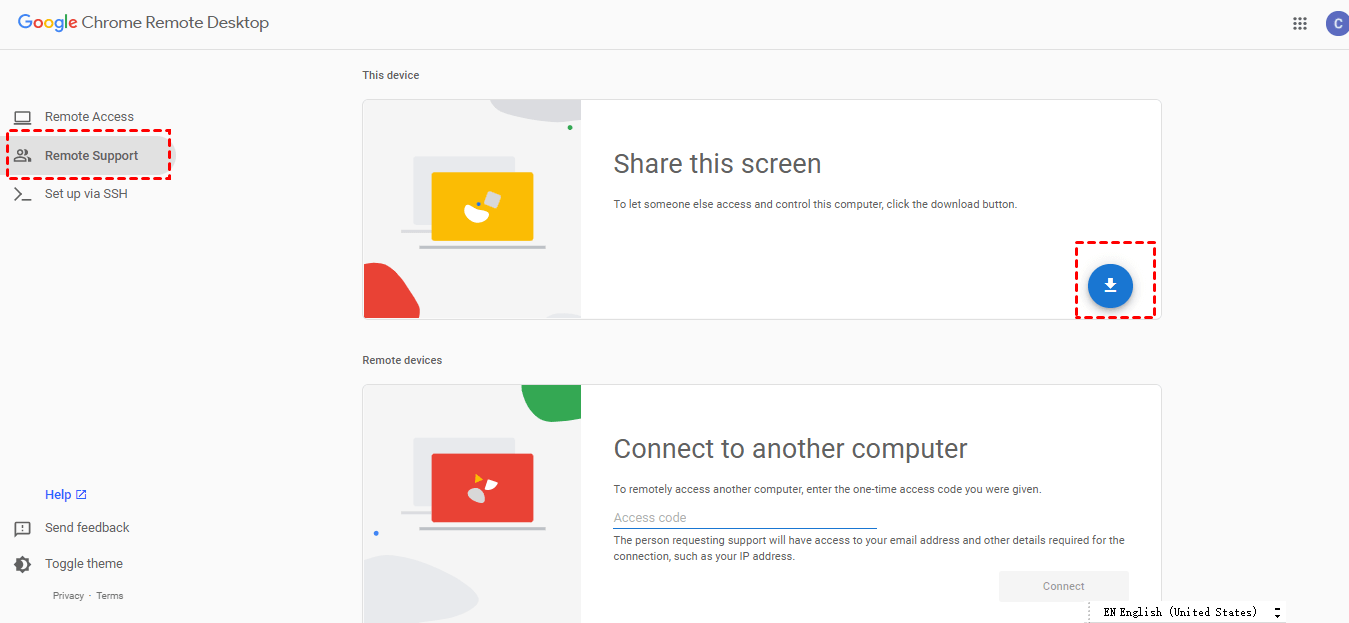
Step 1. On the host computer, open Chrome Remote Desktop download page. Click Remote Support first and then click the blue download button.
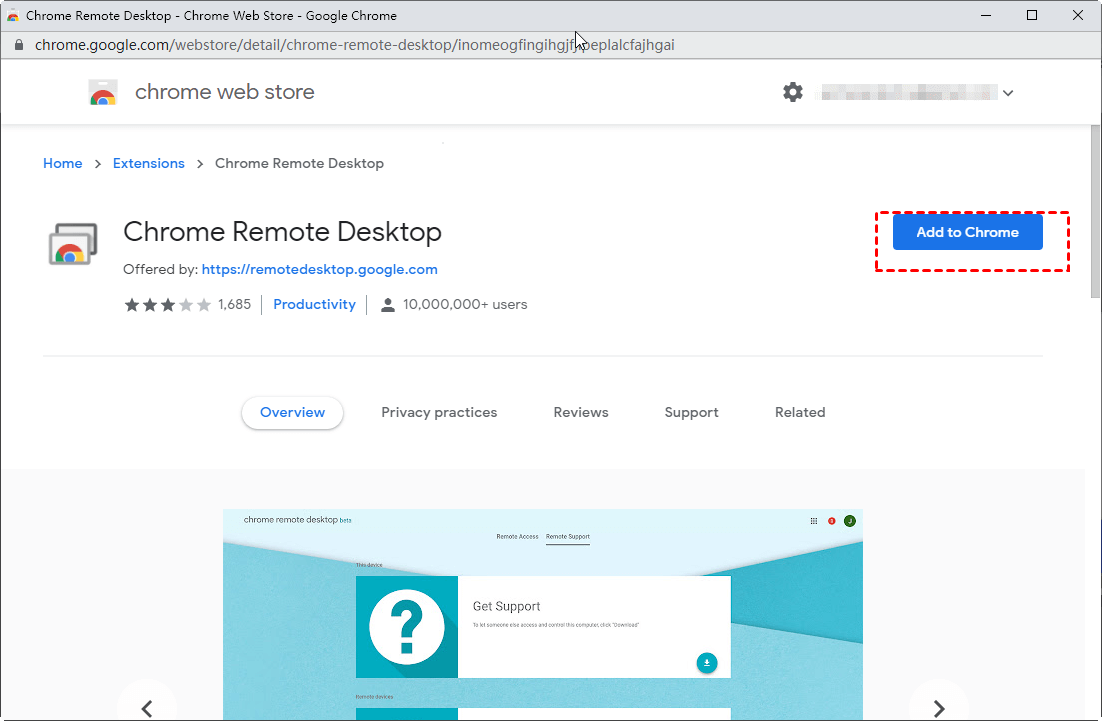
Step 2. After automatically jumping to the chrome web store, click Add to Chrome to download Chrome Remote Desktop.
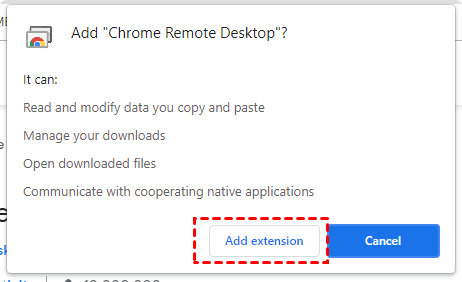
Step 3. Click Add extension to confirm the installation.
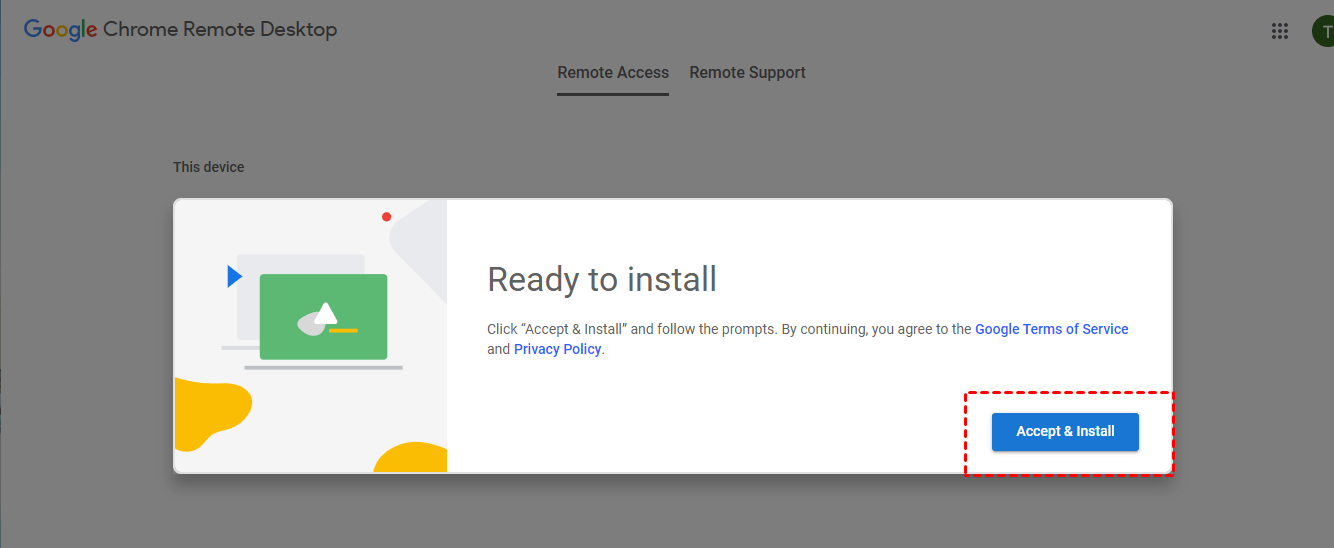
Step 4. Click on Accept & Install to install it.
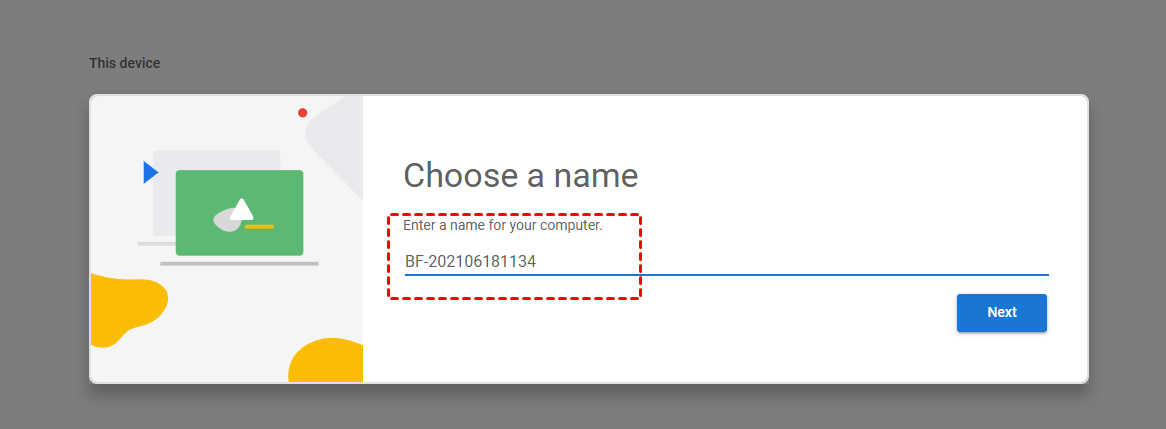
Step 5. Enter a name for your computer and then click Next.
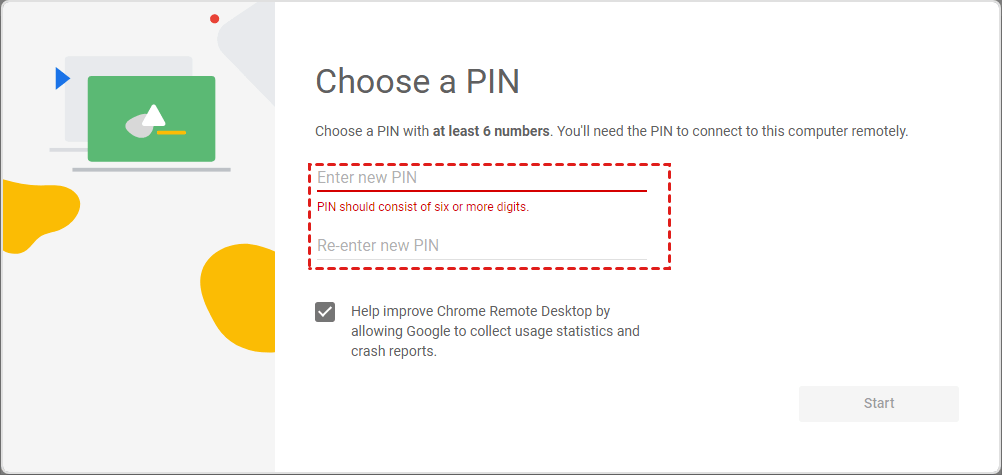
Step 6. Choose a PIN with at least 6 numbers, and then enter it twice to start the program.
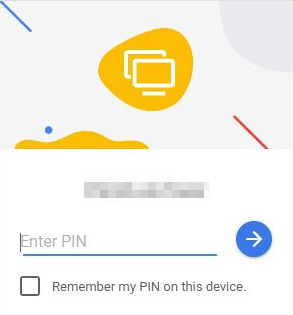
Step 7. On the client computer, open the Chrome browser and navigate here. Then log in to the same Google account. Once logged in, you can see the available computers.
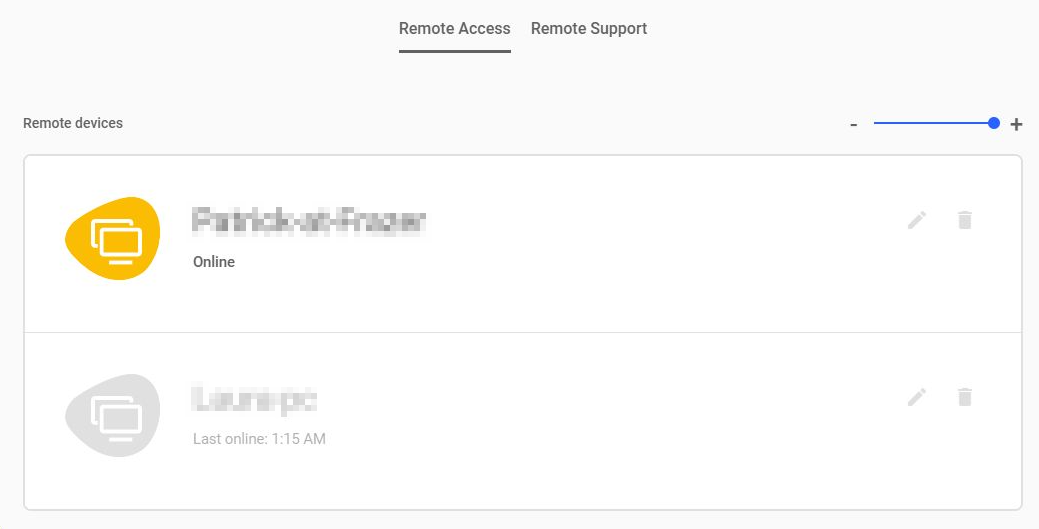
Step 8. Click on the computer set up previously, and enter its PIN. Then you could start your remote control.
Using Chrome Remote Desktop to remotely control a PC is relatively simple in operation and can adapt to different network environments. However, both devices need to be installed with the Chrome browser, making it inconvenient for non-Google users.
Method 5. AnyViewer [recommended]
AnyViewer is a free and easy remote desktop software designed especially for Windows, including Windows 11/10/8.1/8/7 and Windows Server 2022/2019/2016/2012 R2. It is one of the most secure remote access solutions. It is easy to operate. You don’t need an IP address or a user name to achieve unattended remote access to the computer. Why you should choose AnyViewer?
- Compatibility. It supports Windows 11/10/8.1/8/7 and Windows Server 2022/2019/2016/2012 R2, including Home editions.
- Convenience. It can be used on different networks without any configurations, like port forwarding or VPN.
- Multi-session. AnyViewer supports 2 concurrent remote desktop sessions, while other remote desktop programs like RDP and Chrome Remote Desktop only allow 1 remote connection at a time.
- Built-in chat. AnyViewer supports built-in text chat, while this key feature of a great remote desktop application is absent in other remote desktop programs like RDP and Chrome Remote Desktop.
Preparation work:
- Connect the client computer (the controller computer) and the host computer (the controlled computer) to the Internet.
- Download and install AnyViewer on the client computer and the host computer respectively.
Step 1. Launch AnyViewer on both computers. Go to Log in, and then click Sign up. (If you already have signed up on its official website, you can log in directly.)

Step 2. Fill in the signup information.

Step 3. Then you can see you successfully logged in to AnyViewer. Your device will automatically be assigned to the account you've logged in to.

Step 4. Log in to the same AnyViewer account on the two devices, then click One-click control to achieve unattended remote access.

- Notes:✎...
- You can also upgrade your account to a Professional or Enterprise plan to enjoy more rights:
- Faster file transfer speed. Transfer speed for a free account is 500 KB/s, and for a paid account is up to 10 MB/s.
- Increasing number of files transferred in a single time.
- Larger size of a single file that can be transferred.
- More devices can be assigned to the same account for unattended remote access.
- More Currently connected devices are displayed for chekcing connection history.
- Connect in privacy mode to protect privacy.
- Initial more concurrent connections to one computer.
Conclusion
Remote access makes it more convenient for both your work and life. The point is how to find suitable remote access solutions. Here we provide you with five different solutions, and introduce their characteristics, advantages, and disadvantages of each, hoping you can find the most suitable one for you.
