
Four Methods to Fix Quick Assist Missing in Windows 10, 11
This post provides you with four options to fix Quick Assist missing in Windows 10/11 problem. You may choose according to your personal preference.
By Ellie / Updated on December 26, 2025
Can’t find Quick Assist in Windows 10, 11?
Quick Assist is a Windows 10 program that allows a user to remotely control another Windows 10 computer over a network or the Internet. It is not very complicated to use Quick Assist, but users still face problems when using it, for example, Quick Assist not working problem.
Another problem faced by users is that Quick Assist missing in Windows 10 problem. Some users said that Quick Assist disappeared in Windows 10 even they have applied the latest updates. If you are facing this problem, the first thing you need to do is to check whether you have updated your computer to the latest version of Windows 10. If you do, then you could use the four options below to fix this problem.
How to fix Quick Assist missing in Windows 10, 11?
In this part, four options are given to help you fix Quick Assist missing in Windows 10 problem. The first three options are aimed at fixing the problem itself, while the last option recommends you a free remote support alternative to Quick Assist.
Option 1. Reinstall Quick Assist in Windows 10, 11
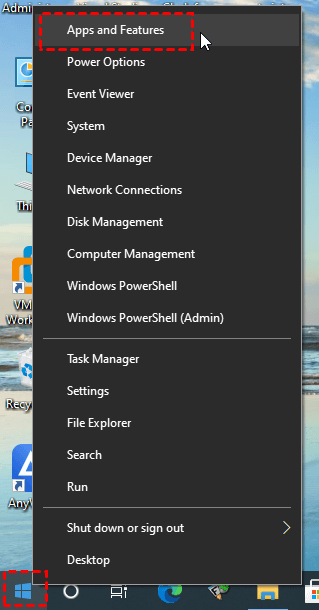
Step 1. Right-click the Windows Start menu icon and then click Apps and Features.
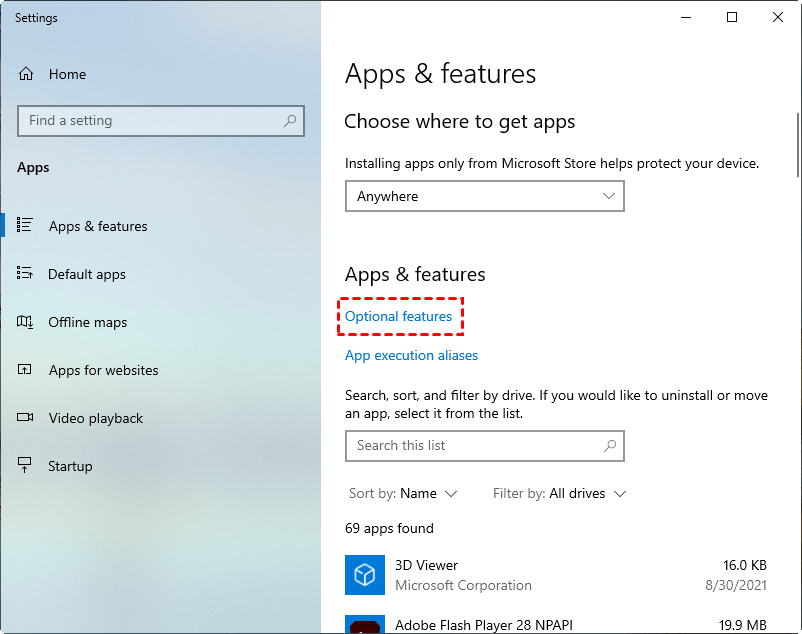
Step 2. Click Optional features.
Step 3. Click Add a feature.
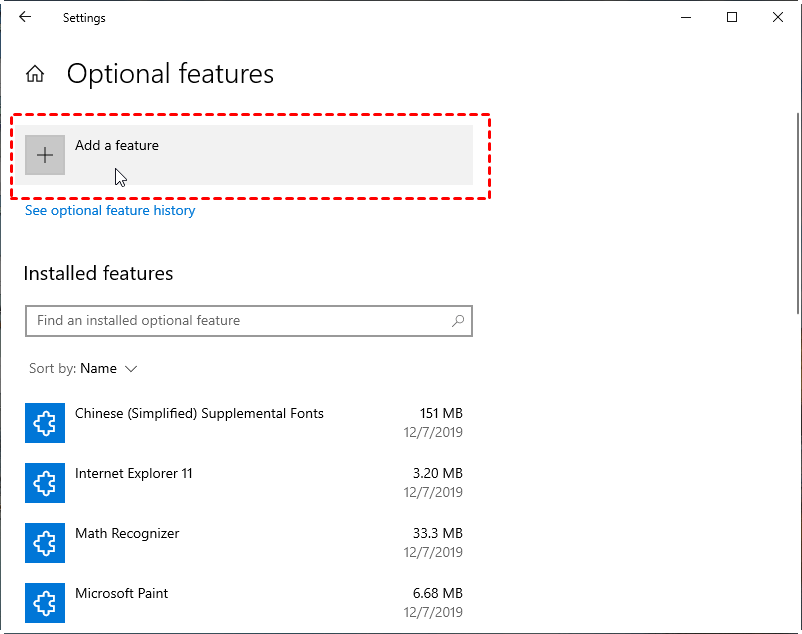
Step 4. Now find Microsoft Quick Assist, tick it, and then click Install. After doing these steps, you should now have Quick Assist back on your start menu and be able to use it again.

Option 2. Re-register Quick Assist via Powershell
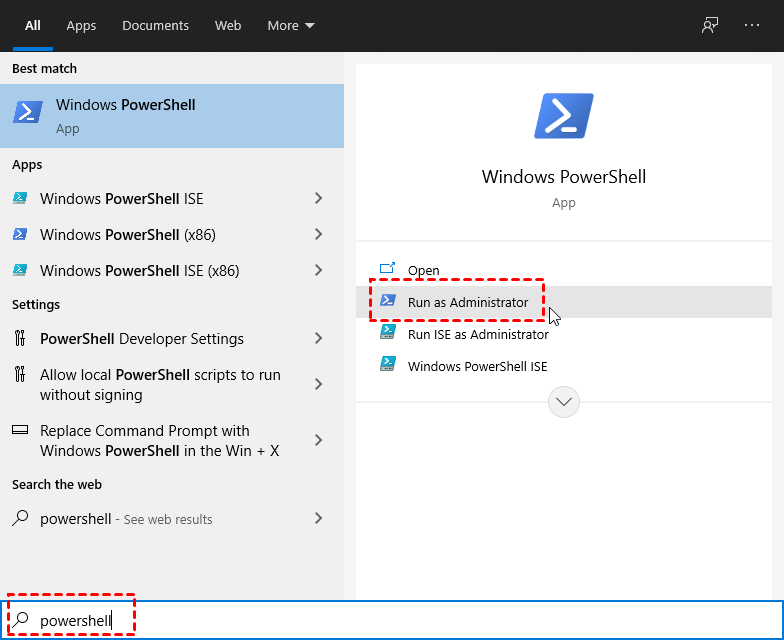
Step 1. Search PowerShell in the search box. Then click Run as Administrator.
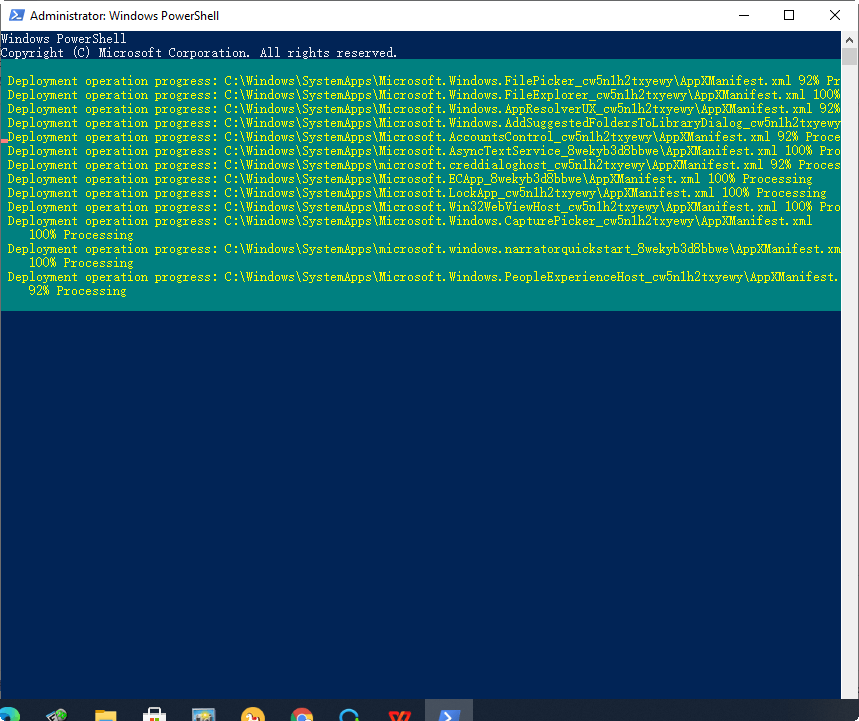
Step 2. Type the following command and press Enter:
Get-AppxPackage -AllUsers| Foreach {Add-AppxPackage -DisableDevelopmentMode -Register "$($_.InstallLocation)\AppXManifest.xml"}

Step 3. Once the process is completed, restart the computer and search for Quick Assist.
Option 3. Create a new user account
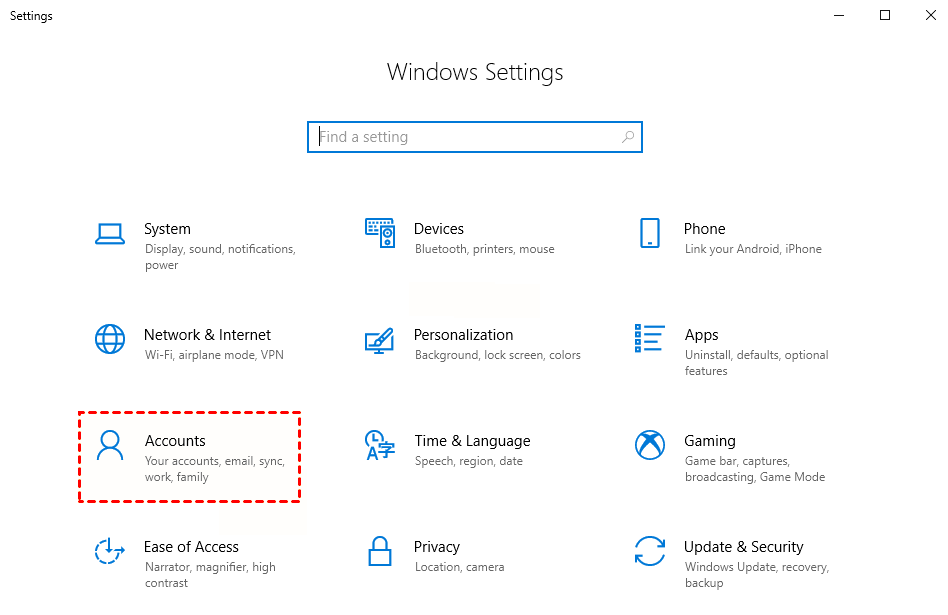
Step 1. Click the Windows Start menu, then open Settings and then click Accounts.
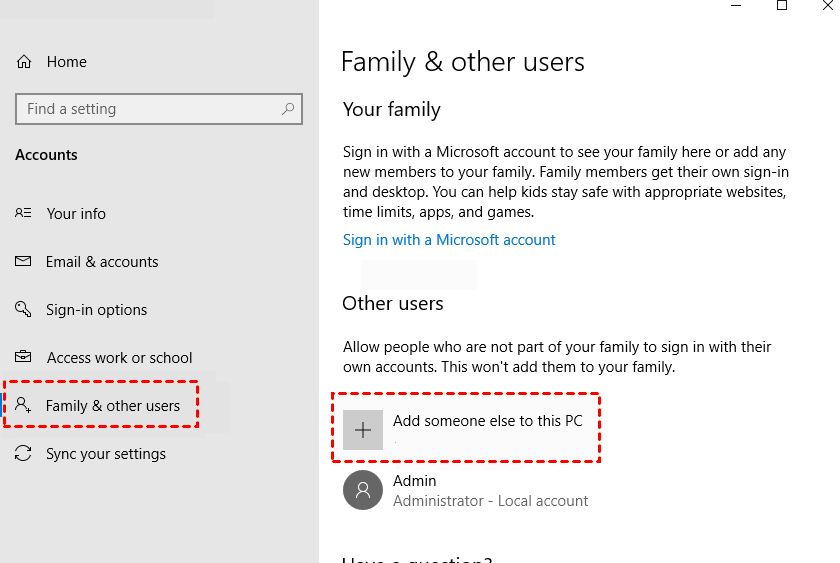
Step 2. Choose Family & other users on the left pane and then click Add someone else to this PC.
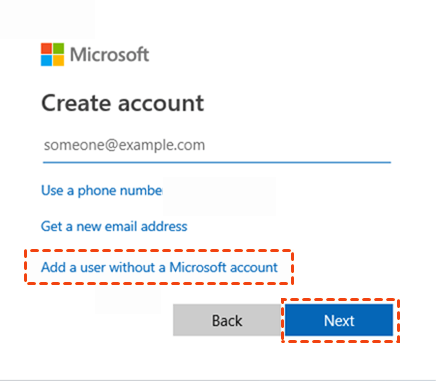
Step 3. Click I don’t have this person’s sign-in information, and then click Next.

Step 4. Then click Add a user without a Microsoft account.
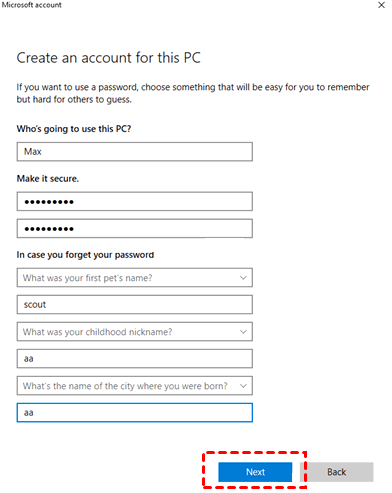
Step 5. Type in a username and a password for the new account. Then choose and answer the given security questions in case you forgot the password and when done click Next.
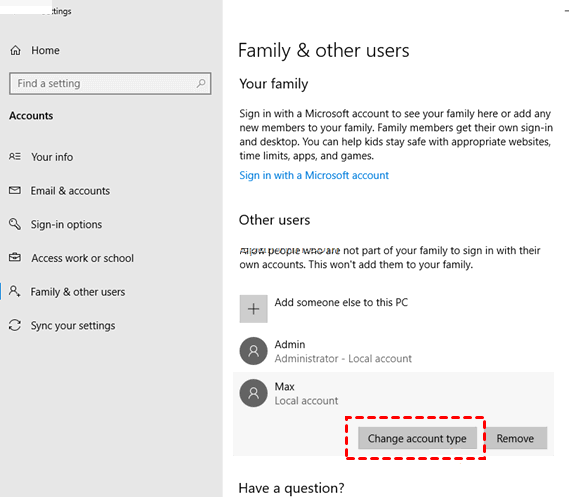
Now, you have ended with the creation of a new Standard user on Windows 10. But if you want to change a local user account to an administrator account and give administrative privileges to the new user, you need two more steps.
Step 6. On the Family & other users page, select the account owner name, and then click Change account type.
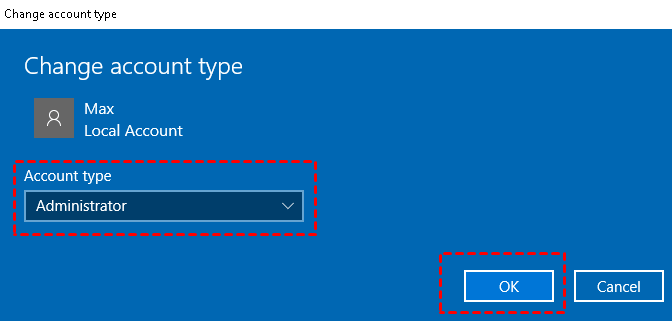
Step 7. Change the Account type into Administrator, then click OK. After this, log in to the computer using the new account, and see whether you can find Quick Assist now.
Option 4. Use free third-party remote access software AnyViewer
If you have tried the above-mentioned three options but still can't find Quick Assist in Windows 10, then you can choose to use the free third-party remote access software AnyViewer. It is a professional remote support solution for different Windows versions, including Windows 10. You can help your families, friends, or customers to solve IT issues remotely and safely. Of course, you could also receive remote support from others. As the easiest way to remotely control a PC compared to other software, AnyViewer is pretty simple to get started.
Step 1. Download, install and launch AnyViewer on both computers. Go to Log in, and then click Sign up. (If you already have signed up on its official website, you can log in directly.)

Step 2. Fill in the signup information.

Step 3. Then you can see you successfully logged in to AnyViewer. Your device will automatically be assigned to the account you've logged in to.

Step 4. Log in to the same AnyViewer account on the two devices, then you can achieve unattended remote access by clicking One-click control.

Of course, you are also free to not sign up for AnyViewer if you're just trying to remotely access others' computers for once. You can send a control request to your partners and ask for their permissions, or input a security code to achieve a direct connection.
Conclusion
This post introduces four options to help you fix the Quick Assist missing in Windows 10/11 problem. You can try the first three options to see if they can help you to find Quick Assist on your Windows 10 computer. If you still can’t find Quick Assist in Windows 10, you can use free third-party remote access software, AnyViwer, which is also accessible in Windows 10. But different from Quick Assist, which is only suitable for Windows 10, AnyViwer can also be used in Windows 11/8.1/8/7 and Windows Server 2022/2019/2016/2012 R2, providing you with more options.
