
How to Take a Screenshot in Remote Desktop
Learn how to take a screenshot in remote desktop sessions across Windows, Mac, and mobile devices. This guide covers keyboard shortcuts, built-in tools, third-party apps, multi-monitor setups, automation techniques, and best practices for sharing and saving screenshots securely.
By Ellie / Updated on November 26, 2025
Why Capturing Screens in Remote Desktop is Crucial
Remote desktop software allows you to access computers from anywhere, whether for troubleshooting, training, collaboration, or monitoring systems. Capturing screenshots in these sessions is essential for:
- Documenting processes and errors for support tickets
- Sharing updates or instructions with colleagues
- Archiving work for compliance and record-keeping
- Analyzing performance or changes in real time
Knowing how to take a screenshot in remote desktop efficiently ensures you can work faster, communicate clearly, and maintain accurate records.
How to Take a Screenshot in Remote Desktop
There are multiple ways to capture screenshots, ranging from basic key combinations to advanced automation tools. Let’s explore them step by step.
Basic Screenshot Methods in Remote Desktop
Before diving into advanced tools, let’s start with the basic built-in methods to capture your remote desktop screen quickly and easily.
Using the Print Screen (PrtScn) Key
Pressing PrtScn captures the entire remote desktop screen.
- Windows: Press PrtScn to capture the entire screen. Paste it into Paint, Word, or any image editor. This is essential if you are learning how to take a screenshot on Windows remote desktop.
- Mac (via Microsoft Remote Desktop): Press Shift + Command + 3 for a full-screen capture. This answers the question of how to take screenshot in remote desktop Mac.
Keyboard Shortcuts for Windows Remote Desktop
- Alt + PrtScn: Capture active window only
- Ctrl + Alt + Break: Switch between full-screen and windowed mode
- Ctrl + Alt + Minus: Capture the active window in RDP (for multiple monitors)
Mac Users: Command + Shift + 4 or 3
- Command + Shift + 3: Capture full screen
- Command + Shift + 4: Select an area to capture
Remote desktop sessions require pressing the Fn key if using Mac keyboards with limited function keys.
Advanced Screenshot Tools
For more flexibility and features beyond the basic shortcuts, advanced tools and applications can help you capture, edit, and manage remote desktop screenshots more efficiently.
Third-Party Applications for Remote Screenshots
Apps like Snagit, Lightshot, and Greenshot provide:
- Annotation tools (arrows, text, highlights)
- Cropping and resizing
- Cloud storage and easy sharing
Support for remote desktop environments without losing image quality
Built-in Snipping Tools for Windows and Mac
- Windows Snipping Tool: Capture, highlight, and save screenshots quickly. Perfect for users learning how to take a screenshot on Windows remote desktop.
- Mac Grab or Screenshot Utility: Provides precision tools for selecting areas or entire screens. Ideal for how to take screenshot in remote desktop Mac.
Cloud-Based Screenshot Solutions
Tools like Dropbox, Google Drive, and OneDrive can automatically save screenshots from remote sessions for easier sharing and backup.
Capturing Multiple Monitors in Remote Desktop
If you’re working with more than one screen, capturing multiple monitors requires a few extra steps to ensure every display is recorded accurately.
Configuring Multi-Monitor Setup
When using multiple monitors in RDP, ensure the "Use all monitors" option is enabled in the RDP client. This ensures each screen is captured accurately.
Screenshot Techniques for Each Monitor
- Capture each monitor separately using Alt + PrtScn
- Use third-party tools that support multi-monitor stitching
- For Mac, select specific monitors with Command + Shift + 4
Taking Screenshots on Mobile Remote Desktop Apps
For users accessing remote desktops on the go, mobile devices offer their own screenshot methods that differ slightly from desktops but are just as effective.
Android Devices
Most Android remote desktop apps allow screenshots with Volume Down + Power or Screenshot button. Some apps offer in-app capture features for higher quality.
iOS Devices
iOS users can press Side Button + Volume Up to capture the screen in remote desktop sessions. Use AssistiveTouch for one-handed operations or for devices without physical buttons.
Automating Screenshots in Remote Desktop
For tasks that require frequent or scheduled captures, automation tools and scripts can save time and ensure consistency without manual effort.
Using Scripts and Macros
PowerShell scripts, AutoHotkey macros, and Python automation can capture screens at scheduled intervals. Ideal for monitoring processes or documenting activity.
Scheduled Screen Capture Tools
Software like Screenpresso, OBS Studio, or ShareX can automate screenshot captures and save them to specific folders for documentation.
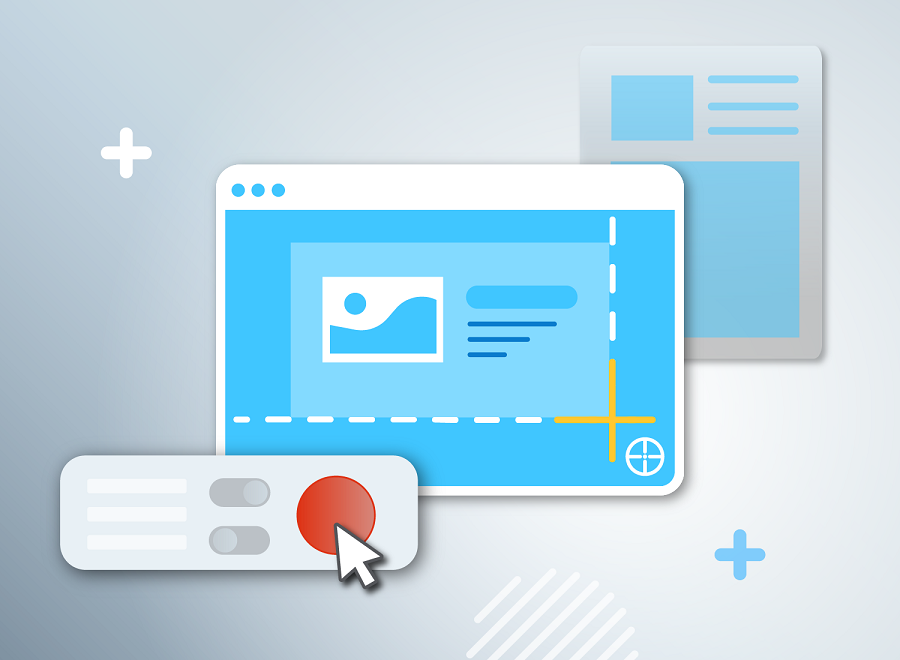
Bonus Tip: Streamline Remote Screenshots and Collaboration with AnyViewer
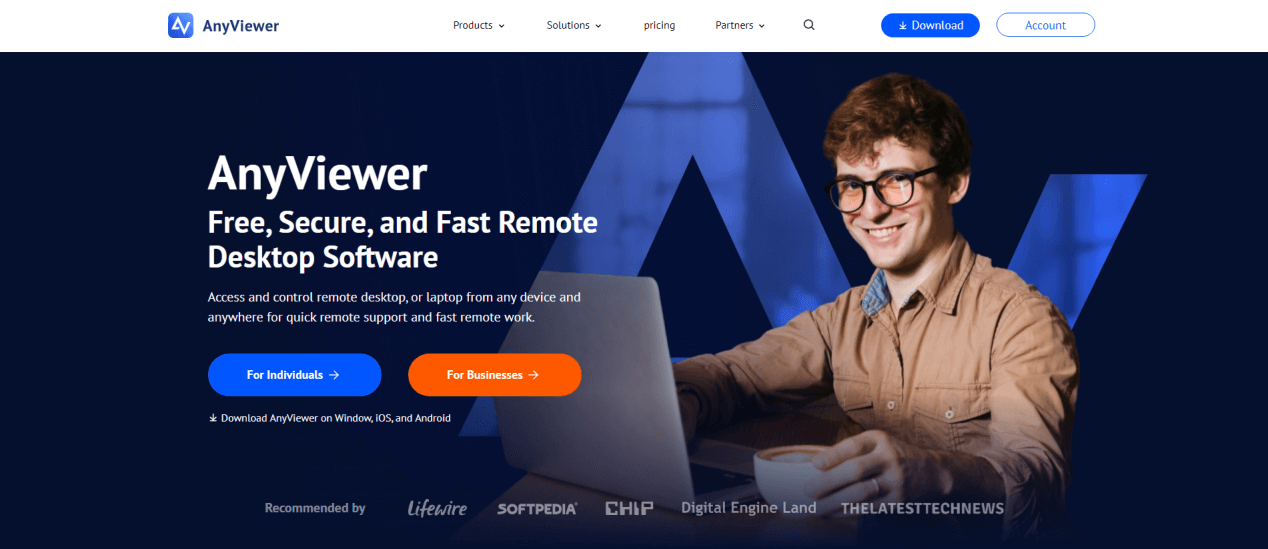
AnyViewer is an all-in-one remote desktop solution that makes capturing screenshots, managing multiple devices, and collaborating much easier. Unlike standard methods, AnyViewer is designed for high efficiency, speed, and convenience. Its key advantages include:
- High-Resolution Captures Without Lag: AnyViewer ensures that screenshots are crisp and clear, even in fast-moving sessions or when working with high-definition displays.
- Advanced automation: Automatically record remote control sessions as soon as they begin, saving time and effort by eliminating the need to start recordings manually.
- Seamless Multi-Monitor Support: Easily capture one or all monitors simultaneously, with smooth navigation between screens for accurate documentation.
- Cross-Platform Compatibility: Works flawlessly across Windows, Mac, iOS, and Android, allowing consistent screenshot management regardless of your device.
- User-Friendly Interface: Intuitive controls make it easy for beginners and professionals alike to capture, annotate, and organize screenshots efficiently.
- Enhanced Security: Advanced encryption ensures that sensitive data captured in screenshots remains protected.
- Productivity Boost: By combining remote access and advanced screenshot capabilities in one tool, AnyViewer reduces workflow interruptions and speeds up collaboration.
Using AnyViewer not only streamlines screenshot capture but also improves overall remote desktop management, making it a must-have tool for IT professionals, remote teams, and anyone who frequently works with remote sessions.
Conclusion
Capturing screenshots in remote desktop sessions is essential for productivity, communication, and accurate record-keeping. From basic keyboard shortcuts to advanced tools, multi-monitor setups, mobile solutions, and automation, there are methods to suit every workflow. Understanding how to take a screenshot in remote desktop ensures you never miss a critical screen. Tools like AnyViewer take it a step further, offering high-quality captures, seamless multi-monitor support, cloud integration, and enhanced security. By using the right techniques and tools, you can efficiently document, share, and manage your remote desktop sessions with ease.
