
Easy Ways to Record Remote Desktop Sessions
Recording remote desktop sessions helps you track what happens during support or work sessions. This guide explains why it's important and shows easy ways to start recording using tools like AnyViewer, OBS Studio, or other screen recorders.
By Ellie / Updated on September 17, 2025
Why should you record remote sessions?
In today's fast-paced digital world, remote desktop tools are vital for providing support, managing systems, and collaborating across distances. But why should you record remote desktop sessions?
Here are some compelling reasons:
- Accountability and Monitoring: Recording sessions ensures every action taken during a remote session is traceable. This promotes accountability, especially in managed IT services, where clients need proof of work done.
- Troubleshooting and Auditing: A recorded session helps IT teams review and identify the root cause of an issue after the fact, especially when errors can't be replicated.
- Training and Knowledge Sharing: Training new staff or demonstrating technical processes becomes easier when you can replay recorded remote desktop sessions. It's an effective way to share expertise.
- Compliance and Security: For industries under strict regulatory compliance (e.g., healthcare, finance), having a record of remote access sessions is essential for audits and legal protection.
- Customer Service and Quality Control: Support teams can use session recordings to ensure quality service, handle disputes, or evaluate technician performance.
How to record remote desktop sessions
Wondering how to record remote desktop sessions effectively? There are multiple ways, depending on your setup. Below are some of the most effective methods to record remote desktop sessions with ease and clarity:
1. Choose remote desktop software with built-in recording capabilities
Many remote desktop solutions go beyond screen sharing; they offer built-in remote desktop session recording to simplify documentation, training, and auditing. With these tools, there’s no need to rely on external screen recorders. You get seamless, automated capture right from the start.
Top Pick: AnyViewer
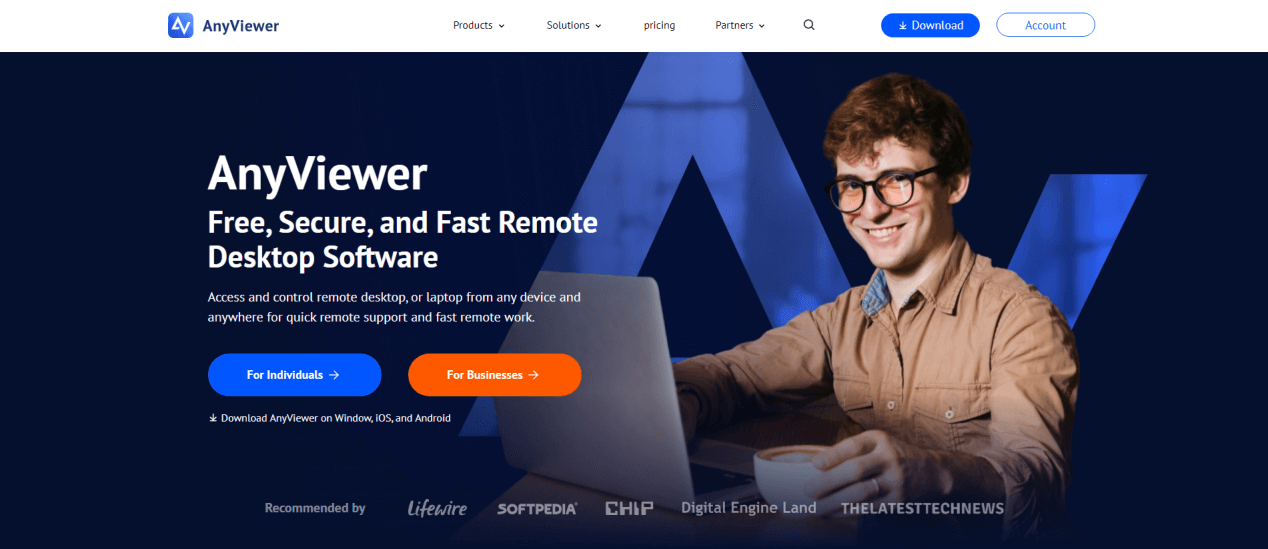
AnyViewer stands out as a reliable and feature-rich choice for recording remote desktop sessions with ease.
- Completely free for all users, no hidden fees or usage limits
- Built-in session recording (manual or automatic)
- Supports remote control, secure file transfers, and multi-platform access
- Lightweight and secure, ideal for individual users and enterprise environments
- Compatible with Windows, macOS, and Linux
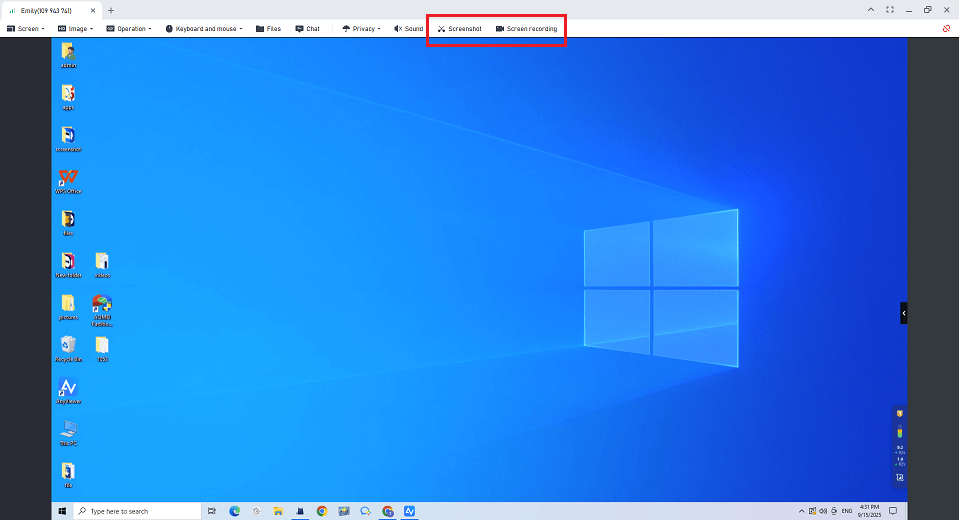
Recording a Remote Session with AnyViewer: A Quick Guide
Step 1. Download and open AnyViewer on both the local and remote machines.
Step 2. Sign in and establish a connection between the two devices.
Step 3. Go to session settings and activate the "Automatic recording of remote control sessions" option.

Step 4. Your sessions will be automatically recorded and saved in common formats, making them easy to access, replay, or archive for future use.
Alternatively, you can also start the recording session manually in a remote session.
Whether you're managing IT support, creating training material, or simply documenting activity, AnyViewer makes the process smooth and secure, right out of the box.
2. Capture Remote Desktop sessions with screen recording software
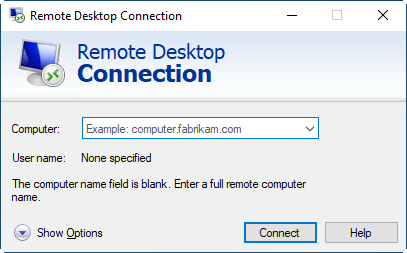
Although Windows Remote Desktop Protocol (RDP) lacks a native recording option, that doesn't mean you're out of luck. You can still record remote desktop sessions using dependable third-party screen capture software. This approach works not only for RDP but also for other remote access tools that don’t include built-in remote desktop session recording.
What makes this method appealing is its flexibility; you decide how to record a remote desktop session and when. It's ideal for users who only need to capture sessions occasionally or want the freedom to edit recordings afterward with professional tools.
Recommended Screen Recorders for Any Platform
No matter your operating system, there's a tool for you. Here are some standout screen recorders that can effectively capture remote desktop sessions:
| Tool | Key Features | Platform |
| OBS Studio | Free, open-source, and highly customizable | Windows, macOS, Linux |
| Camtasia | Professional-grade recorder with robust editing tools | Windows, macOS |
| ShareX | Lightweight, automation-friendly, and feature-packed | Windows only |
| Loom | Easy-to-use, cloud-based recorder with instant sharing | Windows, macOS |
How to Record a Remote Desktop Session: Step-by-Step
Step 1. Establish a connection: Launch your RDP session or any other remote access software.
Step 2. Launch your screen recorder: Choose from tools like OBS Studio, Camtasia, ShareX, Loom, or Xbox Game Bar.
Step 3. Configure your settings: Set your preferred resolution, frame rate, and audio input before starting.
Step 4. Begin recording: Hit record either before the session starts or once you're connected.
Step 5. Stop and save: When the session ends, stop the recording and export the file in your desired format.

Expert Tip:
For quick recordings on Windows, the Xbox Game Bar (Windows + G) can get the job done, especially for basic tasks. However, if you're working with remote connections and want full control over recording quality and layout, OBS Studio is the best all-around choice.
Conclusion
Recording remote desktop sessions is a smart move for businesses and individuals alike. Whether you need to boost accountability, improve training, meet compliance standards, or simply review technical issues, having a reliable method to record remote desktop sessions makes all the difference.
With tools like AnyViewer and trusted screen recorders, remote desktop session recording is easier and more accessible than ever, giving you greater control, transparency, and peace of mind.
