
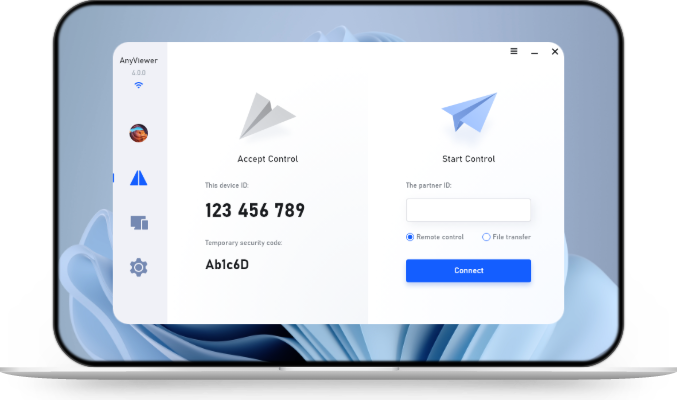
How to Open Remote Desktop Monitors in Separate Windows
This guide explains the difference between spanning a remote session across local displays and opening each remote monitor in its own movable window. It covers the built-in Windows RDP option, a direct AnyViewer workflow, practical monitor mapping, and fixes for missing screens, blurry scaling, and lag. It is designed for remote workers, IT support staff, and anyone who needs a clean one-screen-per-window setup.

By Ellie / Updated on September 2, 2026


The Quick Answer
If you are searching for how to open remote desktop monitors in separate windows, first check whether your remote-access app supports independent display windows. Windows Remote Desktop can use several local monitors as one remote session, but the classic client does not normally turn each remote physical monitor into a freely detachable app window. A tool with a separate-window display mode is the simpler fit when you want to drag remote Screen 1 to one local monitor and remote Screen 2 to another. AnyViewer supports that workflow by presenting remote screens as tabs that can be pulled into independent windows.
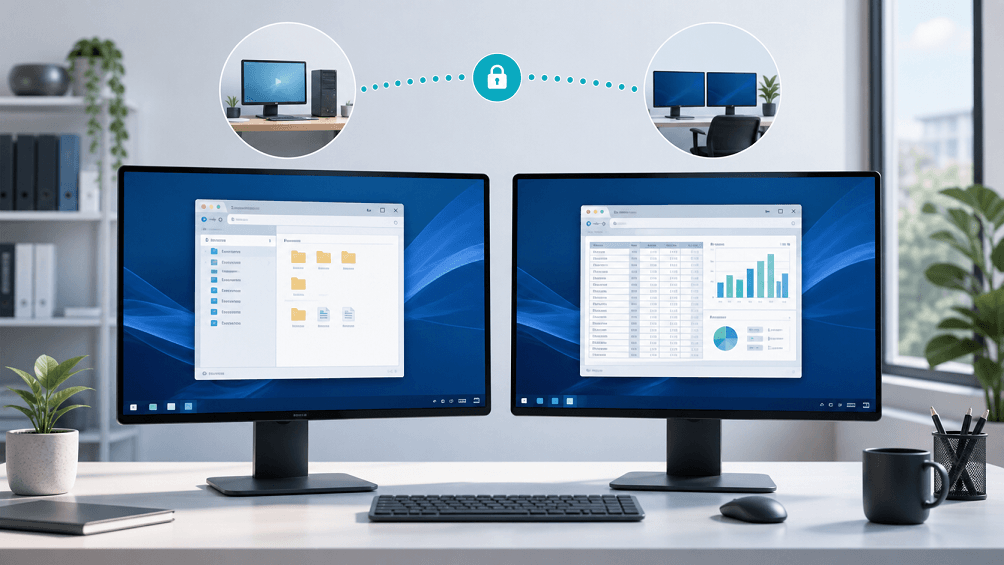
Before connecting, set your local displays to Extend mode and confirm that the remote computer detects every physical monitor. Then establish an authorized session, detach the screen tabs if the software supports it, move each window to its destination monitor, and maximize it. Only access devices, accounts, and files that you own or are explicitly authorized to use.
Separate Windows vs. a Multi-Monitor RDP Session
These two layouts look similar at first, but they behave differently. The distinction matters when you need to keep a local app visible, rearrange remote screens, or work with monitors that use different resolutions.
|
Display mode |
What it does |
Best for |
|
Use all monitors (RDP) |
Extends one remote Windows session across the selected local displays. |
A full remote workspace that should behave like a local multi-monitor desktop. |
|
Span mode |
Treats matching, horizontally aligned displays as one wide surface. |
Older or specialized layouts; maximized apps may stretch awkwardly. |
|
Separate remote windows |
Opens each remote monitor in an independent, movable window. |
One-to-one mapping, mixed resolutions, IT support, and flexible local/remote multitasking. |
|
All screens in one window |
Shrinks several remote displays into a single window. |
Monitoring or selecting a screen from a laptop with limited space. |
How to Use Multiple Monitors with Windows Remote Desktop
Use the built-in RDP method when you want the remote session to occupy your local monitor array. It is reliable for a conventional work setup, but it is not the same as popping each host monitor into its own detachable window.
Step 1. On the local PC, right-click the desktop, open Display settings, and set Multiple displays to Extend these displays.
Step 2. Open Remote Desktop Connection (mstsc.exe), select Show Options, and open the Display tab.
Step 3. Move the display slider to Full Screen and select Use all my monitors for the remote session.
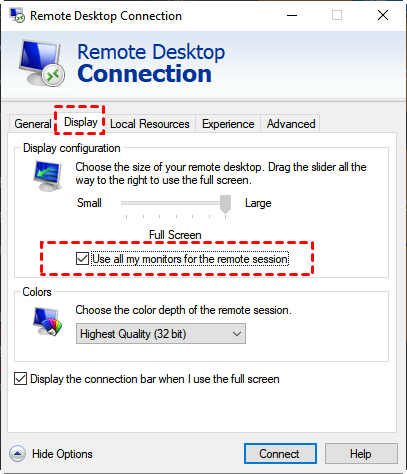
Step 4. Return to the General tab, enter the authorized computer name or address, and connect.
Step 5. Place remote applications across the session displays as you would on a local extended desktop.
For a quick launch, press Windows+R and run mstsc /multimon. Microsoft documents this switch as matching the remote session monitor layout to the current client-side layout. If you use span mode instead, the local screens generally need the same resolution and horizontal alignment.
Why RDP May Not Give You Separate Monitor Windows
Classic RDP virtualizes a session around the client display layout; it is not primarily a screen-by-screen viewer of the host’s physical monitors. That is why “Use all my monitors” can fill two local displays while still offering no detachable tab for each host screen. It also explains several complaints seen in support forums: users want only two of three local monitors, need to switch layouts without reconnecting, or find that one maximized application stretches across a spanned desktop.
- Choose RDP multi-monitor mode when the remote session can take over all selected local displays.
- Choose separate-window software when each remote screen must move, resize, maximize, or close independently.
- Choose an all-screens overview when you have one local display but need awareness of several remote screens.
How to Open Remote Desktop Monitors in Separate Windows with AnyViewer
AnyViewer is a practical Remote Desktop alternative when independent windows are the requirement rather than a single stretched session. Its current Multi-Monitor Support shows the remote computer’s screens as tabs, and its Display in Separate Window function lets you drag a tab out into its own window. This suits a home-to-office setup, IT support, or a mixed-resolution desk where each window needs separate placement.
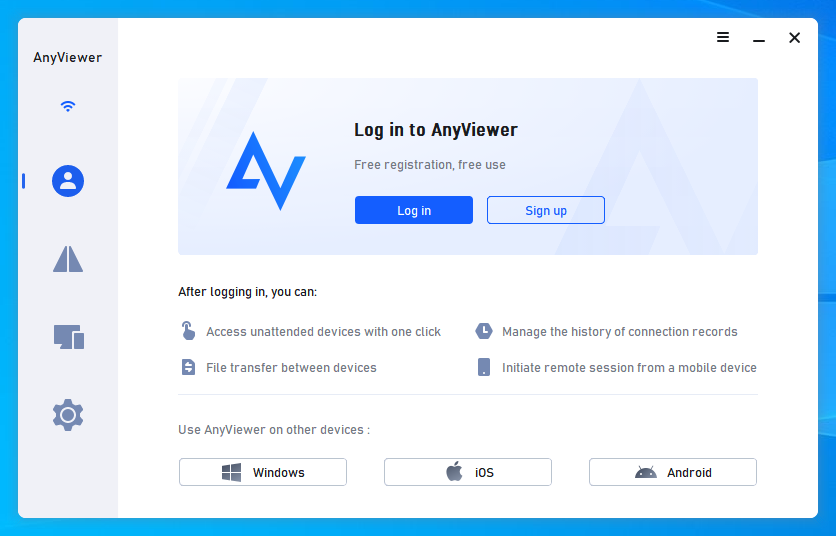
Step 1. Install AnyViewer on the local controller and the authorized remote computer. Sign in and establish the remote connection using an approved access method.
Step 2. After the session opens, confirm that the remote screens appear as separate tabs in the remote-control window.
Step 3. Drag one screen tab away from the title-bar area and release it. The selected remote monitor becomes an independent window.

Step 4. Move that window to the matching local monitor. Repeat for the remaining remote-screen tabs.
Step 5. Maximize or enter full-screen mode for each window, then verify mouse movement, keyboard focus, scaling, and app placement.
A Practical One-to-One Monitor Mapping
For a two-by-two setup, keep the mapping simple: remote left monitor to local left monitor, and remote right monitor to local right monitor. Match Windows display order before the session starts so the pointer crosses screens in the expected direction. If one screen is 4K and the other is 1080p, independent windows are usually easier to manage than one spanned canvas because each window can be resized or maximized separately.
- Use Windows Identify on both computers and note the numerical order.
- Keep the local primary display consistent with the screen used for sign-in prompts.
- Test full-screen exit shortcuts before starting time-sensitive support work.
- Close sensitive local apps before sharing or recording any session.
Troubleshooting Separate Remote Screens
|
Problem |
Likely cause |
What to try |
|
Only one remote screen appears |
The host detects one display, the client is in single-screen mode, or the product/platform lacks the feature. |
Check host Display settings, reconnect after detection, and verify current feature requirements. |
|
Separate-window option is unavailable |
The connection protocol, operating-system direction, app version, or plan may not support it. |
Update both endpoints and confirm the exact platform/plan combination on the official site. |
|
Text looks blurry |
Mixed DPI scaling or a remote resolution that does not match the local window. |
Use native resolution where practical, compare 100%/125% scaling, and reconnect after changes. |
|
Mouse crosses the wrong edge |
The display order differs between local and remote systems. |
Rearrange numbered displays in Windows settings to match their physical positions. |
|
Both screens lag |
More pixels require more bandwidth and decoding work. |
Reduce image quality or resolution, close video-heavy apps, and use a stable wired or strong Wi-Fi connection. |
Security and Performance Checklist
- Use a unique account password and enable available multi-factor or device security controls.
- Grant unattended access only to trusted users and approved devices.
- Follow company policy for remote work, screen recording, file transfer, and privacy settings.
- Prefer a wired connection for the remote workstation when two high-resolution streams are active.
- Lower visual quality before reducing the number of screens if responsiveness matters more than fine detail.
- End the session and lock the remote computer when the task is complete.
The clearest recommendation is straightforward: use Windows RDP multi-monitor mode for one extended remote workspace; use a separate-window feature when monitor-level flexibility is non-negotiable. To try the latter on authorized devices, download AnyViewer, connect to the remote computer, detach each screen tab, and map the windows to your local displays.



 as a preferred
source on Google
as a preferred
source on Google