
Top 7 Ways to Fix Remote Desktop Access Denied
This article delves into the reasons behind the Remote Desktop access denied error and provides seven proven solutions to fix this issue. Keep reading to delve deeper into these solutions.
By Ellie / Updated on December 13, 2024
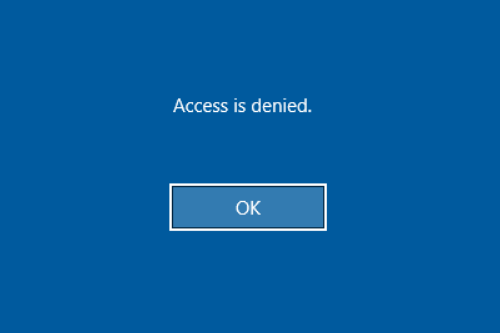
How do I fix "Access is denied" in Remote Desktop?
When I tried to access Windows 7 from my Windows 10 computer with Remote Desktop Connection, I got an 'Access is Denied' error. The remote access was working until the OS was updated to the latest version."
- Question from Reddit
Remote desktop access has become an integral part of modern work environments, allowing individuals to connect to their work computers from anywhere in the world. Whether you're a remote worker accessing your office desktop or an IT professional managing multiple systems, remote desktop access offers unparalleled convenience and flexibility.
Despite its benefits, remote desktop access is not without its challenges. One of the most frustrating issues users encounter is the dreaded Remote Desktop access denied error. This error message can halt productivity and cause frustration, especially when deadlines are looming.
Causes of the Remote Desktop "Access is denied" error
Access denied is a common error when starting Remote Desktop services to remotely access a computer in Windows. Usually, it occurs out of the following causes.
- Authentication Problems
Authentication issues are one of the primary causes of the access denied error. This can occur if you enter incorrect login credentials, your account has expired, or there are issues with the Active Directory server.
- Permissions & Security Settings
In some cases, "Access is denied" on Remote Desktop is due to inadequate permissions or misconfigured security settings. Your user account may not have the necessary privileges to access the remote desktop, or group policy settings may restrict remote connections.
- Network Connectivity Problems
Poor network connectivity can also result in the access denied error. If your internet connection is unstable, or if firewall restrictions are blocking remote desktop connections, you may encounter difficulties accessing the remote system.
How to fix Remote Desktop access denied [7 methods]
After figuring out why Remote Desktop "Access is denied", it's time to see how to fix the error effectively. Here are seven solutions you can try.
Method 1. Log in to the administrator account
Frequently, encountering the RDP "Access is denied" error indicates a deficiency in administrator privileges. Essentially, resolving this issue entails logging in with the admin account. Often, employing the remote desktop application under the administrator account effectively addresses the error. Therefore, ensure you adhere to this approach before exploring alternative methods.
Method 2. Add your user into Remote Desktop Users local group
An unauthorized account can be the main cause of Windows Remote Desktop access denied error. If so, you need to add the user into Remote Desktop Users local group.
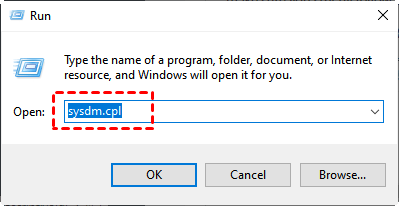
Step 1. On the computer that you want to access, press Win + R to invoke thbdialog box. Then type in sysdm.cpl and hit OK.
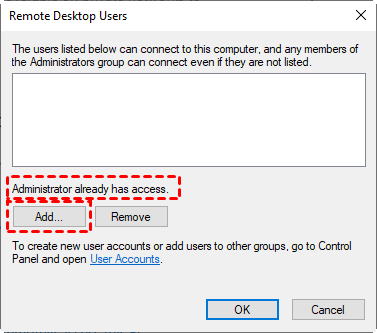
Step 2. In the System Properteis window, make sure Allow remote connections to this computer selected and click Select Users.

✐ Note: If Remote Desktop options greyed out, you can fix it from Registry or just switch to third-party remote access software for Windows.
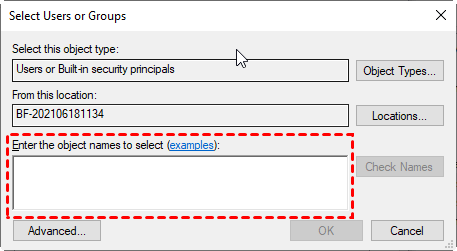
Step 3. Click the Add button.
Step 4. Under Enter the object names to select:, input the user name and click Check Names.
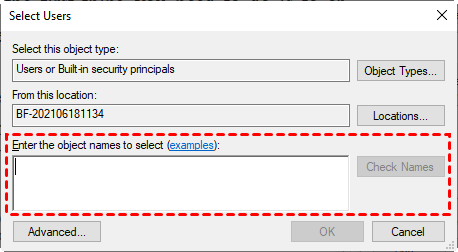
Then save the changes on the remote computer and try to use Remote Desktop connection to connect it again.
Method 3. Change Local Security Policy settings
Incorrect settings of Local Security Policy may be another cause of Remote Desktop access denied. You can follow the steps below to edit the Local Security Policy to fix this problem.
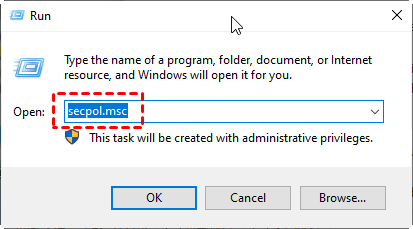
Step 1. Press Win + R to open the Run dialog box. Type in secpol.msc and press OK.
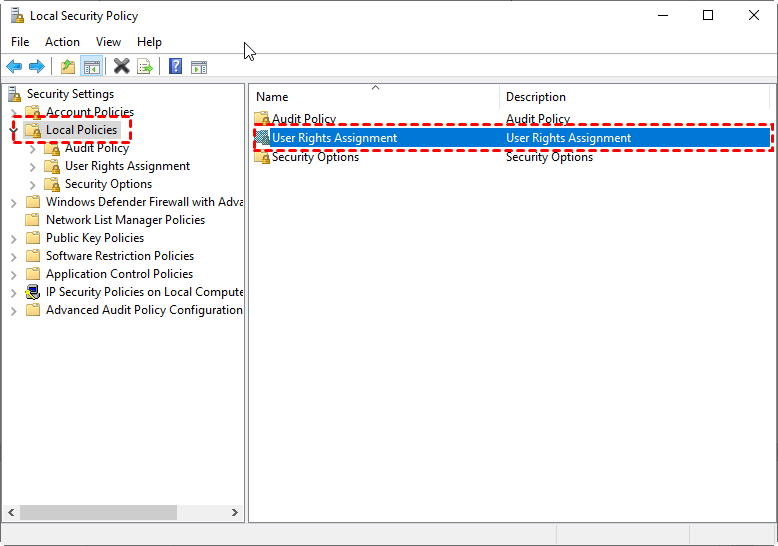
Step 2. Expand Local Policies and then select User Rights Assignment.
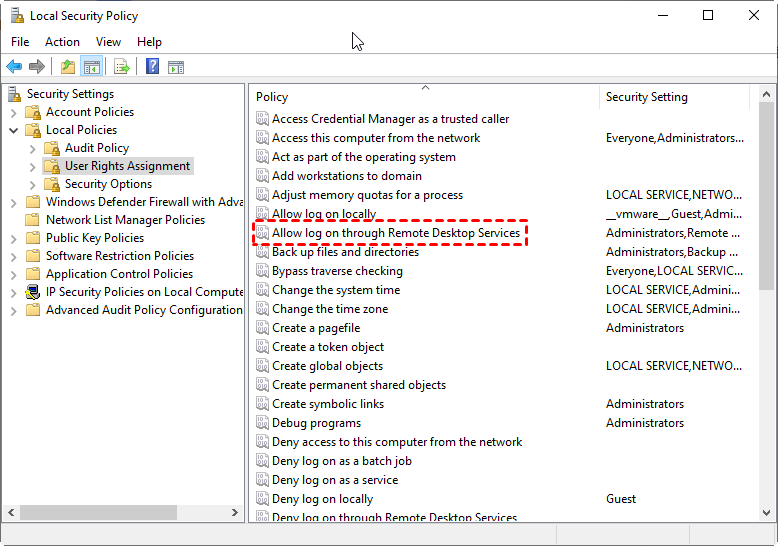
Step 3. Locate and double-click Allow log on through Remote Desktop Services in the right pane of User Rights Assignment.
Step 4. Click Add User or Group.
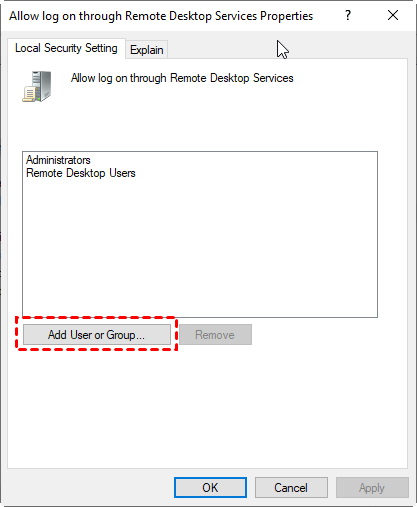
Step 5. Type in Remote Desktop user names and click OK.
Method 4. Set the Remote Desktop Services logon to Network Service
A user mentioned that he just ran into this issue and was able to resolve it by setting the Remote Desktop Services service logon to Network Service, and it was set to Local System before. Thus, we’ll try this method as well.
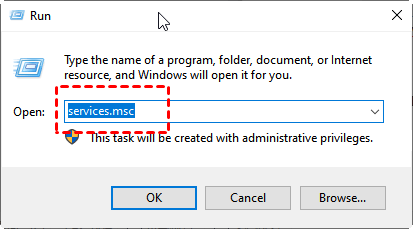
Step 1. Press Win + R to open the Run dialog box. Type in services.msc and press OK.
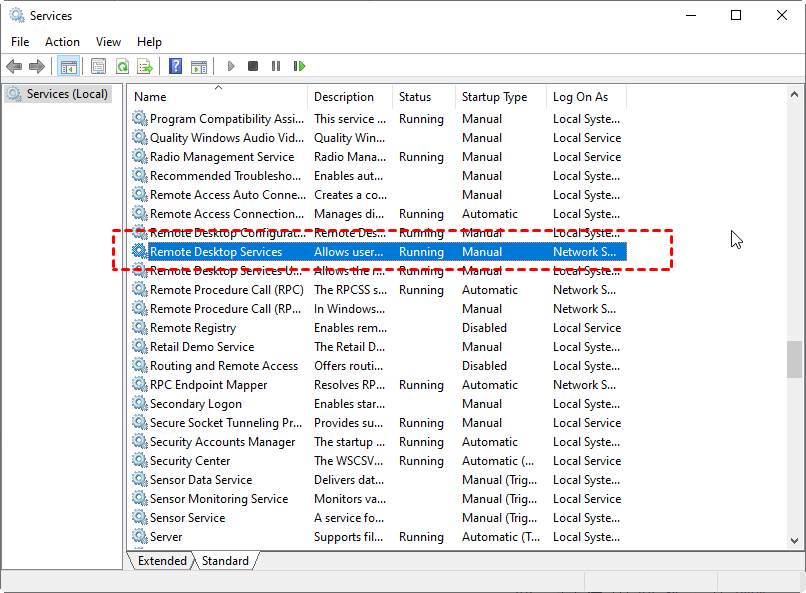
Step 2. Locate Remote Desktop Services and double-click it.
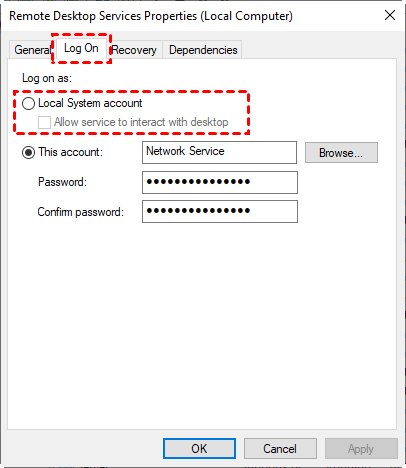
Step 3. Go to the Log On tab and make sure that the Local System account isn’t checked. Then click Apply and OK to save the change.
Method 5. Change Registry settings
Editing your registry is another method suggested by users. To resolve Windows Remote Desktop access denied problem, the Users group should be given specific rights.
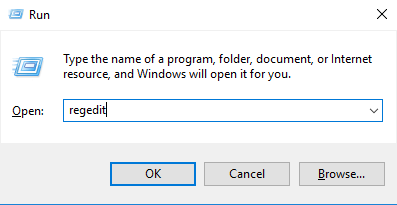
Step 1. Press Win + R to invoke the Run dialog box. Then type in regedit and hit OK.
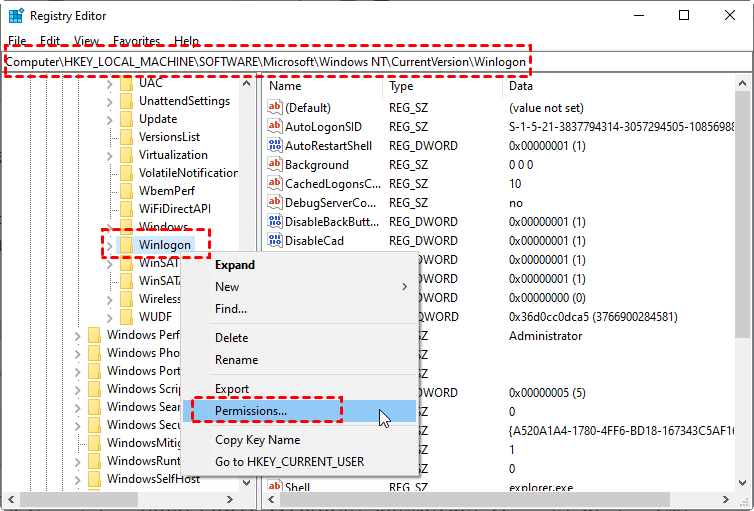
Step 2. Navigate here: HKEY_LOCAL_MACHINE > SOFTWARE > Microsoft > Windows NT > CurrentVersion > Winlogon. Right-click Winlogon and then choose Permissions.
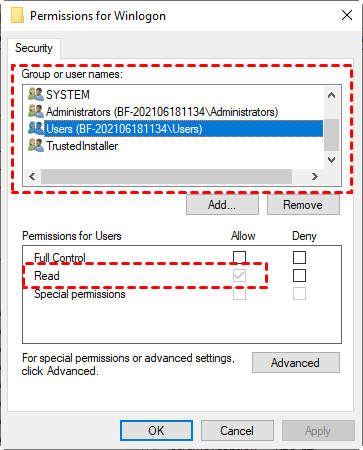
Step 3. Select user in the upper box. Then make sure that the user has Read permissions set to Allow in the lower box. Finally, click Apply and OK to save changes.
Method 6. Create a new DWORD
Some people suggest that adding a new DWORD to the registry may help solve Remote Desktop access denied problem. Thus, we’ll try this method as well to see if it can help you solve the Remote Desktop access denied problem.
Step 1. Press Win + R to invoke the Run dialog box. Then type in regedit and hit OK.
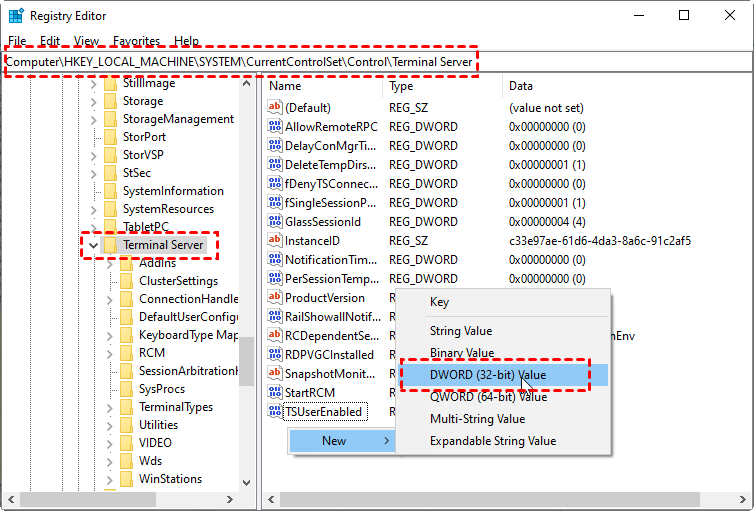
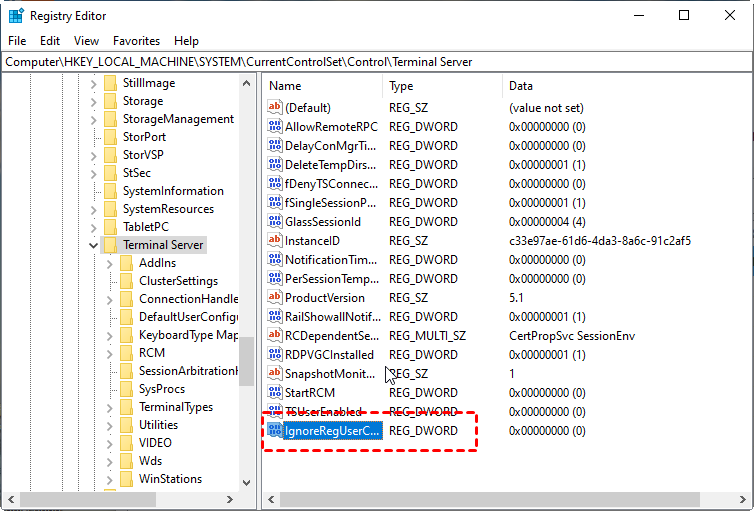
Step 2. Navigate here: Computer > HKEY_LOCAL_MACHINE > SYSTEM > CurrentControlSet > Control > Terminal Server. In the right pane, right-click the empty space and choose New >DWORD (32-bit) Value.
Step 3. Enter IgnoreRegUserConfigErrors as the name of the new DWORD and double-click it to open its properties.
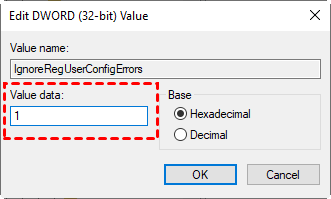
Step 4. Set the Value data to 1 and click OK.
Method 7. Troubleshoot & Reset the Windows
If none of the above fixes work, another option is to troubleshoot and reset the Windows.
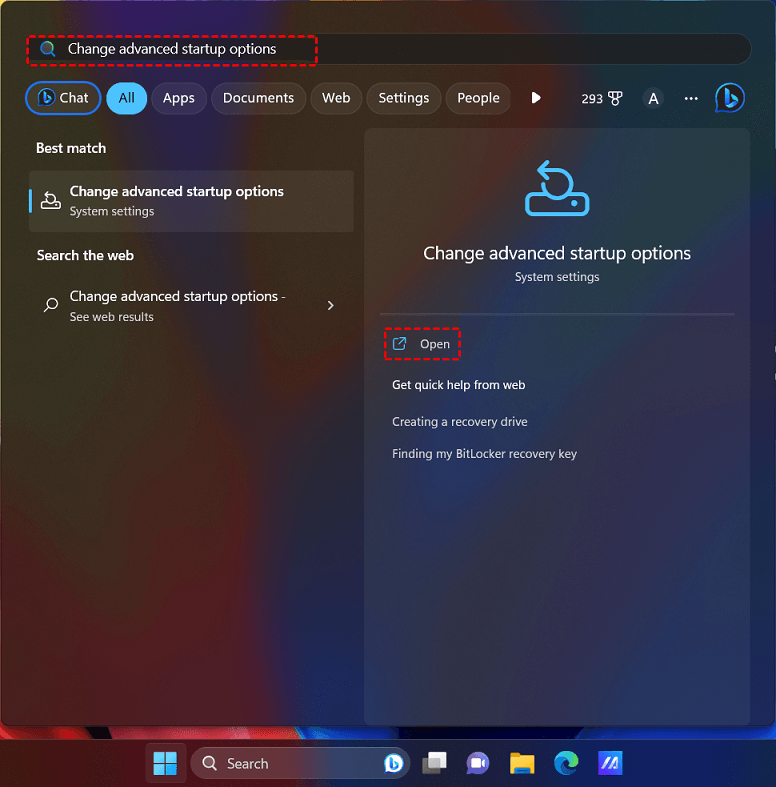
Step 1. Type and search for "Change advanced startup options" in the Windows search bar, then click "Open".
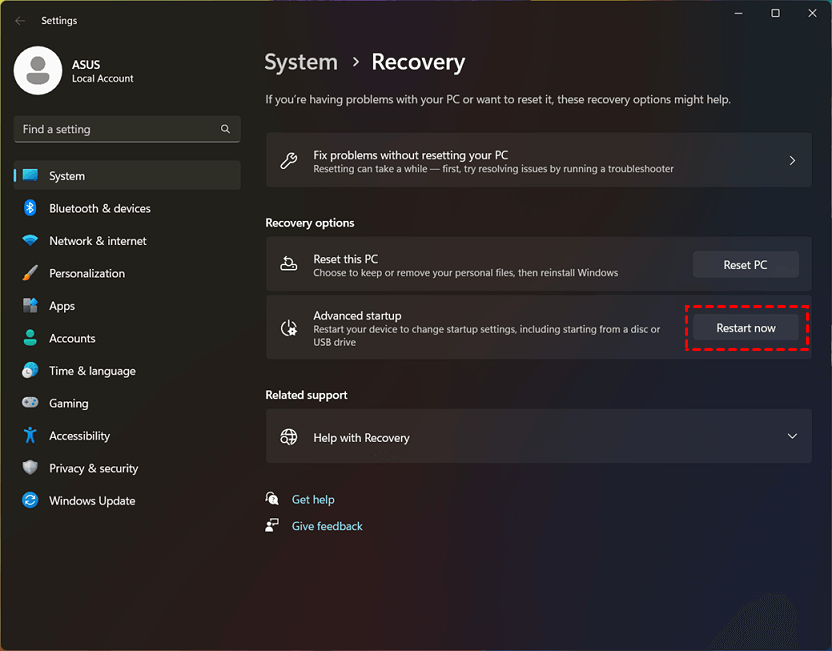
Step 2. Select "Restart now" within the "Advanced startup" section.
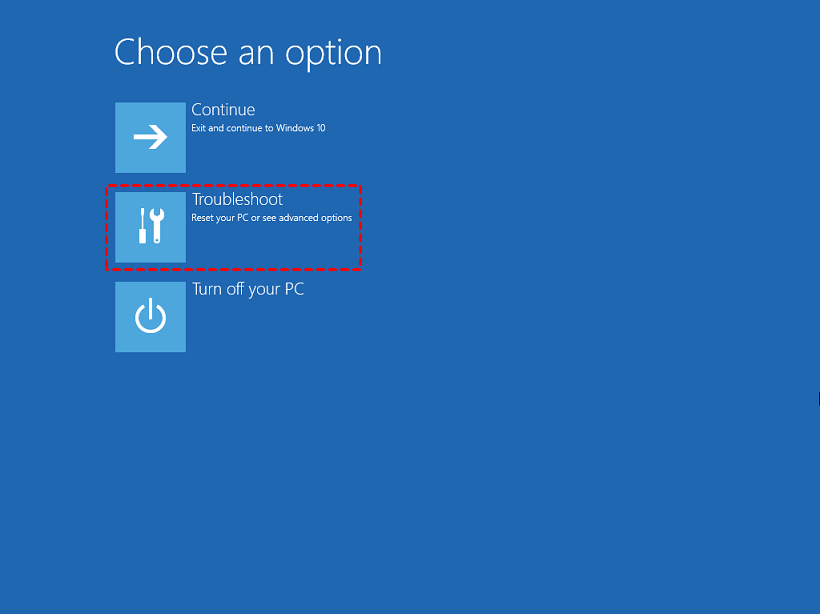
Step 3. Upon reboot, the system will initiate WinRE. Choose the "Troubleshoot" option from the menu.
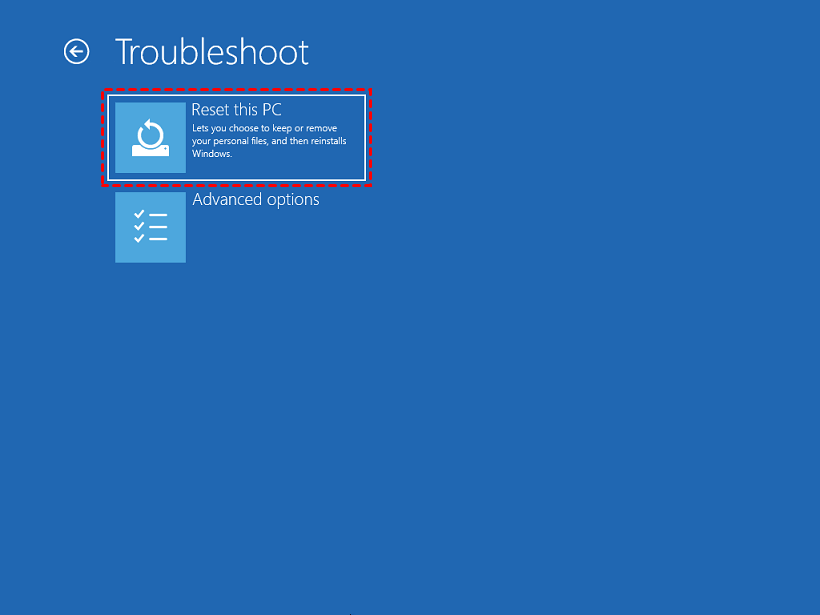
Step 4. Select "Reset this PC".
Step 5. Adhere to the provided instructions to effectively reset your system and rectify the "Access is denied" error on Windows.
Bonus tip: Error-free Remote Desktop alternative - AnyViewer
AnyViewer emerges as a user-friendly alternative to the Remote Desktop. This complimentary remote desktop application is compatible with Windows, iOS, and Android platforms. Developed by a skilled technical team, AnyViewer guarantees a seamless and intuitive keyboard interaction, providing a sensation akin to being physically present in front of the remote computer and effortlessly maneuvering its keyboard.
Beyond furnishing a fluid control interaction, AnyViewer presents a myriad of benefits over the traditional Remote Desktop, solidifying its position as the premier Remote Desktop substitute. For instance:
- AnyViewer offers complete accessibility to Windows Home/Standard editions, without any restrictions.
- Users have access to a diverse range of features, including text chat, flexible file transfer options, and the capability to run multiple sessions concurrently.
- AnyViewer is renowned for its intuitive interface and easy setup procedure. Even individuals with minimal technical knowledge can swiftly establish remote connections, without encountering intricate configurations.
- AnyViewer facilitates remote sessions without locking the host computer screen, making it ideal for remote sharing or providing remote support.
✍ Download it and see to access an unattended computer via the same account.
Step 1. Download, install, and launch AnyViewer on both computers. Go to Log in, and then click Sign up. (If you already have signed up on its official website, you can log in directly.)

Step 2. Fill in the signup information.

Step 3. Then you can see you successfully logged in to AnyViewer. Your device will automatically be assigned to the account you've logged in.

Step 4. Log in to the same AnyViewer account on the two devices, then click One-click control to achieve unattended remote access.

- Notes:✎...
- Additionally, you can change your account's plan to a Professional or Enterprise one. What a business or professional plan can provide for you is:
- More devices will be allowed to assign to the same account for unattended remote access.
- More connection channels for more devices to be able to start remote connection at the same time.
- One device can connect to more devices simultaneously.
- Black the remote PC screen and disable the remote keyboard & mouse click to protect privacy.
- Transfer 1TB files at 10 MB/s.
- Create groups for managing large numbers of devices conveniently.
- Several screen walls for monitoring multiple devices simultaneously.
Conclusion
In conclusion, resolving the Remote Desktop access denied error requires a systematic approach, considering various factors such as authentication issues, permissions settings, and network connectivity problems. By following the provided methods, including logging in with administrator privileges, adjusting security settings, and troubleshooting network configurations, users can effectively overcome this obstacle.
Additionally, exploring alternative solutions like AnyViewer can offer a seamless remote desktop experience with added features and flexibility. Whether addressing individual access issues or seeking a comprehensive remote desktop solution, understanding and implementing these strategies can enhance productivity and streamline remote work processes.
