
How to Fix: The Name of the Remote Access Server Did Not Resolve
How to fix the RDP error: the name of the remote access server did not resolve? Read this article to learn 7 solutions to ensure the remote connection work normally over VPN.
By Ellie / Updated on December 26, 2025
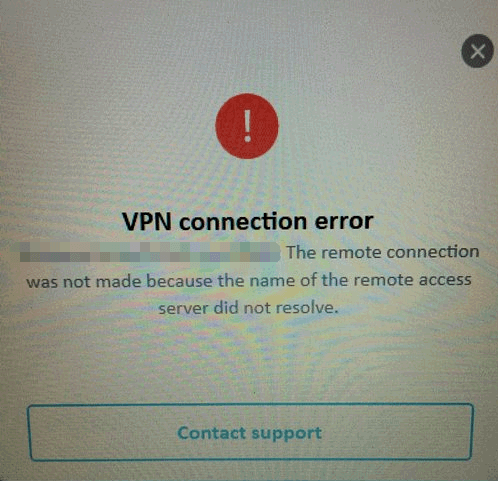
The name of the remote access server did not resolve
“I have used RDP and Active Sync on the local network for a long time, and they have been running normally. Until two weeks ago, an error message appeared on the Remote Desktop: The remote connection was not made because the name of the remote access server did not resolve over VPN, while Active Sync works normally. RDP shares the same IP address and VPN settings with AS, then why I’m unable to establish VPN connection?”
From the feedback of users receiving the above-mentioned error message when using VPN, this problem has existed for a long time and can be seen from Windows 7 to Windows 10. Here, we have summed up 7 solutions to help you solve this problem.
What causes the problem?
In fact, this error message “The remote connection was not made because the name of the remote access server did not resolve” is very common when using VPN. To fix this error message, we need to understand the cause of this error.
- VPN server. According to the user feedback, VPN server is the most common cause of the error.
- Network connection. The network connection of the Windows system may also cause the error. Specifically, it may due to DNS cache.
- Anti-virus software. The triggering rules of third-party anti-virus software are not the same, which may be the cause of the error.
How to fix "the name of the remote access server did not resolve"
In Windows 7, the error code of this error message is 868. In Windows 10, it no longer has an error code. But it can still be seen during VPN use. Here, we have summarized 7 solutions, and you can choose one of them.
Solution 1. Start the computer in clean mode
In fact, third-party applications or services interfere with the normal operation of Windows. This may be the reason of “The remote connection was not made because the name of the remote access server did not resolve” problem. Therefore, you can consider starting the computer in clean mode to see if VPN works normally now.
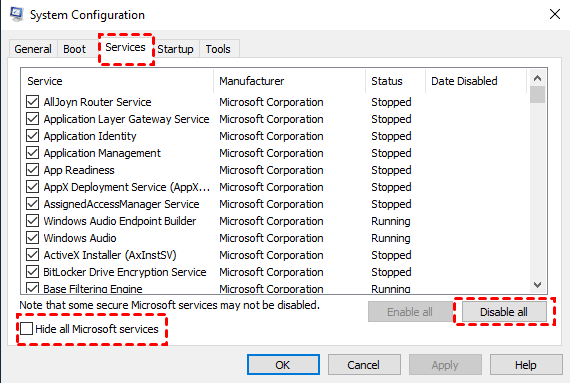
Step 1. Press Win + R to open the run dialog box, and type in “msconfig” to open System Configuration.

Step 2. Switch to the Services tab on the main interface, tick Hide all Microsoft services, and click the Disable all.
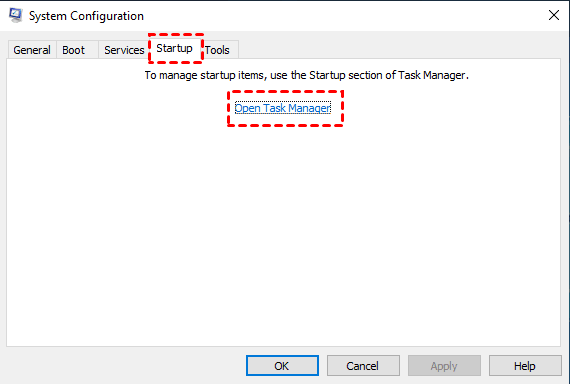
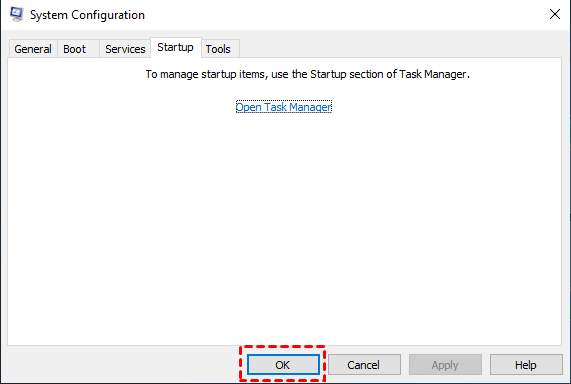
Step 3. Switch to the Startup tab and click Open Task Manager.
Step 4. In the list of started applications, select each item in turn, right-click and select Disable.
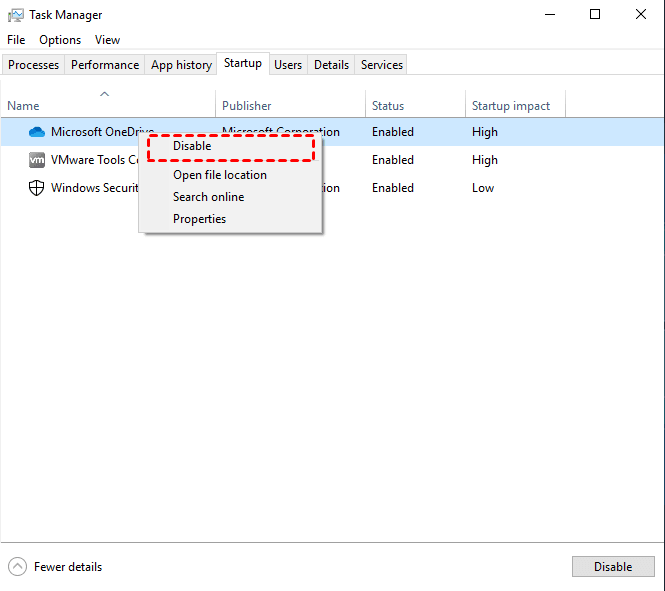
Step 5. After disabling all started applications, return to System Configuration, click OK and restart the computer.
Solution 2. Refresh DNS and reset Winsock
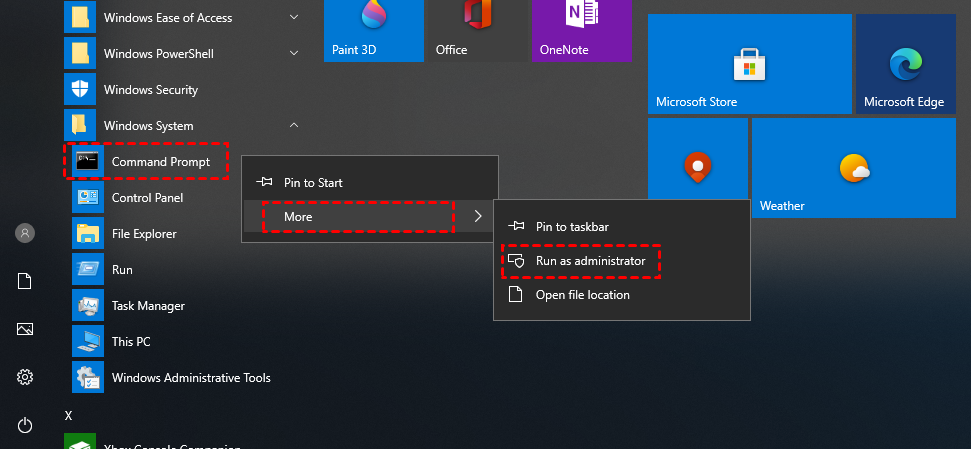
Step 1. Click Start, find Windows System and expand it. Right-click Command Prompt, select More, and click Run as administrator.
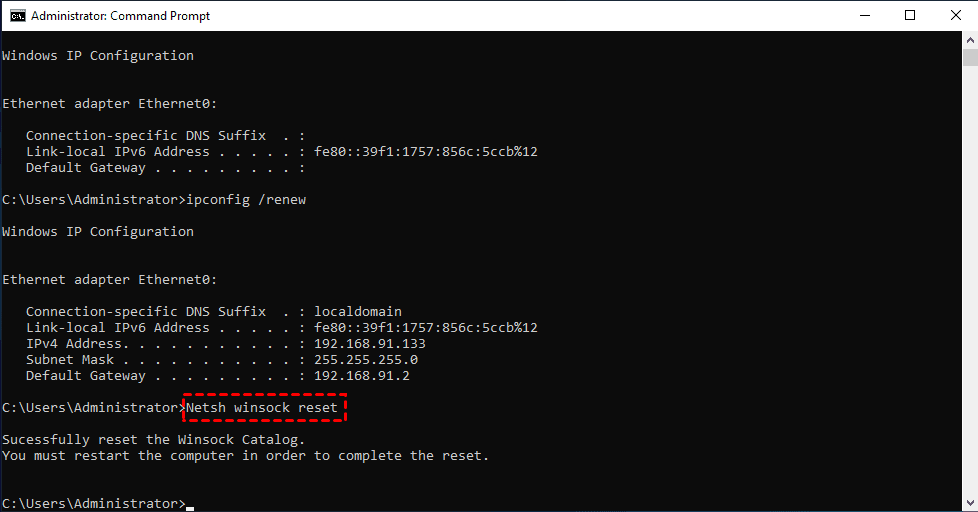
Step 2. Enter the commands “ipconfig /flushdns” and “ipconfig /registerdns” in turn
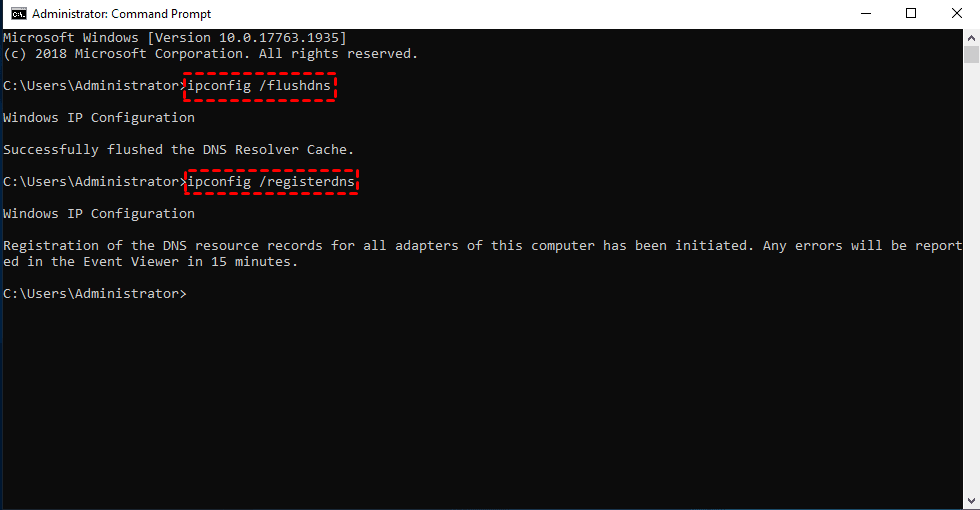
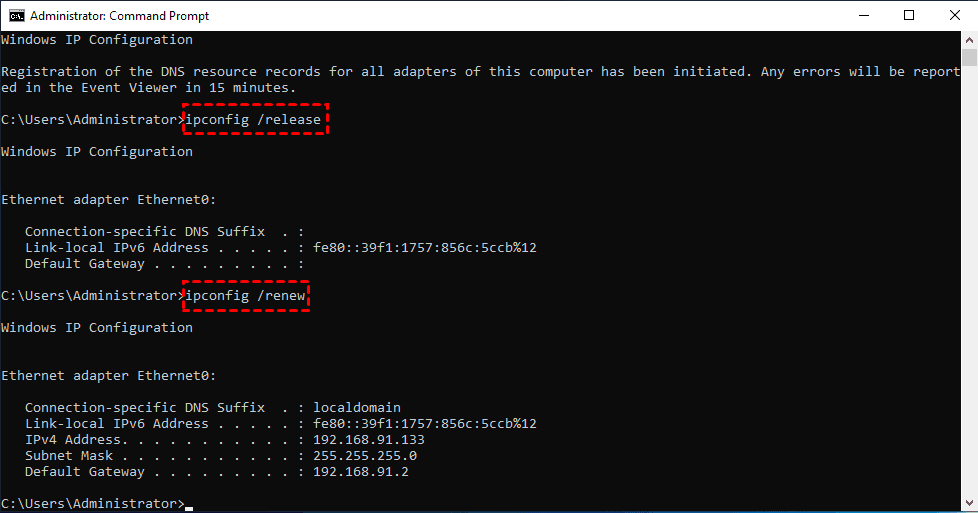
Step 3. Then enter the commands “ipconfig /release” and “ipconfig /renew” in turn to refresh the DNS.
Step 4: Enter the command “Netsh winsock reset” again and restart the computer as required to reset Winsock.
Solution 3. Use another DNS
If refreshing DNS and resetting Winsock can’t help you solve the problem, you might as well change DNS. For example, Google’s DNS server addresses 8.8.8.8 and 8.8.4.4 are a good choice (it is recommended that you take a screenshot to save the current DNS address in case you use it again later).
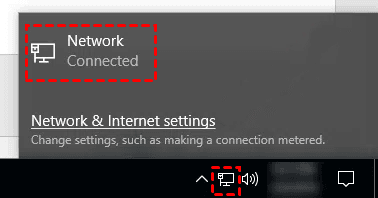
Step 1. Click the network icon on the taskbar in the lower right corner, and select Network in the expanded menu.
Step 2. Select Change adapter options under Related settings in the pop-up window.

Step 3. In the list of network connections, right-click the network connection you are currently using and select Properties.

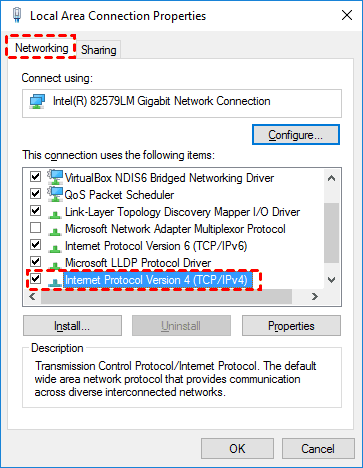
Step 4. Find Internet Protocol Version 4 (TCP/IPv4) in the pop-up window, and click Properties below.
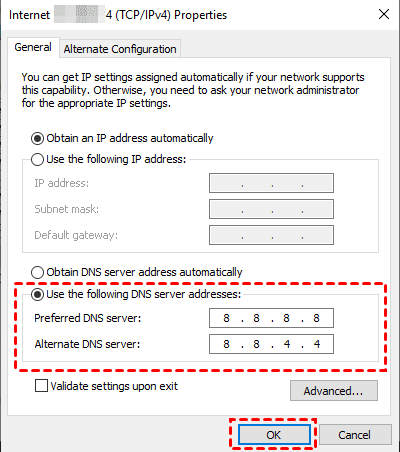
Step 5. Select Use the following DNS server address, enter “8.8.8.8” in the Preferred DNS server, enter “8.8.4.4” in the Alternate DNS server, and click OK.
Solution 4. Restart the Remote Access Connection Manager server
Remote Access Connection Manager (also known as RASMAN) is mainly responsible for handling services such as the connection between your computer and Internet/VPN. If this service does not work properly, all services that depend on it (including VPN) can’t work properly as well, so we need to restart it.
Step 1. Press Win + R to open the run dialog box, and type in “cmd” to open the Command Prompt.

Step 2. Enter “net stop RasMan” and press Enter. Then enter “net start RasMan” and press Enter to complete the restart of RASMAN.

Solution 5. Disable third-party anti-virus software
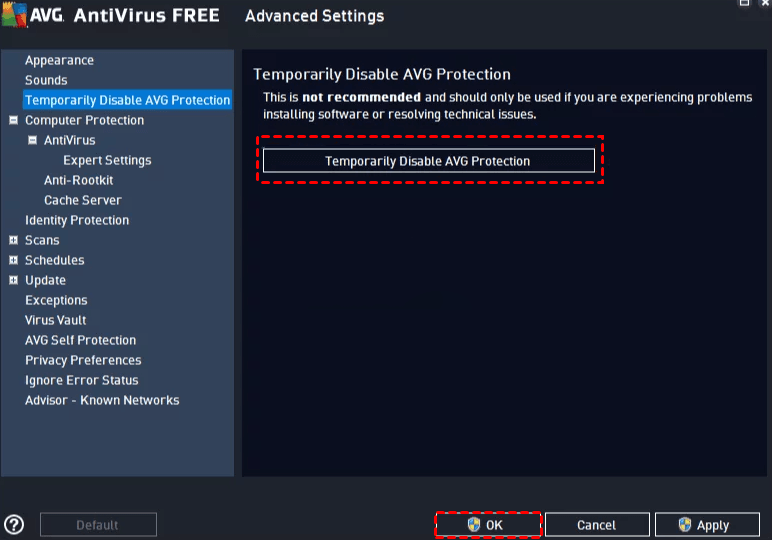
According to feedback from some users, third-party anti-virus software may interfere with the normal operation of Windows and VPN. Disabling it can help fix the error that the remote connection is not made because the name of the remote access server did not resolve. Take AVG Antivirus software as an example.
Run AVG on your computer, click Advanced Settings in the Tools menu. Click Temporarily Disable AVG Protection on the left pane and then select Temporarily Disable AVG Protection in the check box on the right, and click OK.
Solution 6. Turn off Windows Defender Firewall
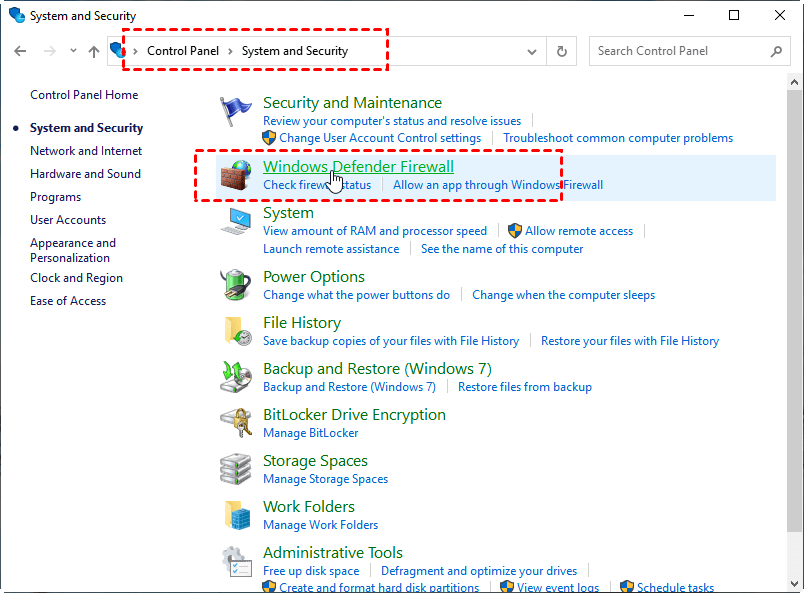
The main function of the Windows Defender Firewall is to manage incoming and outgoing connection requests. In some cases, it may block VPN connection requests. Therefore, we need to disable it to fix the problem.
Step 1. Navigate here: Control Panel > System and Security > Windows Defender Firewall.
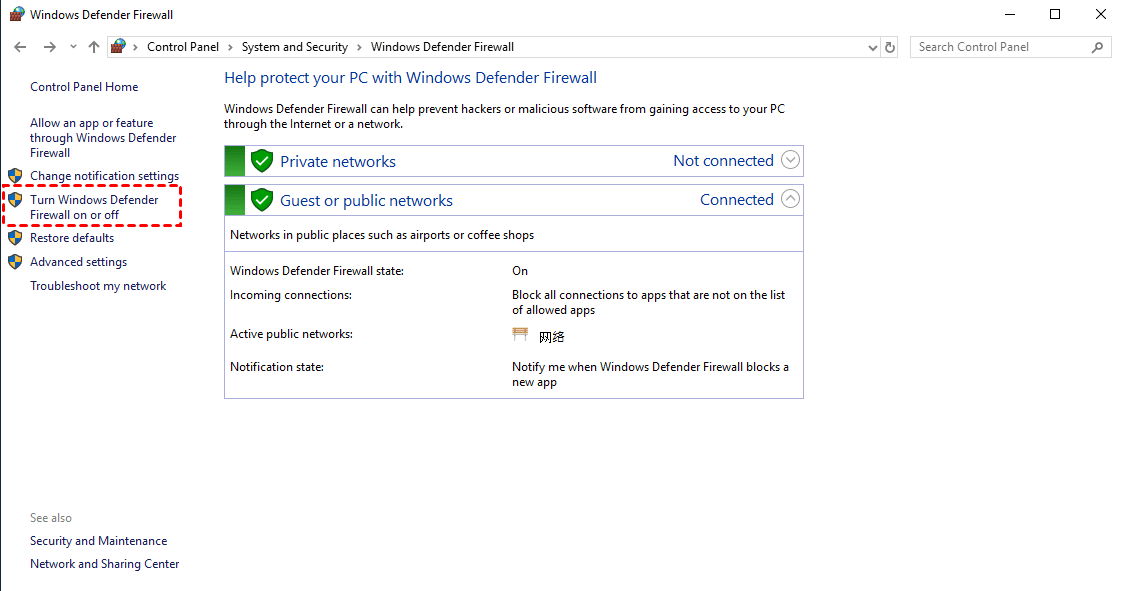
Step 2. Click Turn Windows Defender Firewall on or off in the left sidebar.
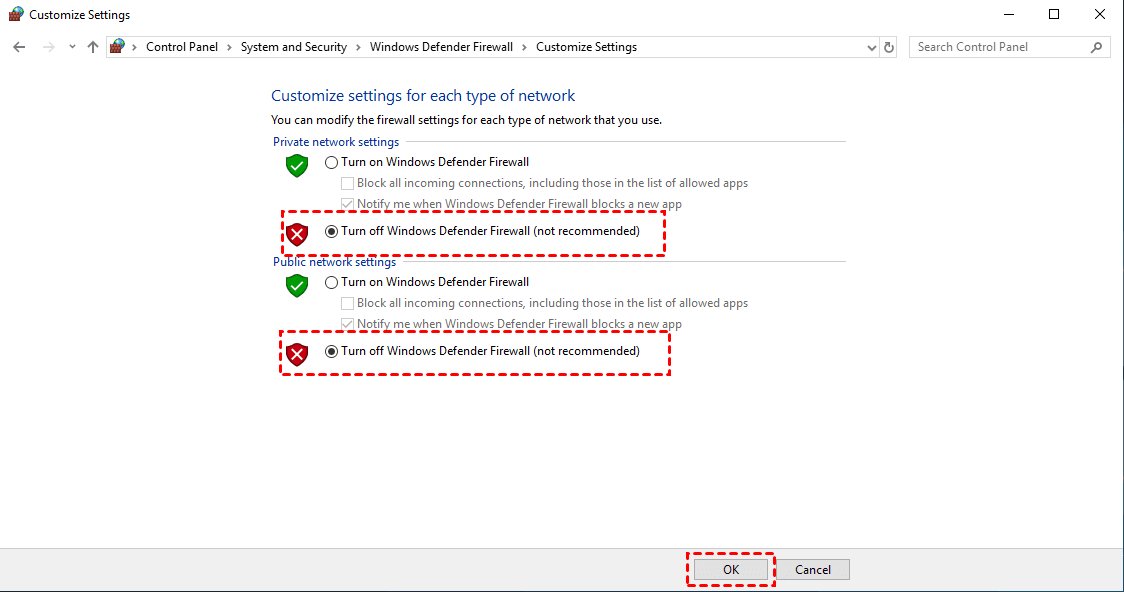
Step 3. Select Turn off Windows Defender Firewall under the Private network settings, and select Turn off Windows Defender Firewall under the Public network settings.
Solution 7. Disable proxy settings
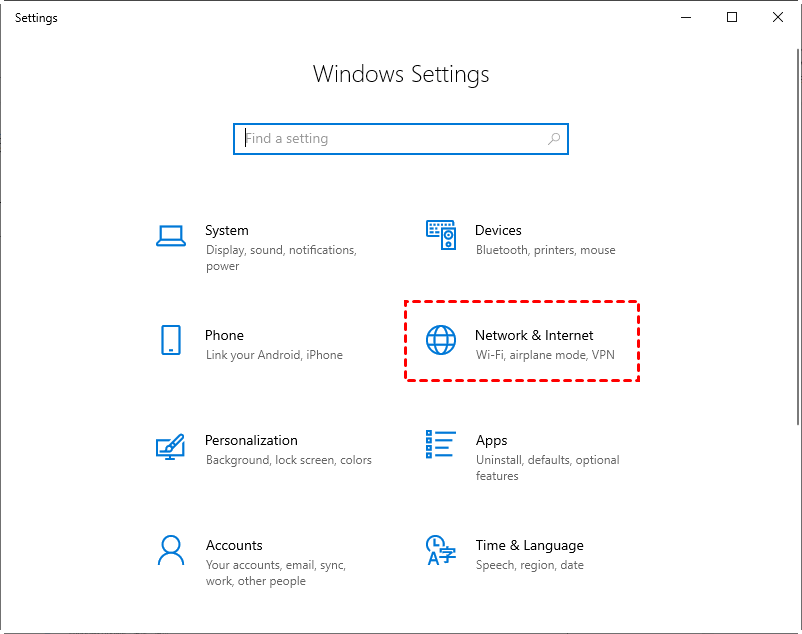
Step 1. In the Start menu, click Settings and find Network and Internet.
Step 2. Find and click Proxy in the left sidebar, and switch Automatically detect settings and Use settings script options on the right to off.
Free yet professional remote control software: AnyViewer
AnyViewer is a free yet professional remote control solution for multiple Windows versions, from Windows 7 to Windows 11. It is easy to operate. You only need a few steps to achieve unattended remote access. Besides, it provides users with practical features, like file transfer between remote computers, quick remote restart, quick remote shutdown, etc.
Preparation work:
- Connect the client computer (the controller computer) and the host computer (the controlled computer) to the Internet.
- Download and install AnyViewer on the client computer and the host computer respectively.
Part 1. For unattended remote access with one-click
Step 1. Launch AnyViewer on both computers. Go to Log in, and then click Sign up. (If you already have signed up on its official website, you can log in directly.)

Step 2. Fill in the signup information.

Step 3. Then you can see you successfully logged in to AnyViewer. Your device will automatically be assigned to the account you've logged in to.

Step 4. Log in to the same AnyViewer account on the two devices, then you can achieve a direct connection by clicking One-click control to achieve unattended remote access.

Part 2. Two more connection methods of AnyViewer
If you do not want to log in to the same account on the two devices for any reason, we also provide you with other two connection methods. But you should note that you're unable to transfer files between computers using these two connection methods, as this is a function for logged-in users.
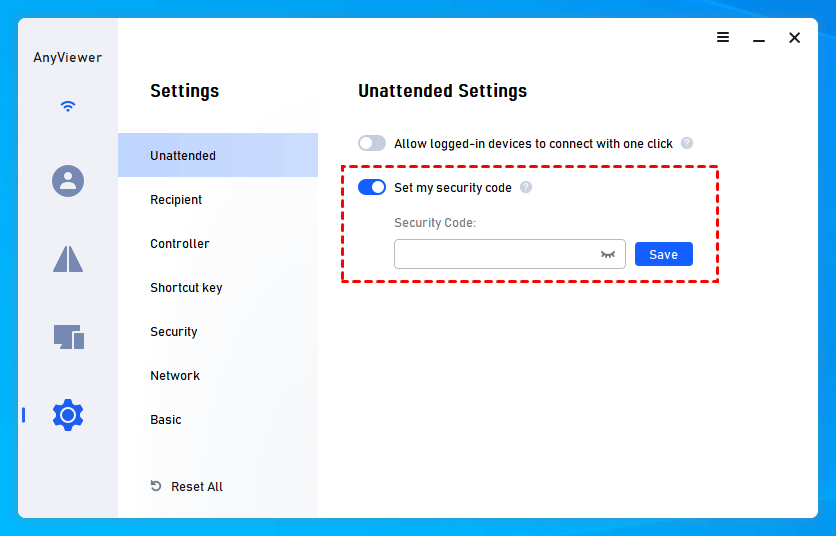
Step 1. On the host computer, click on Setting and then Recipient. Tick the third option. Then set the security code you want in the box. Then click OK to finish the set-up process.
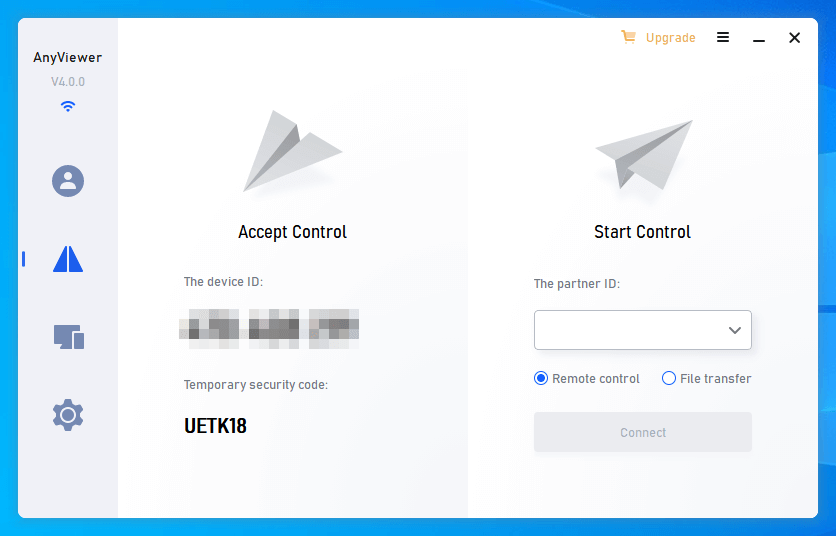
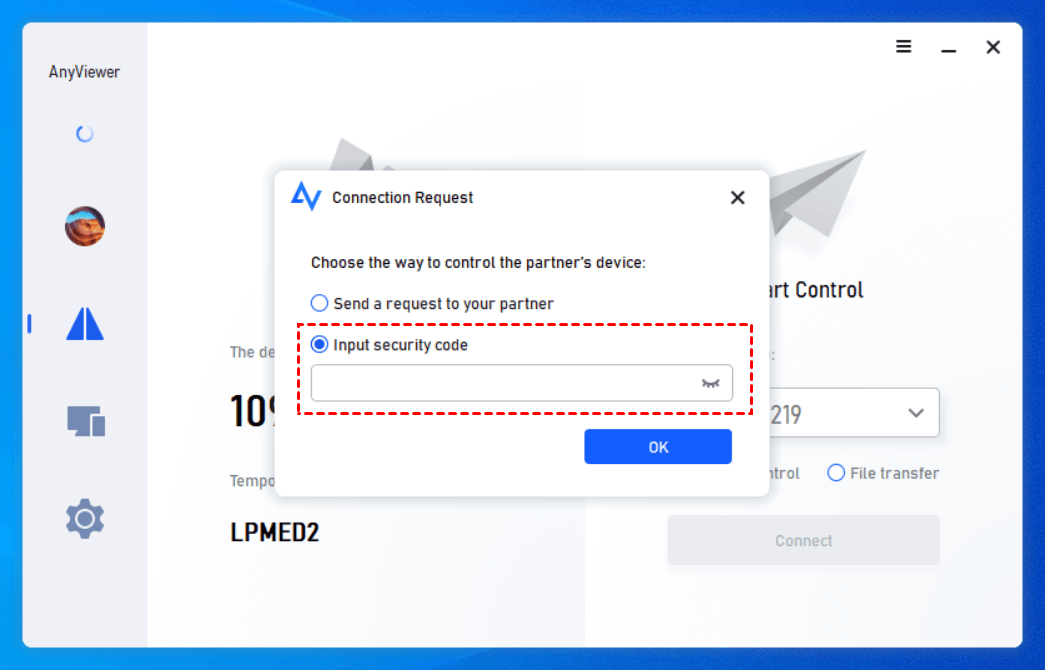
Step 2. On the client computer, enter the device ID of the host computer. After entering the device ID, you’ll be given two options.
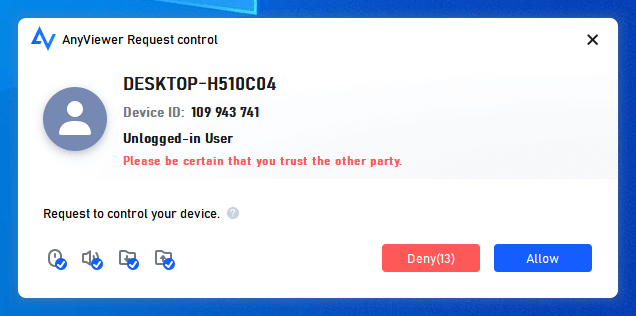
Option 1: You can send a control request; then the host computer will receive a pop-up request. People sitting in front of the host computer could either allow it or deny it.
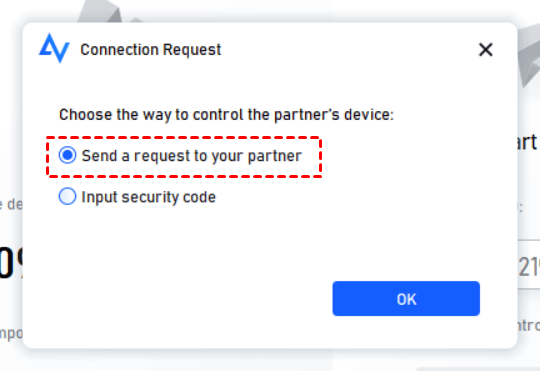
Option 2: You could also input a security code of your home PC to achieve remote assistance directly. You can either input a permanent security code or a temporary security code.
Conclusion
If you happen to encounter a "The remote connection was not made because the name of the remote access server did not resolve" problem, you can try the 7 methods mentioned in this article. If none of the above methods can fix this error, how to realize remote control when the two computers are in different network environments? Try AnyViewer, free third-party remote control software which allows you to control any PC remotely.
