
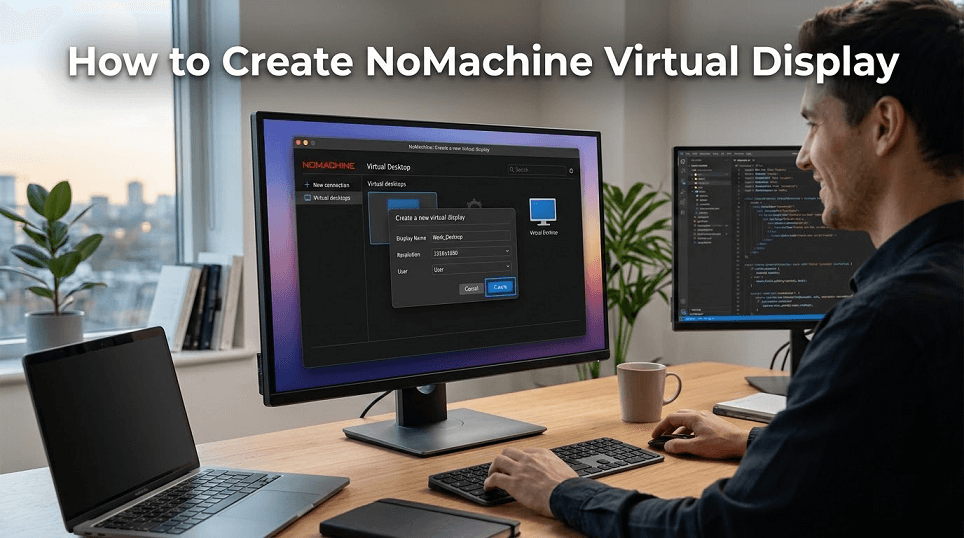
How to Create NoMachine Virtual Display
This guide breaks down NoMachine's virtual desktop logic by OS, offering setup steps for Linux and a software-based, hardware-free virtual screen alternative for Windows and Mac users.
By Ellie / Updated on March 17, 2026
Remote desktop technology has evolved from a simple convenience to a critical infrastructure component. Among the top-tier solutions, NoMachine stands out for its low-latency protocol and robust handling of graphical environments. However, for many users, the concept of a NoMachine virtual display remains a point of confusion, largely because the software treats different operating systems with entirely different logic.
In this guide, we will break down how NoMachine handles virtual sessions, how to fix common headless server issues, and explore a hardware-free alternative for those needing an expanded workspace.
NoMachine Virtual Display: Linux vs. Windows & Mac
NoMachine handles "virtual displays" differently depending on your operating system and license. For users who need to NoMachine create virtual display sessions on a headless machine or a separate session from the one currently on the monitor, here is how the logic works:
1. The Linux Exception (Virtual Desktops)
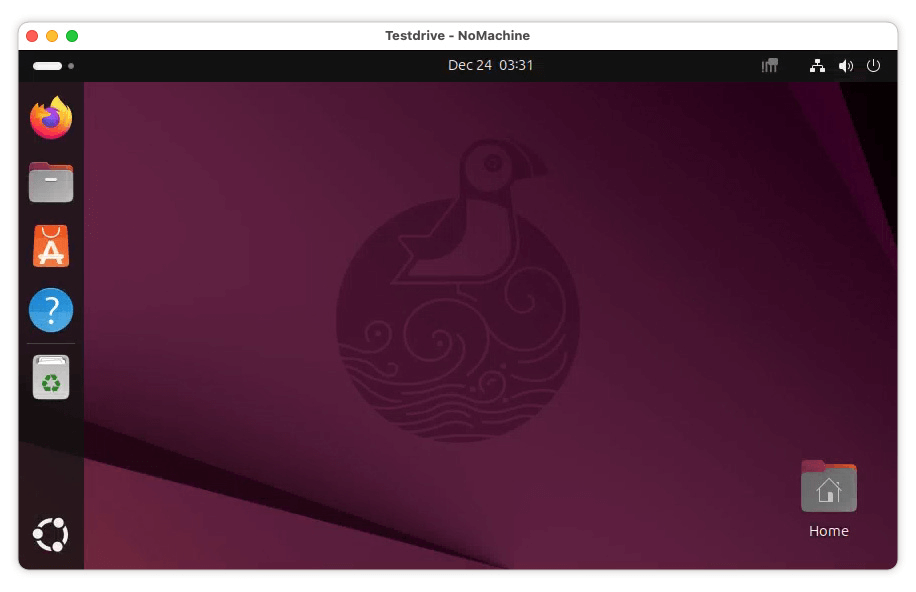
Linux is the only platform where NoMachine provides true Virtual Desktops. This means a user can connect and start a brand-new desktop environment (like GNOME or XFCE) that exists only in the system's memory, completely independent of the physical monitor.
- Free Edition: For NoMachine virtual desktop Linux users on the free tier, the software attempts to find a running X server. If it cannot find one (common on headless servers), it will start its own embedded X server to create a single virtual display.
- Enterprise/Terminal Server: These editions allow multiple users to create independent virtual sessions simultaneously on the same server.
2. Windows & macOS (Physical Only)
On Windows and macOS, NoMachine does not support creating true virtual desktops. You are always connecting to the "Physical Display" (the actual desktop you would see if a monitor were plugged in).
- The "Headless" Problem: If no monitor is attached to a Windows/Mac host, the GPU may turn off, resulting in a black screen or low resolution (e.g., $800 \times 600$).
- The Solution: Use an HDMI/DisplayPort Dummy Plug (a "Ghost Plug"). This tricks the OS into thinking a 4K monitor is attached, allowing you to use the "Virtual" space of that fake monitor at high resolutions.
How to Create Virtual Desktops on Linux
To use a NoMachine virtual display on Linux, you typically need a NoMachine server product such as the Workstation or Terminal Server (or their evaluation versions). Follow these steps to initiate a session:
Step 1: Verification of Prerequisites
- Ensure NoMachine Workstation or Terminal Server is installed on the Linux host.
- Ensure a desktop environment (GNOME, XFCE, MATE, etc.) is installed.
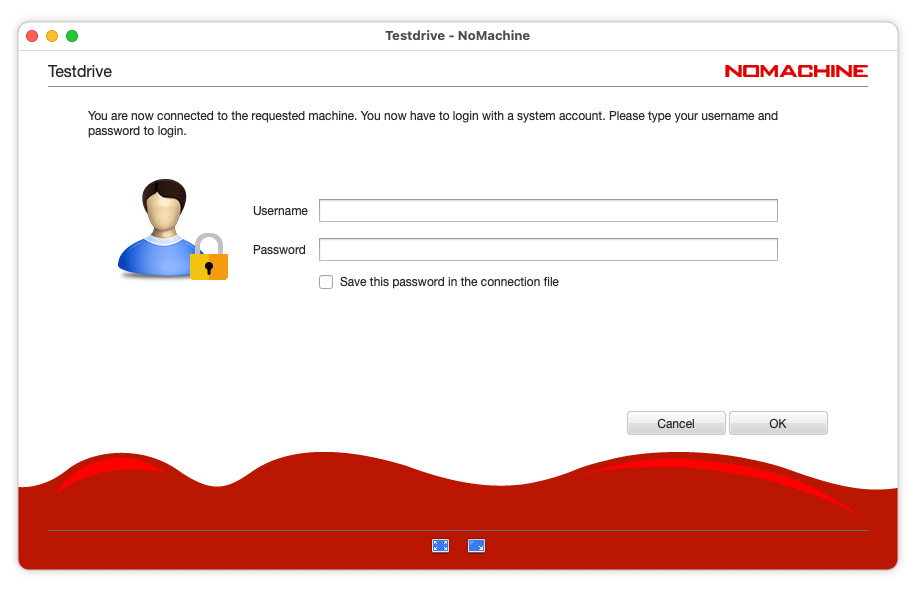
Step 2: Connection and Authentication
- Launch the NoMachine client on your local device.
- Add the IP address of the Linux host and click Connect.
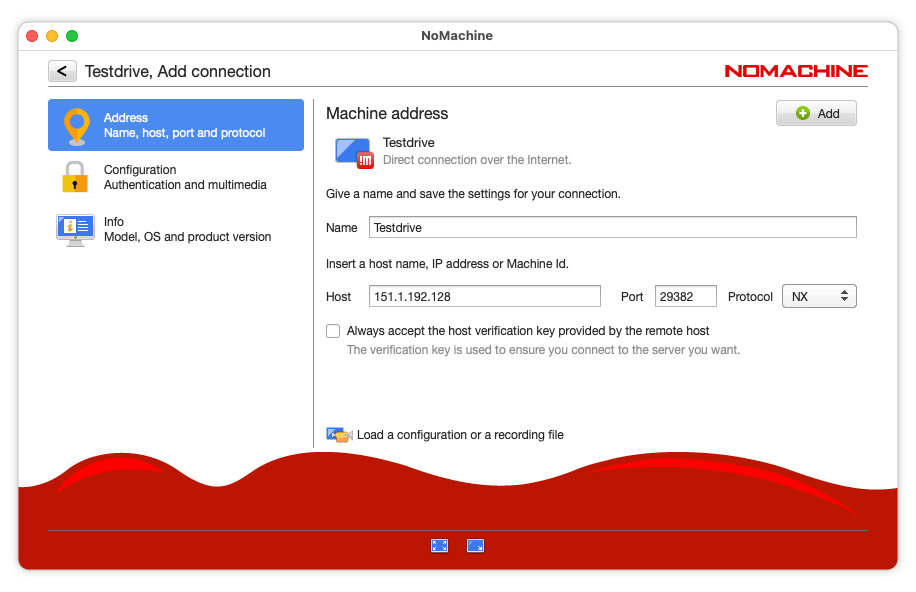
- Enter your Linux system credentials.
Step 3: Creating the New Session
- Once authenticated, you will reach the "Recent sessions" or "All desktops" screen.
- Click the link labeled "Create a new desktop or custom session."
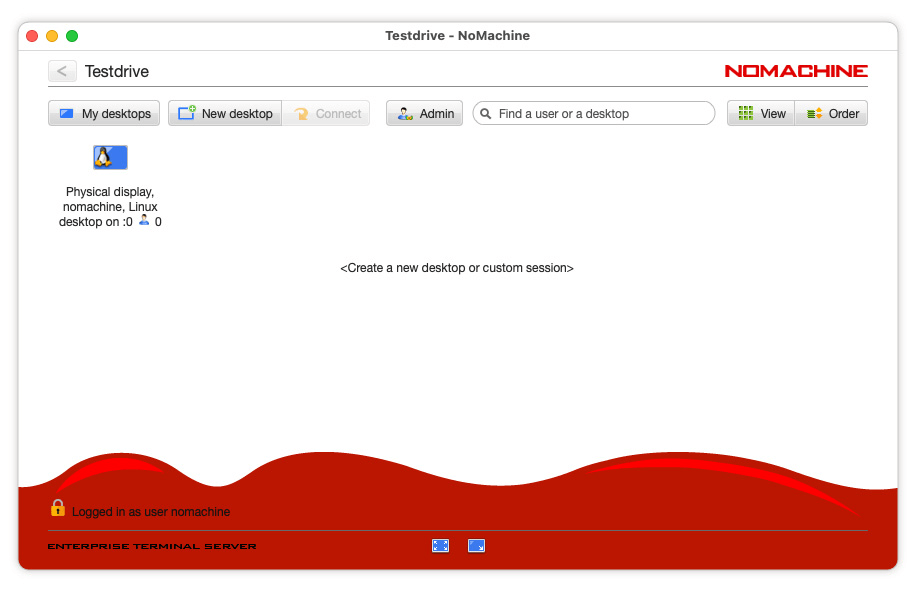
- If multiple desktop environments are installed, NoMachine will list them. Select your preferred one (e.g., Ubuntu Default or XFCE).
- The server will now initialize a new X session. You are now working on a true virtual display that does not exist on the remote monitor.
Step 4: Manual Trigger for Headless Systems
If you encounter a black screen on a headless Linux box, the local display manager might be interfering. You can force the NoMachine virtual service by running:
- sudo systemctl stop display-manager
- sudo /usr/NX/bin/nxserver --restart
A Modern Alternative: Creating Virtual Screens with AnyViewer
While NoMachine is a power player in the Linux world, its reliance on physical displays for Windows and macOS creates a hurdle. Traditionally, users had to buy "HDMI Dummy Plugs" to trick their computers into enabling high resolutions.
AnyViewer provides a modern, software-based remote desktop solution that specifically targets this weakness, making it a superior choice for Windows and Mac users who need expanded screen real estate.
Why AnyViewer is the Superior Choice for Virtual Expansion
- No Hardware Required (Win/Mac): Unlike some tools that require physical “ghost plugs,” AnyViewer can create up to three virtual screens through software. This lets you use a multi-monitor setup on a headless machine without extra hardware.
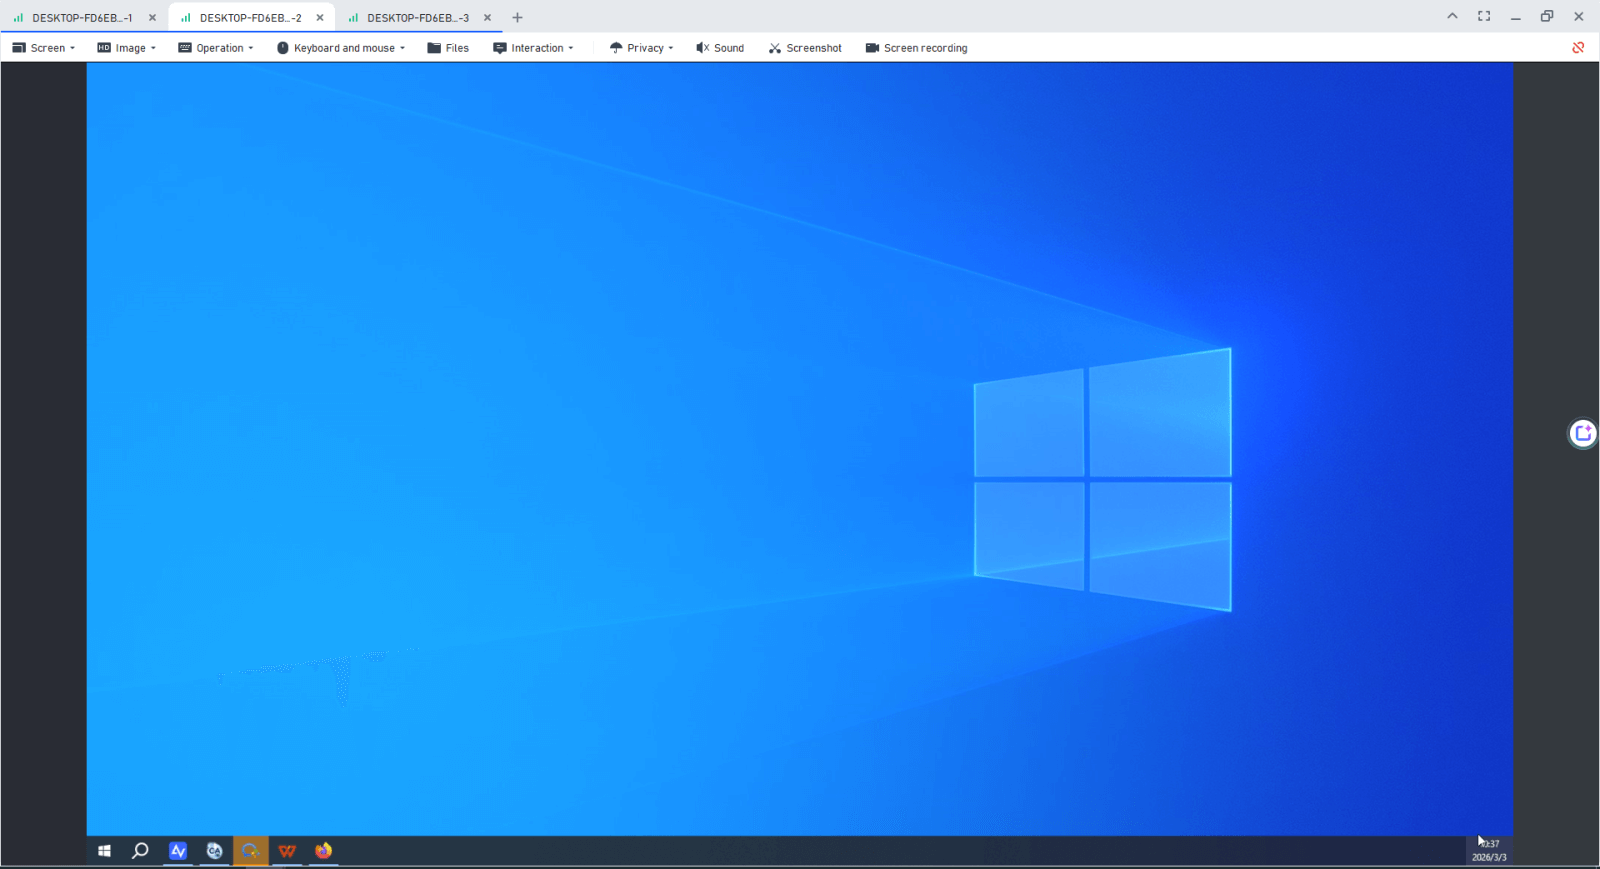
- Simple Multi-Monitor Workflow: AnyViewer lets you run different apps on separate virtual screens and switch between them easily, just like using real multiple monitors.
- Smooth High-Resolution Performance: It’s optimized for high frame rates, so even with multiple virtual screens, latency stays low and the experience remains smooth.
- Flexible Window Management: You can open remote screens in separate windows and move or arrange them freely for better multitasking.
- Stable Headless Access: Because the display driver works at the software level, AnyViewer avoids common headless issues like black screens or low resolution.
How to Create a Virtual Screen in AnyViewer
Step 1. Open the software and start a remote control session to your target PC.

Step 2. In the remote session window, look at the toolbar at the top.
Step 3. Click on the Screen tab.
Step 4. Choose Virtual Screen from the dropdown menu and select how many monitors you want (up to 3).
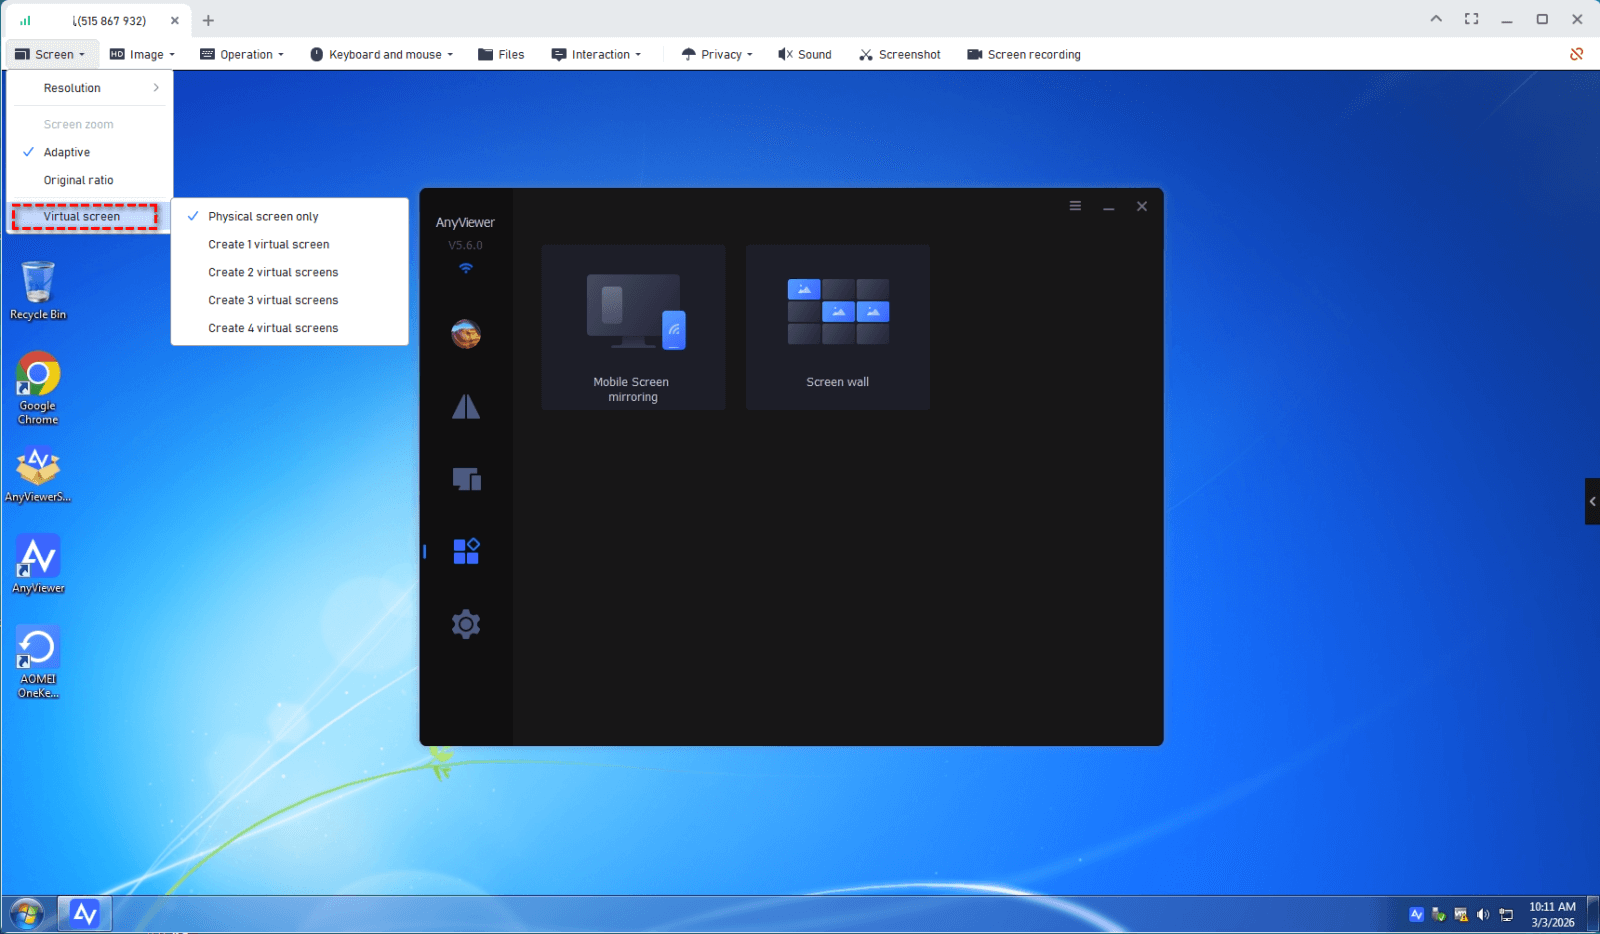
Step 5. Your virtual screens are now active. You can move windows across the "invisible" edges to the new virtual displays.
Conclusion
Choosing the right NoMachine virtual display setup depends entirely on your environment. If you are a Linux power user, NoMachine offers unparalleled native virtual desktop capabilities. However, if you are working on Windows or macOS and want to avoid the clutter of hardware dummy plugs, a NoMachine alternative like AnyViewer provides a more streamlined, software-based approach to expanding your remote workspace.
