
Best Remote IoT Device Access: 5 Options Compared
Choosing the best remote IoT device access starts with the task, not a feature list. Compare five options for desktop support, local dashboards, Linux maintenance, and cloud-connected equipment, then use a practical checklist to validate your choice.

By Ellie / Updated on November 10, 2026


Which Is The Best Remote IoT Device Access Option?
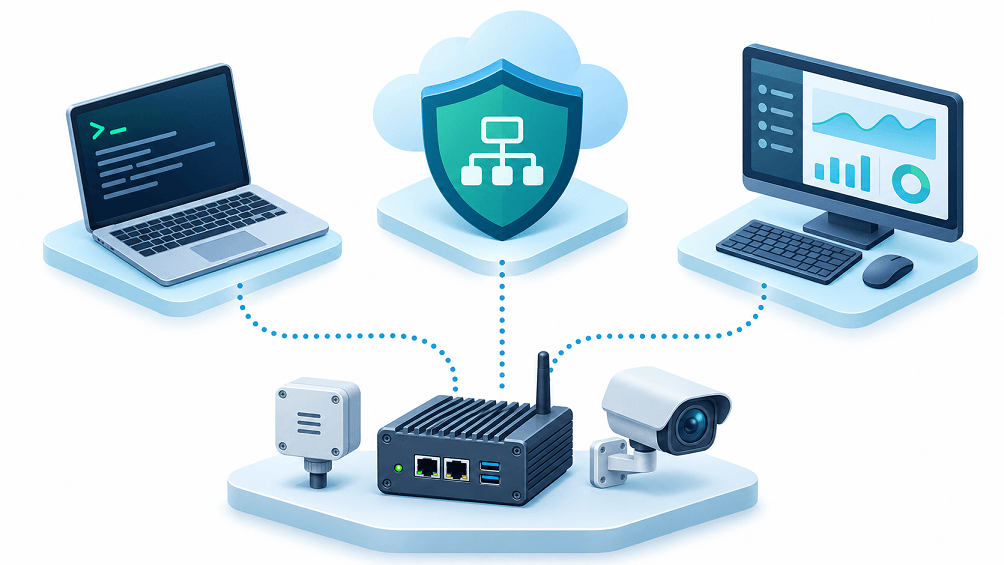
The best remote IoT device access option depends on what you need to reach. Choose remote desktop software for an onsite management computer, private networking for local dashboards, and an IoT access agent or managed tunnel for supported Linux devices. A single tool rarely fits every endpoint.
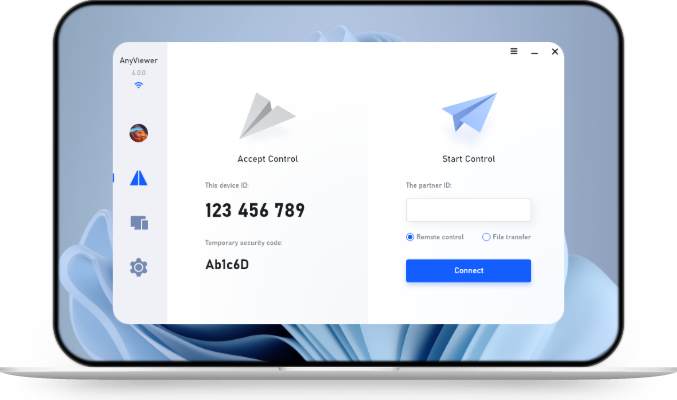
AnyViewer is a practical choice when your IoT workflow depends on Windows management software already installed onsite. It lets you operate that computer remotely; it does not provide a native agent for every sensor or replace a fleet-management platform. This guide compares five approaches by task rather than claiming one universal winner.
Only access devices, accounts, and files that you own or are explicitly authorized to use.
Compare Five Remote IoT Access Options
These are scenario-based selections from documented capabilities, rather than results from a hands-on performance benchmark. Check the current operating-system requirements and service limitations before deployment. Costs depend on endpoints, technician access, infrastructure, and the maintenance work your team can absorb.
| Option | Strongest Fit | Important Boundary |
| AnyViewer | Remote operation of an onsite management PC | Accesses the PC, not every embedded device |
| Tailscale | Private access to local IP services | Routing and access policies need setup |
| SocketXP | Agent-based access to supported Linux devices | Requires compatible hardware and services |
| Raspberry Pi Connect | Remote access to supported Raspberry Pi systems | OS and desktop requirements apply |
| AWS IoT Secure Tunneling | Maintenance within an AWS IoT workflow | Requires device-side preparation and AWS permissions |
What To Check Before Selecting A Tool
- Endpoint compatibility: identify the operating system, CPU architecture, available storage, and whether an agent can be installed.
- Required interface: choose a desktop, SSH terminal, local HTTPS dashboard, or vendor cloud app based on the actual maintenance action.
- Network path: confirm how the solution works behind NAT, cellular connections, and the site firewall.
- Access control: review user identity, device permissions, revocation, and any required activity records.
- Recovery plan: decide who can restore connectivity when the gateway, host PC, or power supply fails.
1. AnyViewer For IoT Management Computers
Choose this approach when a technician normally sits at a Windows PC to use a vendor utility, review a dashboard, or export diagnostics. Remote access to that existing workstation preserves its installed software and local network position, which can be more useful than adding another interface to each device.
For example, a small facilities team might use one onsite PC to inspect environmental sensors. Through the remote desktop, the technician opens the same utility and checks the same readings. This is an illustrative workflow, not a measured customer result. The PC still needs permission and connectivity to reach those sensors.
- Unattended Remote Access: Establish instant, permission-free connections to offsite IoT gateways, servers, and unattended devices using unattended remote access. IT administrators can perform routine maintenance, deploy software patches, and execute system reboots at any time without requiring an on-site user to accept the connection.
- Privacy Mode & Black Screen: Protect physical displays and block local peripheral input (keyboard and mouse) during remote maintenance using our advanced privacy mode capabilities. This ensures that sensitive operational data or interactive diagnostic sessions remain invisible to anyone near the physical hardware.
- Simultaneous Multi-Screen Tracking: Managing dozens or hundreds of distributed endpoints is effortless with AnyViewer's screen wall feature. Monitor multiple remote terminal displays or IoT interfaces from a single centralized dashboard in real time, drastically cutting down manual check-in times and reducing site-visit travel costs.
- Remote File Transfer: Swiftly move diagnostic logs, firmware packages, system updates, and configuration files between local and remote nodes with high-speed file transfer. Built-in encryption and resume capabilities ensure secure, fault-tolerant data migration across complex networks.
- Low-Latency Stream Handling: Enjoy smooth, responsive remote control even over variable or constrained network paths, enabling precise configuration changes, script execution, and troubleshooting without frustrating lag.
If that matches your workflow, start with AnyViewer remote access on one noncritical management PC. Typical connections do not require manual router port forwarding, but organizational firewall policies and endpoint permissions still apply.
This option is less suitable when you only need an embedded Linux shell, automated telemetry collection, or fleet-wide software rollout. It also cannot restore an offline PC by itself. For several sites or technicians, compare AnyViewer plans against the access and administration requirements you actually need.
2. Tailscale For Private Access To Local Services
Consider private networking when you need to reach a gateway web console or another IP-based service from your own computer. Tailscale subnet routers can provide access to devices that cannot run the client themselves, using a configured routing host.
The trade-off is network administration. Confirm advertised routes, route approval, access policies, and return traffic. Overlapping address ranges at different sites can also complicate the design. A successful private-network connection does not grant application credentials or automatically cross every isolated network segment.
Best fit: teams that want several approved local services reachable through a private route. Validate the application protocol and firewall path before treating the network connection as a finished solution.
3. SocketXP For Supported Linux IoT Endpoints
An agent-based access tool makes sense when the device itself runs a supported Linux environment and exposes services such as SSH. SocketXP documents remote SSH access through its connectivity service, with setup on the device and the controlling side.
Check architecture support, installation privileges, service configuration, and outbound connectivity before choosing this route. A microcontroller or locked-down appliance may not be able to run the required software. Avoid treating an IoT label as proof that the same agent will run on every product.
Best fit: developers and support teams maintaining compatible Linux endpoints. Confirm how access is revoked and how device credentials remain protected during support.
4. Raspberry Pi Connect For Compatible Pi Systems
For Raspberry Pi deployments, a platform-specific tool may cover the task without a broader remote-access stack. Raspberry Pi Connect links supported systems to a Connect account for remote access. Its Lite variant provides shell access rather than screen sharing.
Verify the supported Raspberry Pi OS version and desktop configuration in the official documentation. Shell availability and desktop availability are different checks. This is a focused choice for compatible Pi systems, rather than a general solution for mixed cameras, industrial controllers, and Windows workstations.
5. AWS IoT Secure Tunneling For Cloud-Based Maintenance
If your equipment already participates in an AWS IoT environment, AWS IoT secure tunneling provides documented workflows for reaching a device behind an inbound-blocking firewall. The destination needs the appropriate software and connectivity, while the operator needs the required AWS permissions.
This is a stronger match for teams able to manage the cloud configuration and device integration than for a home user seeking a quick desktop connection. Review prerequisites, token handling, permitted destination services, and tunnel closure before rolling it out.
Validate Your Choice With A Small Pilot
For a management-PC deployment, use this short workflow before expanding to multiple sites. Test the complete task from another network, not just whether the host appears online.
- Confirm the onsite Windows PC can already open the IoT utility and reach the intended device.
- Install AnyViewer on the host and controlling computer, then sign in to the same authorized account for the one-click workflow.
- On the host, enable one-click connection to assigned devices under Settings > Unattended.
- From the controlling computer, open Device, select the host, and choose One-click control.
- Read a current device value, export a sample log, and verify any required file transfer. Avoid disruptive changes during the first test.
- End the session, confirm access can be revoked, and document recovery steps for host or network failure.
Use supported file transfer between computers for the exported log; retrieving that log from the IoT equipment remains the job of its management application. If the desktop works but the dashboard fails, investigate the host-to-device connection rather than repeatedly reconnecting the remote session.
Conclusion
The best remote IoT device access choice is the one that reaches the interface your maintenance task requires, with manageable dependencies and appropriate access controls. Use private networking or device-focused tools for native services, and desktop access when an onsite computer already provides the working management environment.
For that management-PC scenario, try AnyViewer on an authorized workstation, complete a small pilot, and verify the recovery plan before extending access across sites.



 as a preferred
source on Google