
Three Ways to Create Windows Remote Assistance Shortcut
This tutorial provides users with a simple way to create Windows Remote Assistance shortcut to help them start their remote assistance more quickly and conveniently.
By Ellie / Updated on December 26, 2025
Windows Remote Assistance
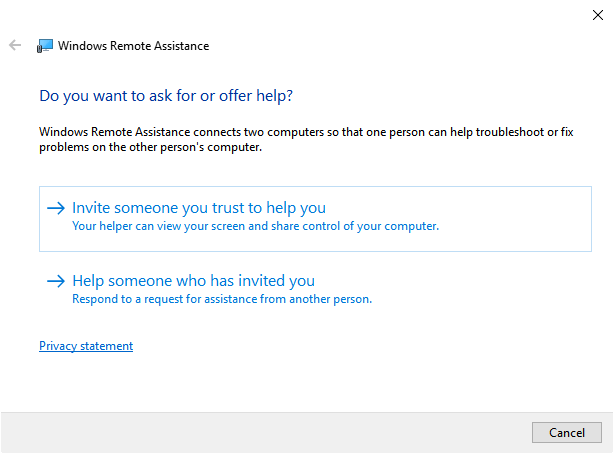
Differing from Remote Desktop Connection which allows users to remotely access their files stored on another computer to increase efficiency, Windows Remote Assistance is intended to provide technical support from a distance. If you want assistance from others, you must first issue an invitation to someone you can trust. After that, he or she will be able to see your screen and operate your computer. If you want to offer someone technical help, then he or she needs to send an invitation to you asking for assistance.
How to create a Windows Remote Assistance shortcut
To help you use your Remote Assistance more efficiently, next we’ll show you how to quickly get started with your Remote Assistance.
Step 1. Right-click an empty area on the desktop, and select New first and Shortcut next from the context menu.

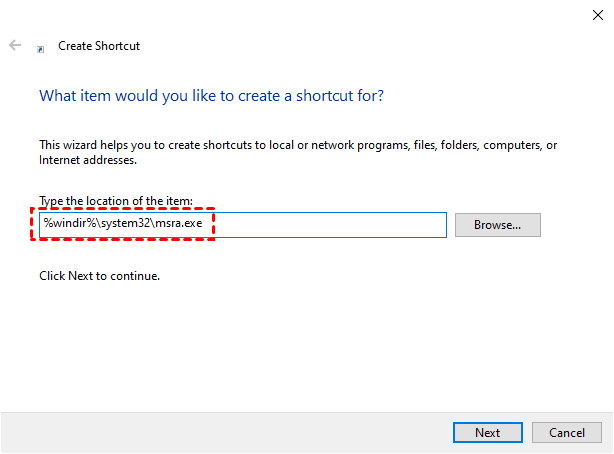
Step 2. Type “%windir%\system32\msra.exe” into the location box, and click Next.
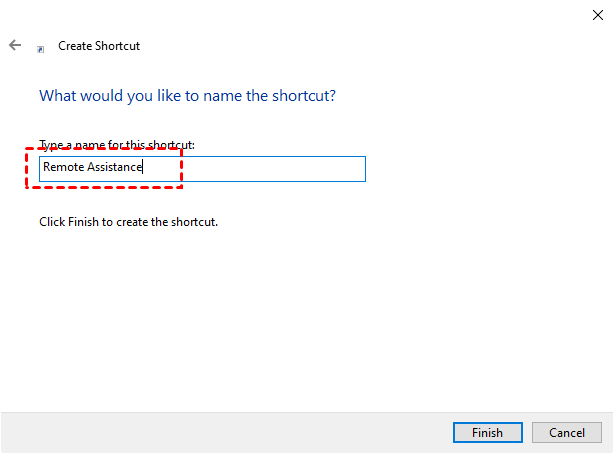
Step 3. Type a name for the shortcut you create. To find it more easily, you’d better name it Remote Assistance. Then click Finish.
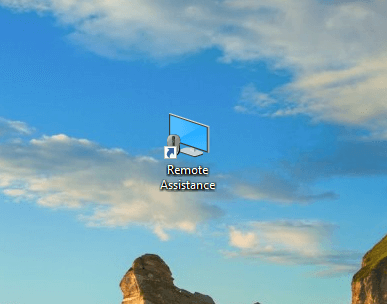
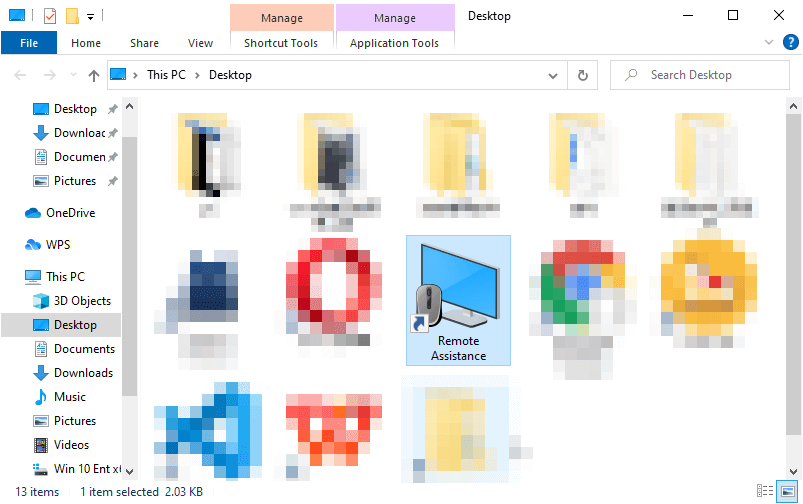
Step 4. Then you’ll see a new shortcut appears on your desktop. Double-click or tap it, and it will open the Windows Remote Assistance app immediately.
Other ways to open Windows Remote Assistance
Actually, it is not very complicated to open Windows Remote Assistance even without a shortcut. In this part, we’ll show you two methods to open your Remote Assistance easily and quickly.
Method 1. Open Windows Remote Assistance via Search
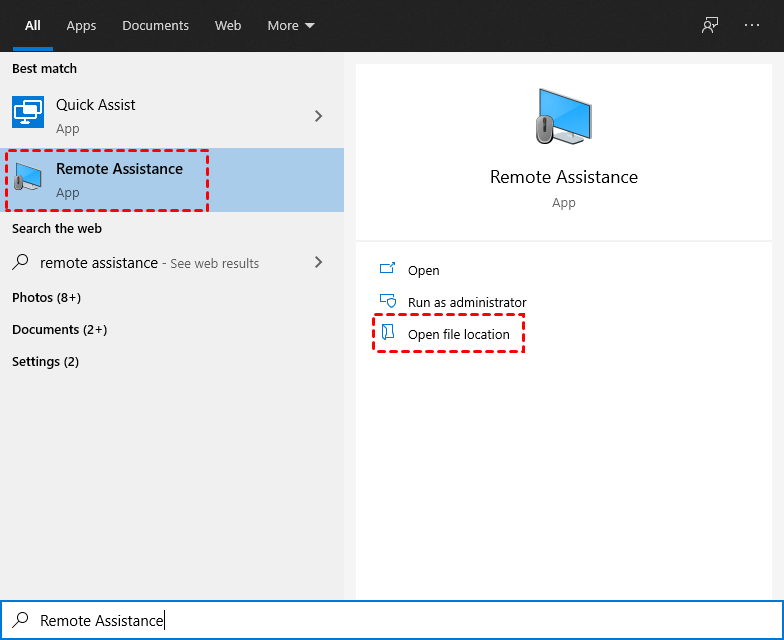
Step 1. Search for Remote Assistance in the Search box and click it to open it. But if you want to create a shortcut on your screen as the previous solution did, then click Open file location.
Step 2. Then you’ll see where its file locates.
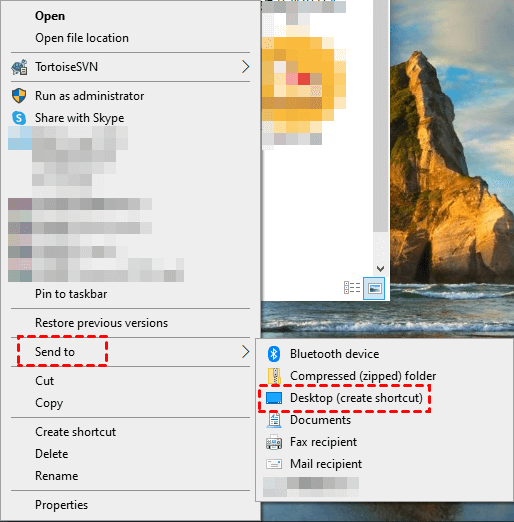
Step 3. Right-click the icon, then click Send to > Desktop (create shortcut). Then you’ll see a new shortcut appears on your desktop just as the previous part did. Double-click or tap it, and it will open the Windows Remote Assistance app immediately.
Method 2. Open Windows Remote Assistance via command
Step 1. Press Windows Key + R to open the Run dialog box. Type in “msra” and press OK.
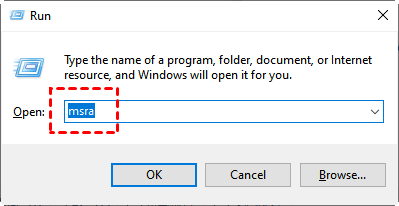
Step 2. This will help you open the Remote Assistance.
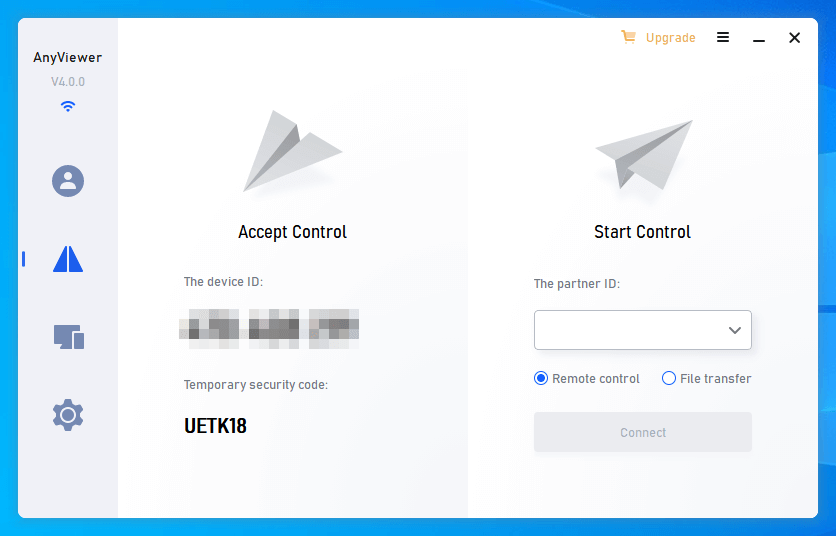
AnyViewer: Provide remote assistance without effort
Here we want to recommend to you an easy remote assistance software, AnyViewer. It is free and simple software that allows you to control a computer no matter where it locates. Users could provide others with remote assistance or receive remote assistance from others at any time. Just download it on your desktop, then you can start remote assistance immediately.
- Compatibility. It supports multiple Windows systems, from Windows 7 to the latest Windows 11.
- iOS devices. It supports any device running iOS 10.0 or above, you are able to remotely access a PC from your iOS devices and provide remote assistance then.
- One-click connection. You can achieve an unattended remote connection to a remote computer with one click.
- Security. It is secured by Elliptic Curve Cryptography (ECC) encryption, protecting your data from leakage during remote assistance.
- Fast & stable connection. It is developed by a strong technical team, providing you fast and stable remote connection with high image quality.
Step 1. Download, install, and launch AnyViewer on both your home and office computers.
Step 2. Go to Log in, and then click Sign up. (If you already have signed up on its official website, you can log in directly.)

Step 3. Fill in the signup information.

Step 4. Then you can see you successfully logged in to AnyViewer. Your device will automatically be assigned to the account you've logged in to.

Step 5. Log in to the same AnyViewer account on the two devices, then click One-click control to achieve unattended remote access.

- Notes:✎...
- You can also upgrade your account to a Professional or Enterprise plan to enjoy more rights:
- Faster file transfer speed. Transfer speed for a free account is 500 KB/s, and for a paid account is up to 10 MB/s.
- More devices can be assigned to the same account for unattended remote access.
- More Currently connected devices are displayed for connection history.
- Connect in privacy mode to protect privacy.
- Initial more concurrent connections to one computer.
Conclusion
This tutorial provides users with a simple way to create Windows Remote Assistance shortcut to help them start their remote assistance more quickly and conveniently. If you would like an easier way to provide remote assistance to others, you can also try AnyViewer. With only a few steps, you can get started with it.
