
How to Transfer Data from Windows Laptop to MacBook Air
Switching from a Windows laptop to a MacBook Air? Discover how to transfer data from Windows laptop to MacBook Air using Apple's Migration Assistant and exploring a faster, more flexible alternative—AnyViewer—for remote file transfers anytime, anywhere.
By Ellie / Updated on April 14, 2025
How do I transfer data from Windows laptop to MacBook Air?
Switching from a Windows PC to a MacBook Air? Apple makes it easy with Migration Assistant, a built-in tool designed to help you safely move your important files—like documents, pictures, emails, and contacts—from your PC to your new Mac.
How to transfer data from Windows laptop to MacBook Air with Migration Assistant
Here's a clear and easy-to-follow guide on how to transfer data from Windows laptop to MacBook Air using Migration Assistant:
Pre-migration checklist for a seamless transition
Before starting your migration, take a few essential steps to ensure everything goes smoothly:
- Update Windows: Verify that your PC is running the latest version of Windows. Migration Assistant supports Windows 7 and newer.
- Administrator Access: Confirm you have the username and password for an admin account on your Windows machine.
- Connect Devices to the Same Network: Link both your Mac and PC to the same Wi-Fi network. Alternatively, use an Ethernet cable to establish a direct connection. If your Mac lacks a built-in Ethernet port, you may need an adapter like the Belkin USB-C to Gigabit Ethernet Adapter or the Apple Thunderbolt to Gigabit Ethernet Adapter.
- Uninstall OneDrive Temporarily: If Microsoft OneDrive is active on your PC, follow Microsoft's guidelines to uninstall it before proceeding. You can reinstall it once the migration is complete.
A step-by-step guide to transferring data from a PC to a Mac
This walkthrough covers every stage of the migration process—from setup to troubleshooting—ensuring your data moves smoothly from your Windows PC to your Mac.
Step 1. Install the version of Windows Migration Assistant on your Windows laptop. Make sure to choose the right one to avoid compatibility issues.
Step 2. Before you begin the transfer, exit any open programs on your PC to prevent conflicts during migration.
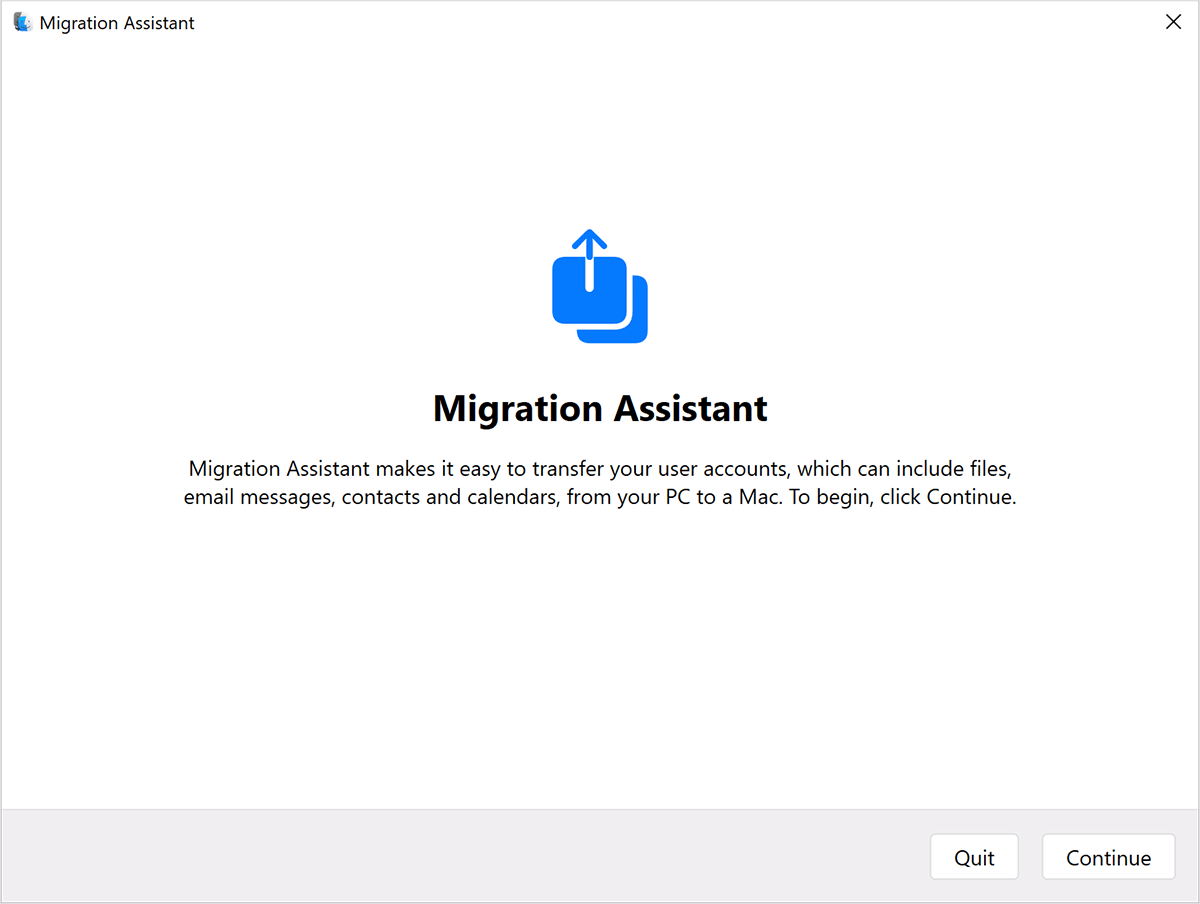
Step 3. Open the Windows Migration Assistant you just installed and click Continue to begin the process.
Step 4. On your Mac, open Migration Assistant from Applications > Utilities.
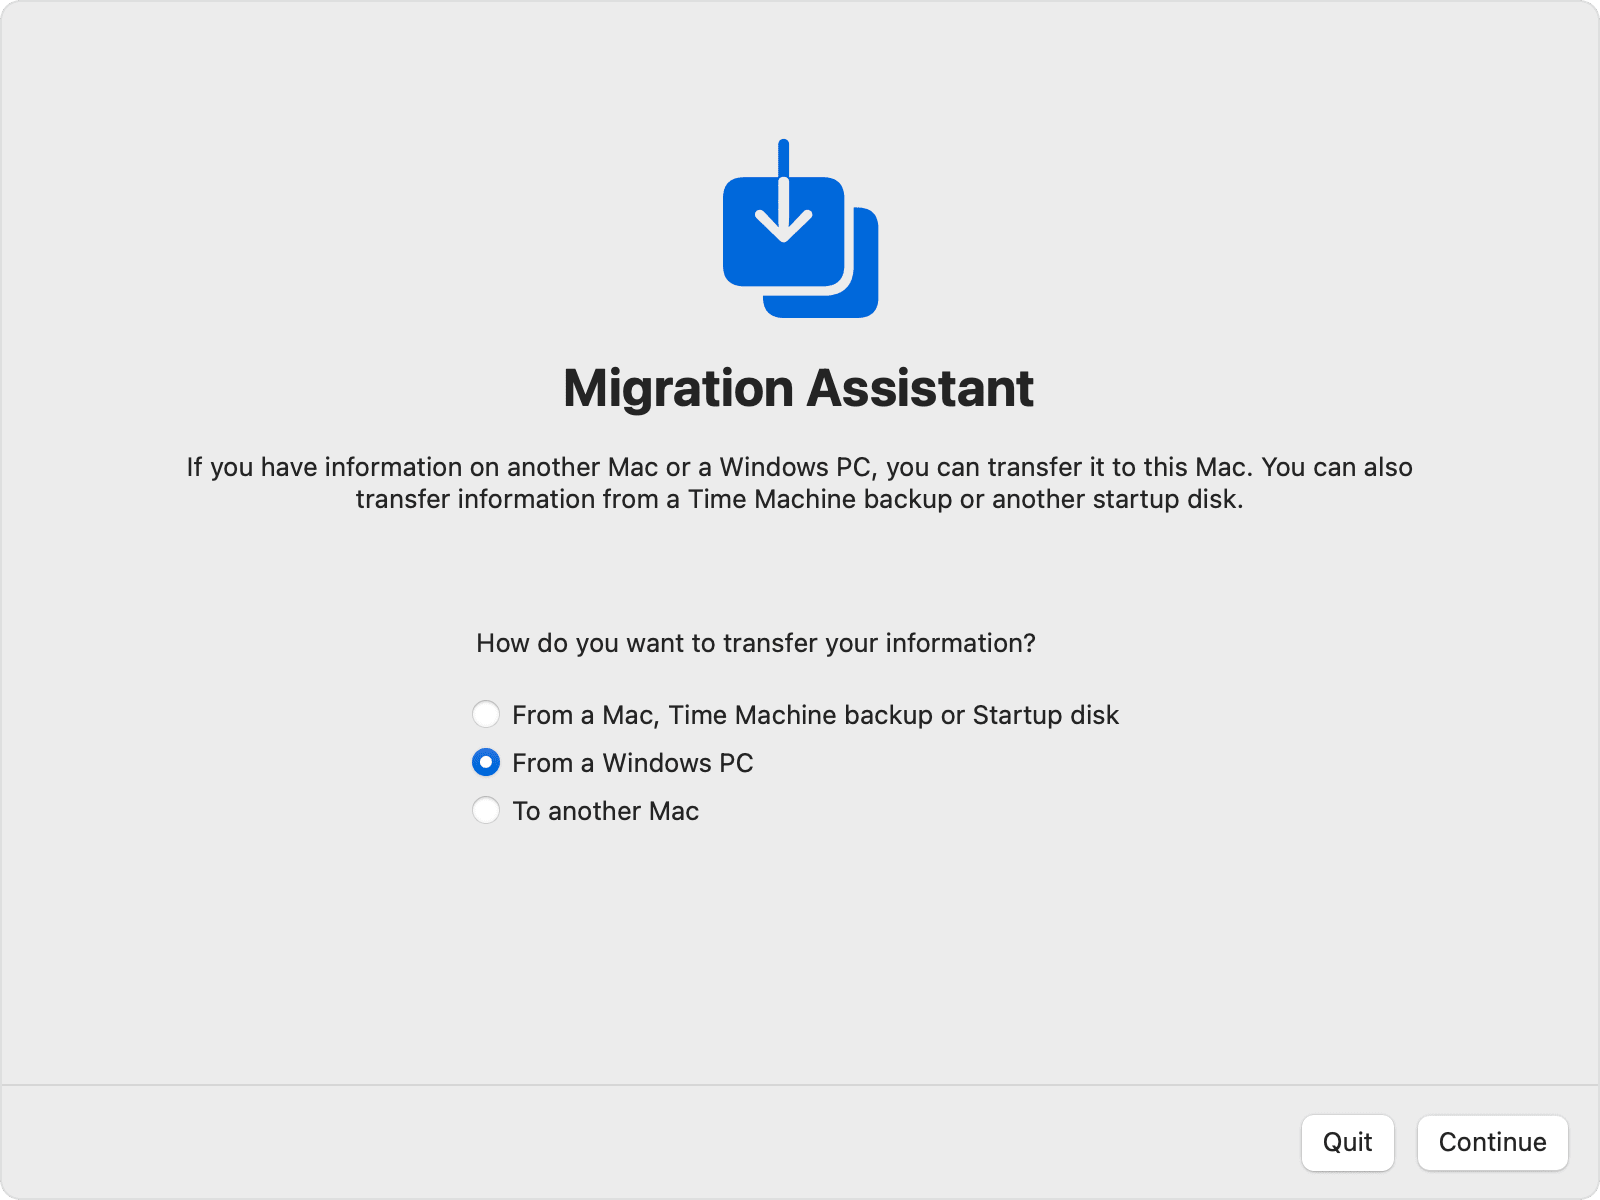
Step 5. Follow the onscreen instructions until you reach the migration screen. Choose "From a Windows PC" as the source, then click Continue.
Step 6. Enter your Mac administrator name and password when prompted to proceed.
Step 7. Click Continue to close any applications that are still running.
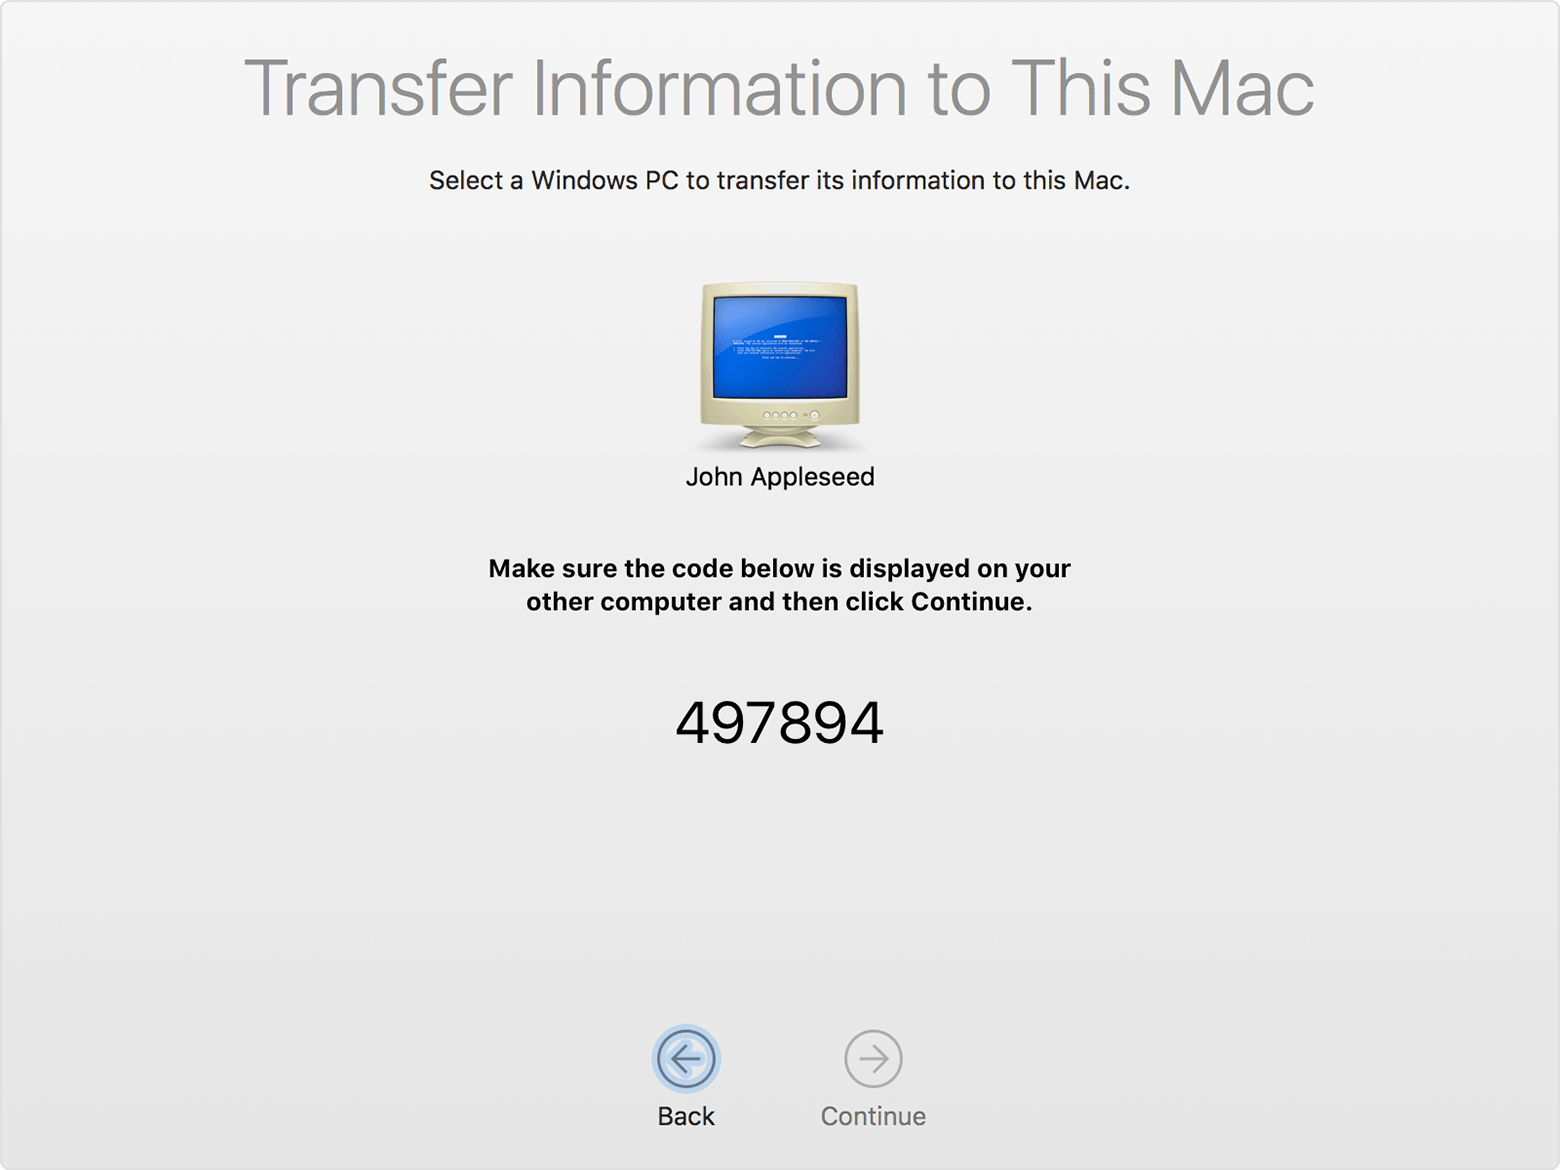
Step 8. On your Mac, select your PC from the list of detected computers. Wait for the same passcode to appear on both machines.
Step 9. Once both devices show identical passcodes, click Continue to confirm the connection.
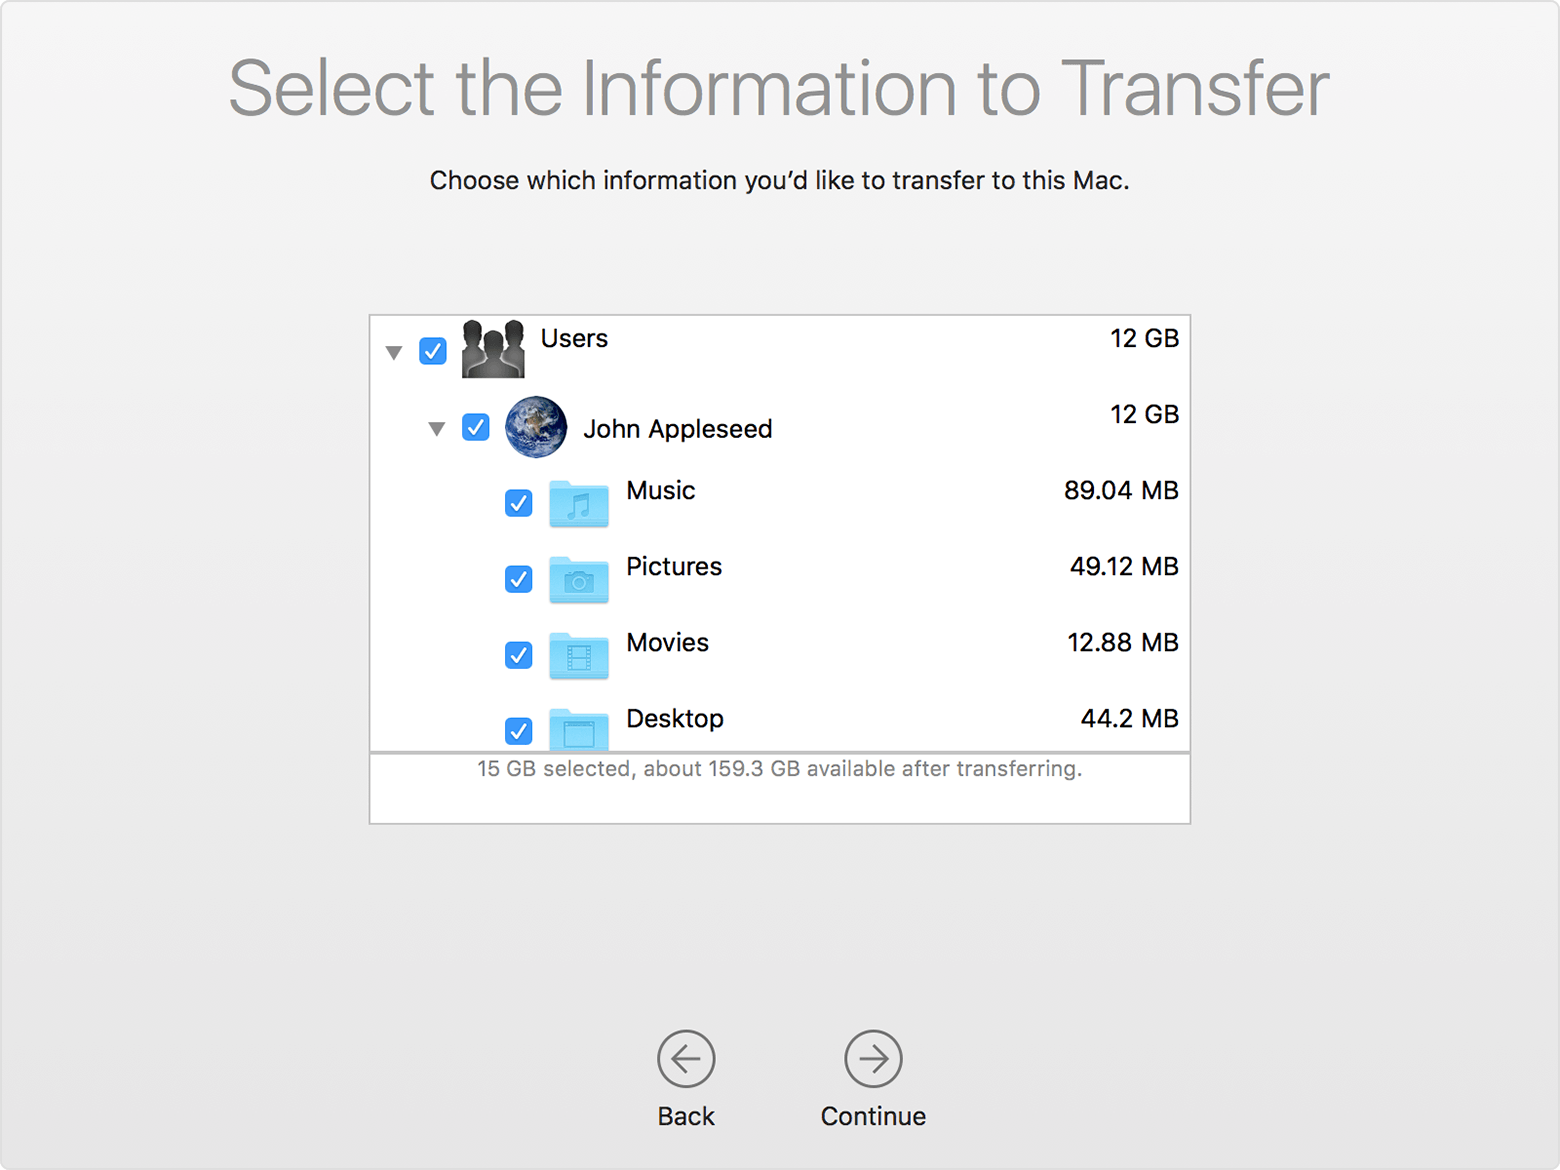
Step 10. Your Mac will scan the PC and display a list of data available for migration. Select the files, user accounts, documents, and settings you want to move over, then click Continue.
You'll see progress bars and estimated time remaining on both your Mac and PC. When the process completes, both systems will notify you that the migration is finished.
What to do after migrating your data
Once the transfer is complete, wrap up the process with these final steps:
Step 1. Close Windows Migration Assistant on your PC to finish up on the Windows side.
Step 2. Log in to your Mac using the newly created user account that was migrated from your PC.
Step 3. The first time you access the account, you'll be asked to create a password. You can either reuse the password from your PC or choose a new one—it's entirely up to you.
Step 4. Before syncing or playing any media purchased from the iTunes Store, make sure to authorize your Mac. This step ensures all your purchased content is accessible and ready to use.
With these steps done, your transition from PC to Mac is officially complete.
Troubleshooting tips for data migration issues
If you're having trouble moving your data from a PC to a Mac, try these fixes to get things back on track:
- Close all open applications on your PC
Make sure no programs are running in the background. You can press Alt + Tab to cycle through open windows, then press Alt + F4 to close each one. Once everything is closed, attempt the migration again.
- Check network connection
If your PC doesn't show up in the Setup Assistant or Migration Assistant on your Mac, verify that both machines are on the same network. You can also directly connect your Mac and PC using a single Ethernet cable.
Still not working? Check for any firewall software running on your PC and temporarily disable it—firewalls can block the ports used during migration. You can safely re-enable it after the process is complete.
- Disable antivirus temporarily
If Migration Assistant won't launch on your PC, your antivirus software might be interfering. Turn it off temporarily, then try opening the app again. Don't forget to turn your antivirus back on once the migration is done.
- Manual transfer as a last resort
If none of the above steps solve the issue, you can always manually transfer your data. Use an external hard drive or set up file sharing between your PC and Mac to move important files over manually.
Bonus tip: Best Migration Assistant alternative to transfer data between Windows and Mac
While Migration Assistant is a helpful tool for switching from Windows to macOS, it's not always the most flexible or reliable option. It can be sluggish, prone to compatibility issues, and often requires extensive troubleshooting. That's where AnyViewer comes in as a powerful alternative for file transfer between Windows and Mac.
Why choose AnyViewer over Migration Assistant?
While Migration Assistant works for basic, one-time data transfers, AnyViewer offers an all-in-one remote desktop solution for seamless, flexible, and fast file transfer—and much more. Whether you're a casual user or a power user looking for ongoing cross-platform access, AnyViewer is the smarter and more convenient choice. The following are the reasons why you should choose AnyViewer over Migration Assistant:
- Cross-platform remote access and file transfer
Unlike Migration Assistant, which only works during initial setup or requires a fresh migration session, AnyViewer lets you remotely access and transfer files between Windows and Mac anytime, anywhere—even after setup is complete. With just a few clicks, you can initiate a secure connection between your PC and Mac and move files instantly without restarting or rebooting.
- No network limitations
Migration Assistant depends on both devices being on the same local network, which can be limiting if you're working in different physical locations. AnyViewer works over the internet, allowing remote transfers no matter where you are. This is perfect for people transitioning to a Mac while their old PC is still at home or in a different office.
- Ultra-fast file transfer speed
AnyViewer is optimized for performance, offering blazing-fast file transfer speeds without the hiccups that often come with Migration Assistant. You won't need to wait for hours for large files to move—AnyViewer gets it done swiftly and securely.
- Reliable & stable connections
Where Migration Assistant may hang or fail due to temporary interruptions or firewall settings, AnyViewer is built for stability, with intelligent reconnection capabilities and advanced encryption protocols that ensure your files get transferred without data loss.
- User-friendly interface
With a clean, intuitive design, AnyViewer makes remote control and file transfer a breeze—even for non-tech-savvy users. You don't need to download separate tools or troubleshoot connectivity issues; it's ready to use in minutes.
- Secure data transmission
Security is a top priority. AnyViewer uses robust encryption to protect your files during transmission. It's trusted by businesses and professionals for remote access and file sharing.
How to transfer data from Windows to Mac using AnyViewer
Here's a simple guide on how to transfer files from Windows laptop to MacBook Air with AnyViewer:
Step 1. Download and install AnyViewer on both your Windows laptop and MacBook Air.
Step 2. Open the app on both devices and sign in to your AnyViewer account. If you don't have one, create a new account.

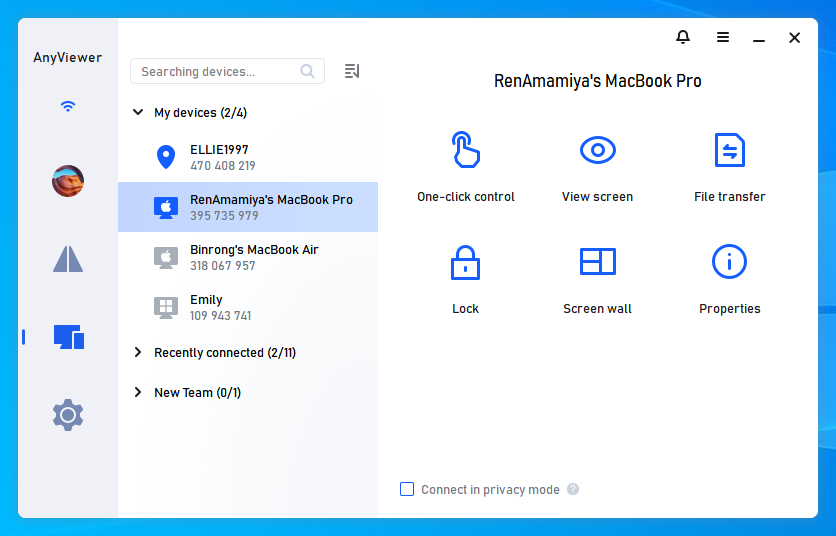
Step 3. On your Windows laptop, go to the “Device” tab. Find your MacBook Air under “My Devices” and click on it. Select “File Transfer” to open the transfer window.
Tip: If you want full remote access while transferring, click “One-click control” instead. Once connected, use the toolbar to transfer files.
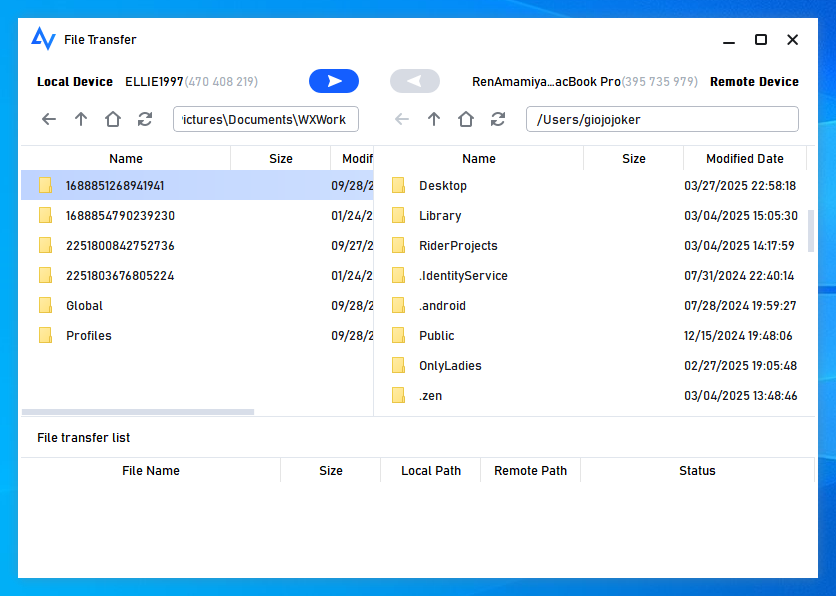
Step 4. In the transfer window, select the files you want to send, then click the arrow to start the transfer.
- ★Tips: For better file transfer performance, consider upgrading to a Professional or Enterprise plan. These plans offer:
- Faster Transfers – Achieve speeds of up to 10 MB/s for quicker file transfers.
- Multi-Threaded Transfers – Support for up to 5 simultaneous file transfers, boosting efficiency.
- Unlimited File Transfers – No limits on the number of files you can transfer at once.
- Larger File Support – Transfer individual files up to 1 TB, perfect for handling large data.
Conclusion
Now you know how to transfer data from Windows laptop to MacBook Air with ease. Whether you choose Apple's built-in Migration Assistant for a straightforward setup or opt for AnyViewer for a faster, more flexible solution, both methods get the job done. If you're looking for a reliable way to transfer files anytime, even across different networks, AnyViewer is your best bet. With your data successfully moved, you're all set to make the most of your new MacBook Air experience.
