
How to Transfer Data from MacBook Pro to MacBook Air
Learn how to transfer data from MacBook Pro to MacBook Air using step-by-step methods like Migration Assistant, AirDrop, iCloud, and AnyViewer for a smooth setup experience.
By Ellie / Updated on April 11, 2025
How do I transfer files from MacBook Pro to new MacBook Air?
So you just got your hands on a shiny new MacBook Air—congrats! Whether it's the latest M3 chip powerhouse or the ultra-portable M2 model, you're probably itching to set it up. But there's one important hurdle: how to transfer data from MacBook Pro to MacBook Air without losing your files, apps, or sanity.
Good news: Apple makes this process relatively smooth. You've got multiple options—from the built-in Migration Assistant to Time Machine backup. In this guide, we'll cover them all, step-by-step, and help you choose the best method based on your situation.
How to transfer data from MacBook Pro to MacBook Air via 6 built-in tools
Here are the top six Apple built-in tools for transferring data from MacBook Pro to MacBook Air.
Method 1. Migration Assistant
Migration Assistant is a built-in tool on macOS that helps you move your files, apps, and settings from an old Mac to a new one. It's easy to use and works during setup or later through the Utilities folder.
Before You Start:
- Update macOS: Make sure both Macs have the latest updates installed.
- Connect to Wi-Fi: Both Macs should be on Wi-Fi. If one uses macOS El Capitan or older, they must be on the same network.
- Turn Off Security Software: Temporarily disable any VPNs, antivirus programs, or firewalls so they don't block the transfer.
How to Transfer Data from MacBook Pro to MacBook Air:
Step 1. Go to Finder > Applications > Utilities, then open Migration Assistant. Click Continue and enter your password if asked.
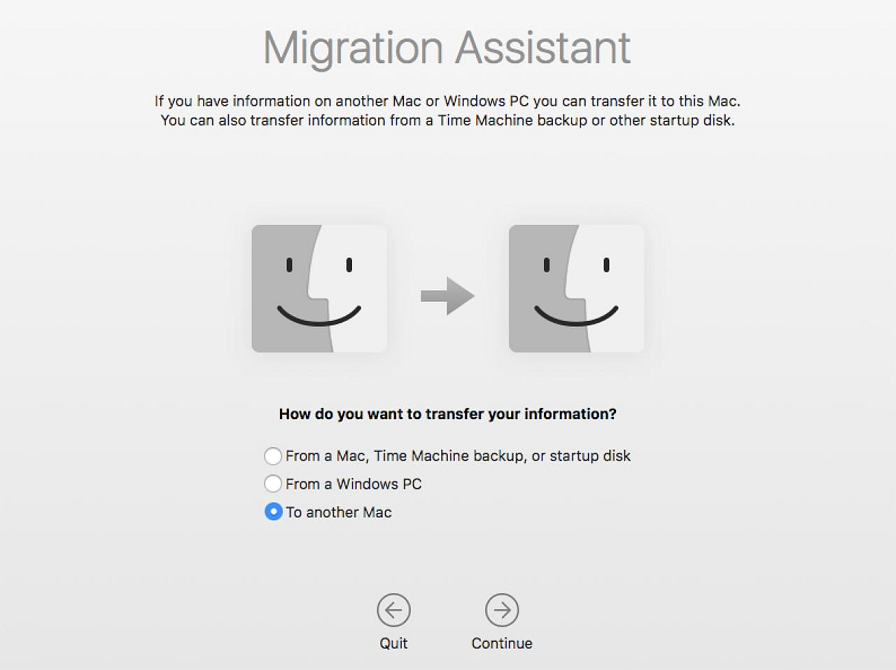
Step 2. Select "From a Mac, Time Machine backup, or startup disk" and click Continue.

Step 3. Launch the app and click Continue. Give permission if needed.
Step 4. On your old Mac, choose "To another Mac", then click Continue.
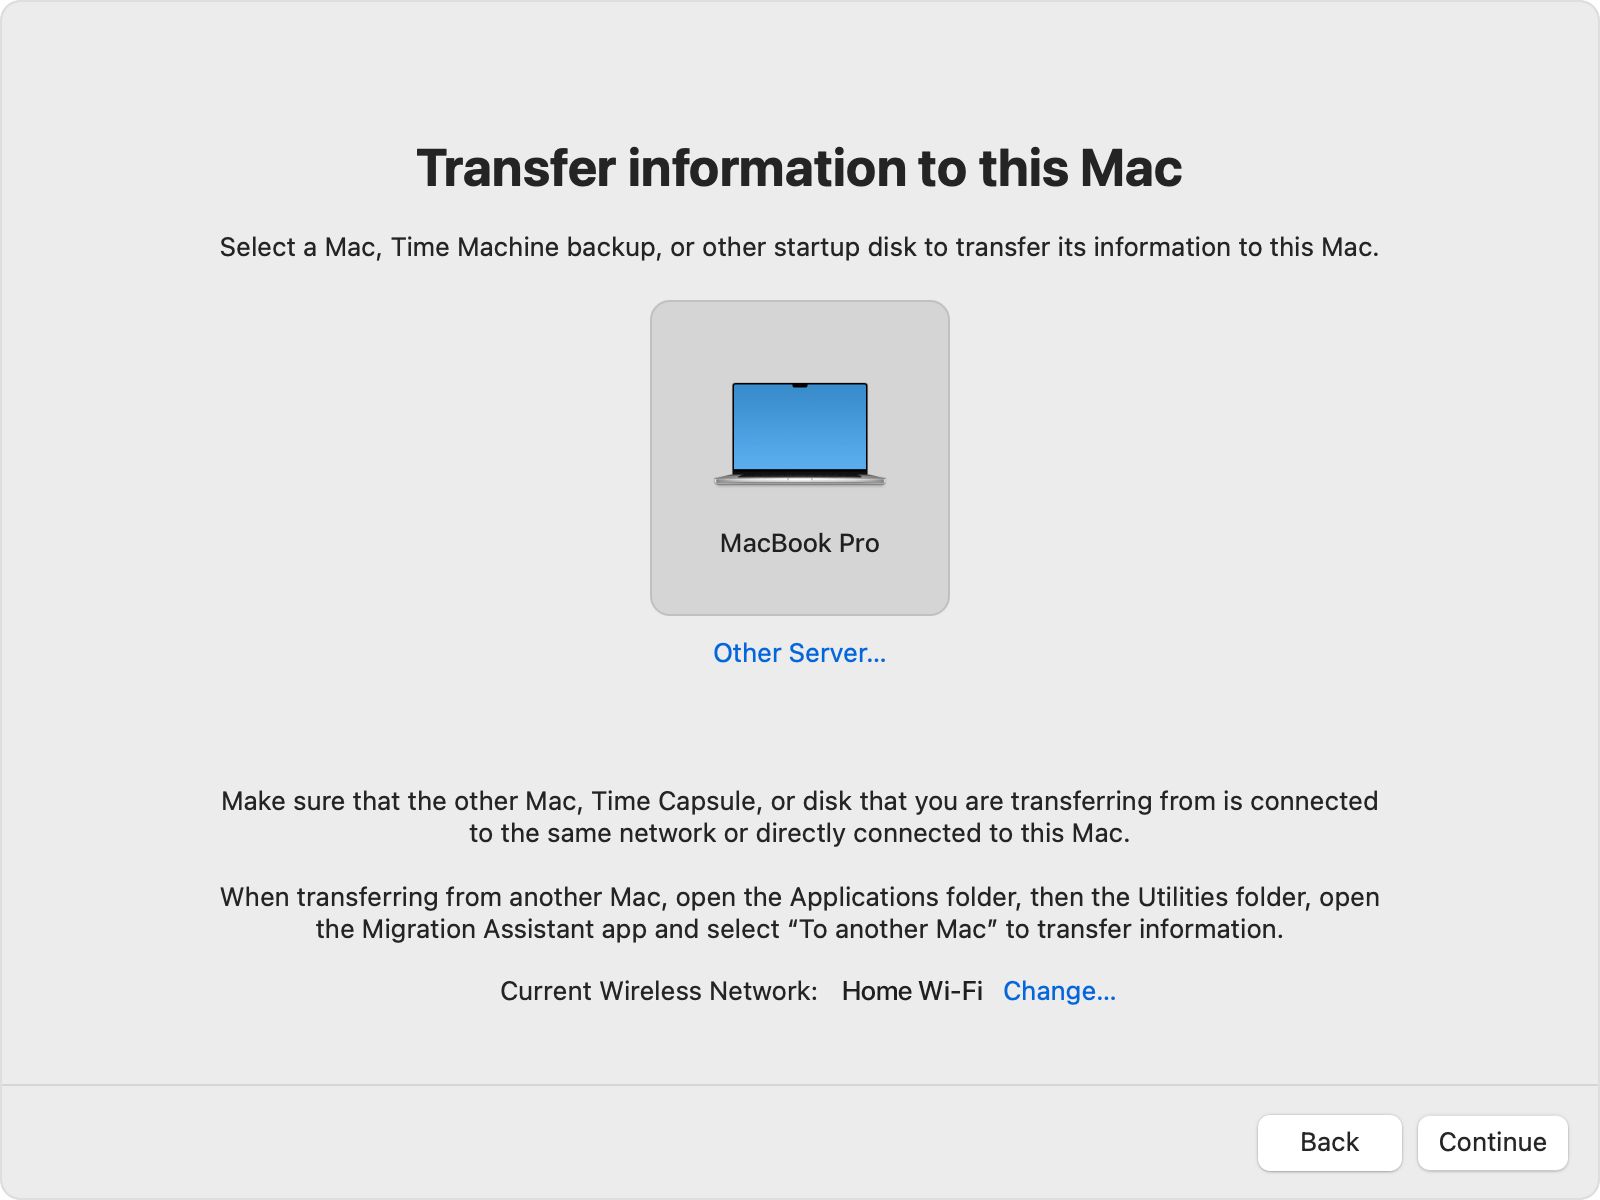
Step 5. Your old Mac should appear on your MacBook Air. Select it and click Continue.
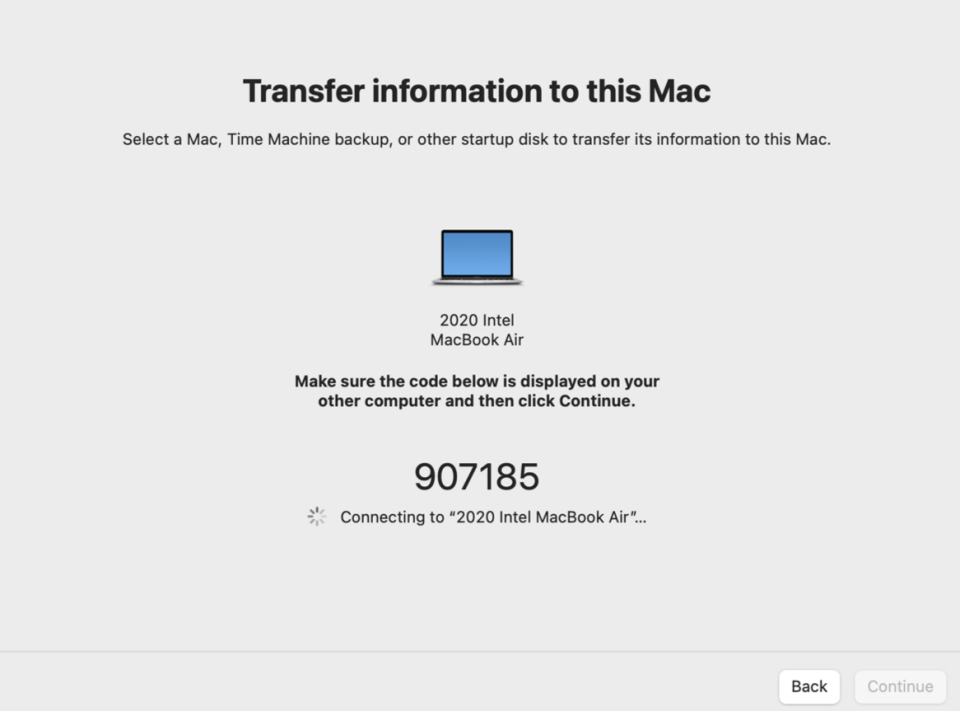
Step 6. Make sure the security code matches on both Macs. Click Continue to confirm.
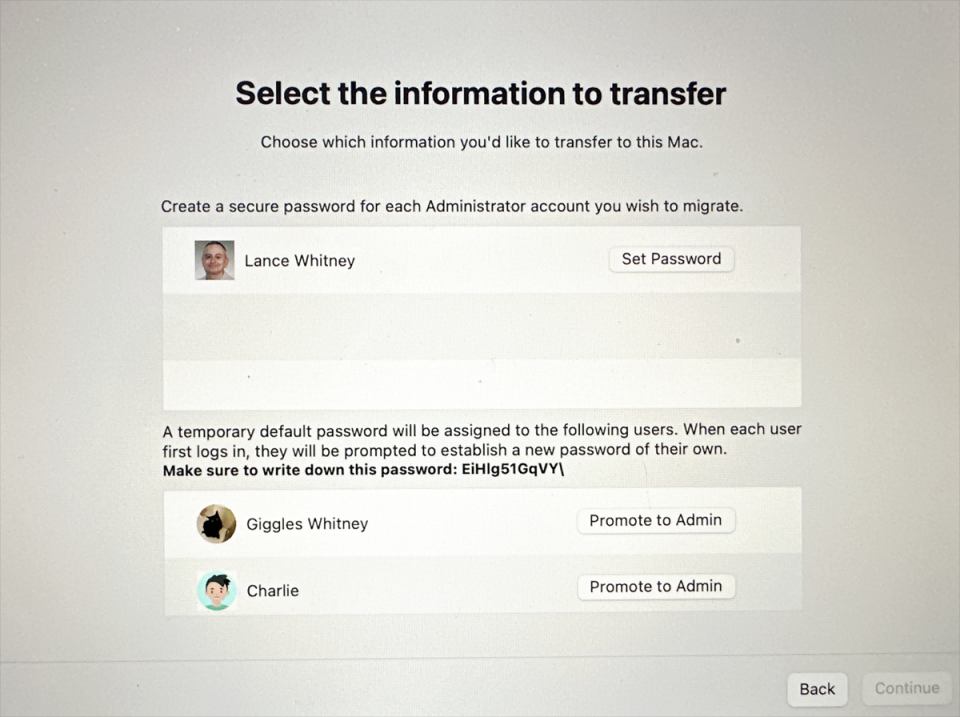
Step 7. Choose the files, apps, and settings you want to move. Check the boxes next to them.
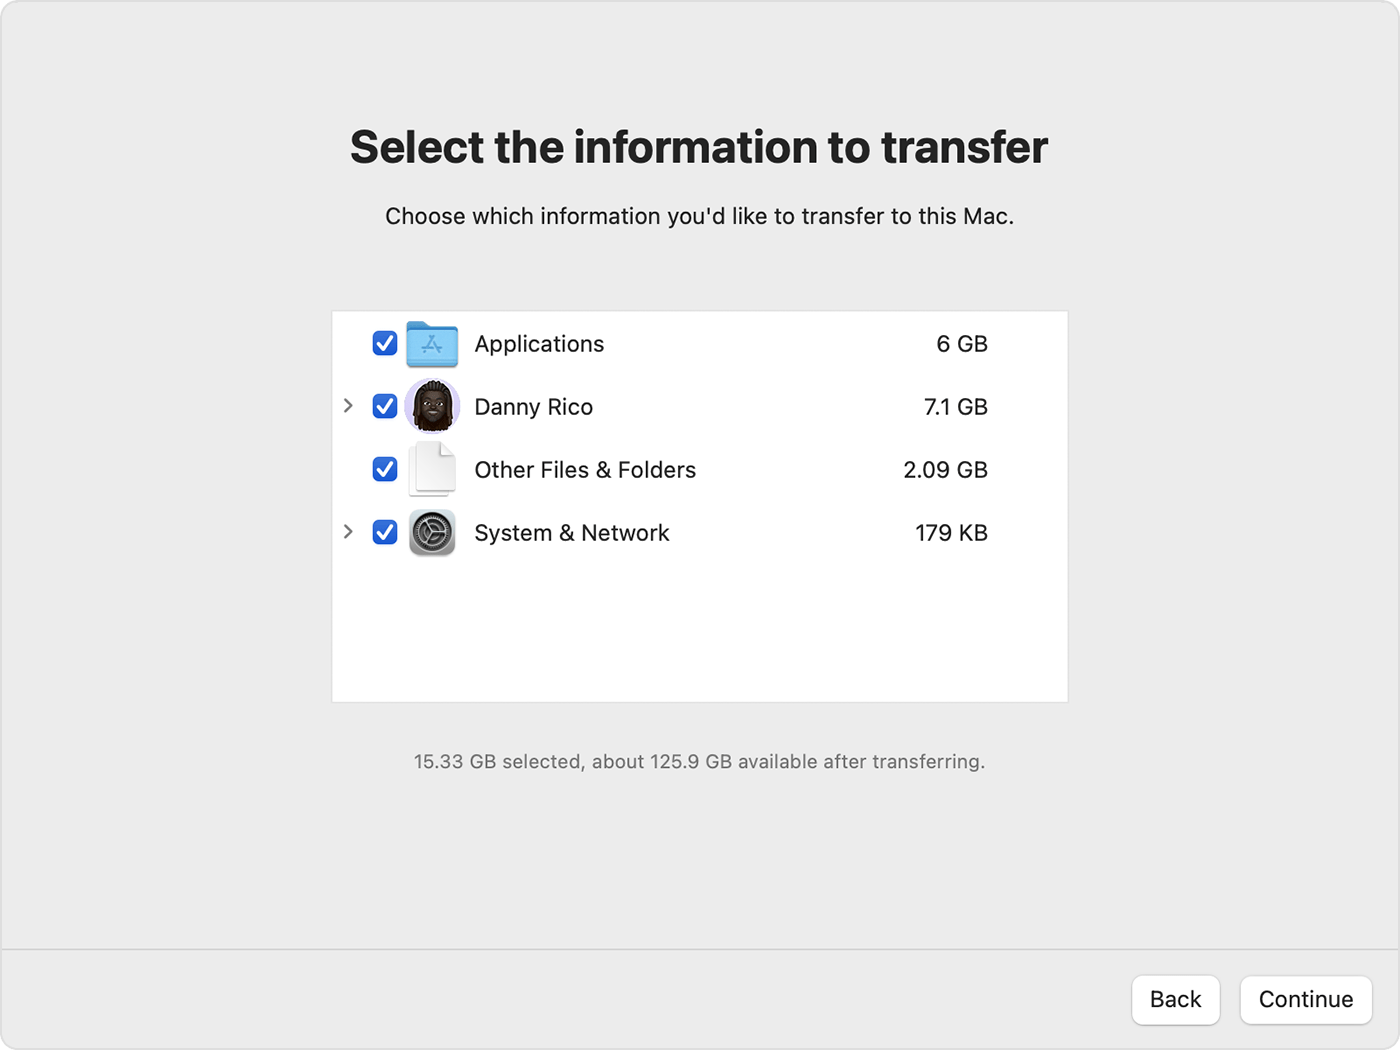
Step 8. Click Continue to begin. The process can take time, so be patient or let it run overnight if needed.
Method 2. iCloud storage
iCloud is the cloud storage and file sharing service that makes it easy to move files from one Mac to another. If both Macs use the same Apple ID, you can upload files on one and access them on the other.
Steps to Transfer Data from MacBook Pro to MacBook Air with iCloud:
Step 1. Click the Apple icon in the top-left corner, then choose System Preferences or System Settings.
Step 2. Click Apple ID, then choose iCloud. Sign in if needed.
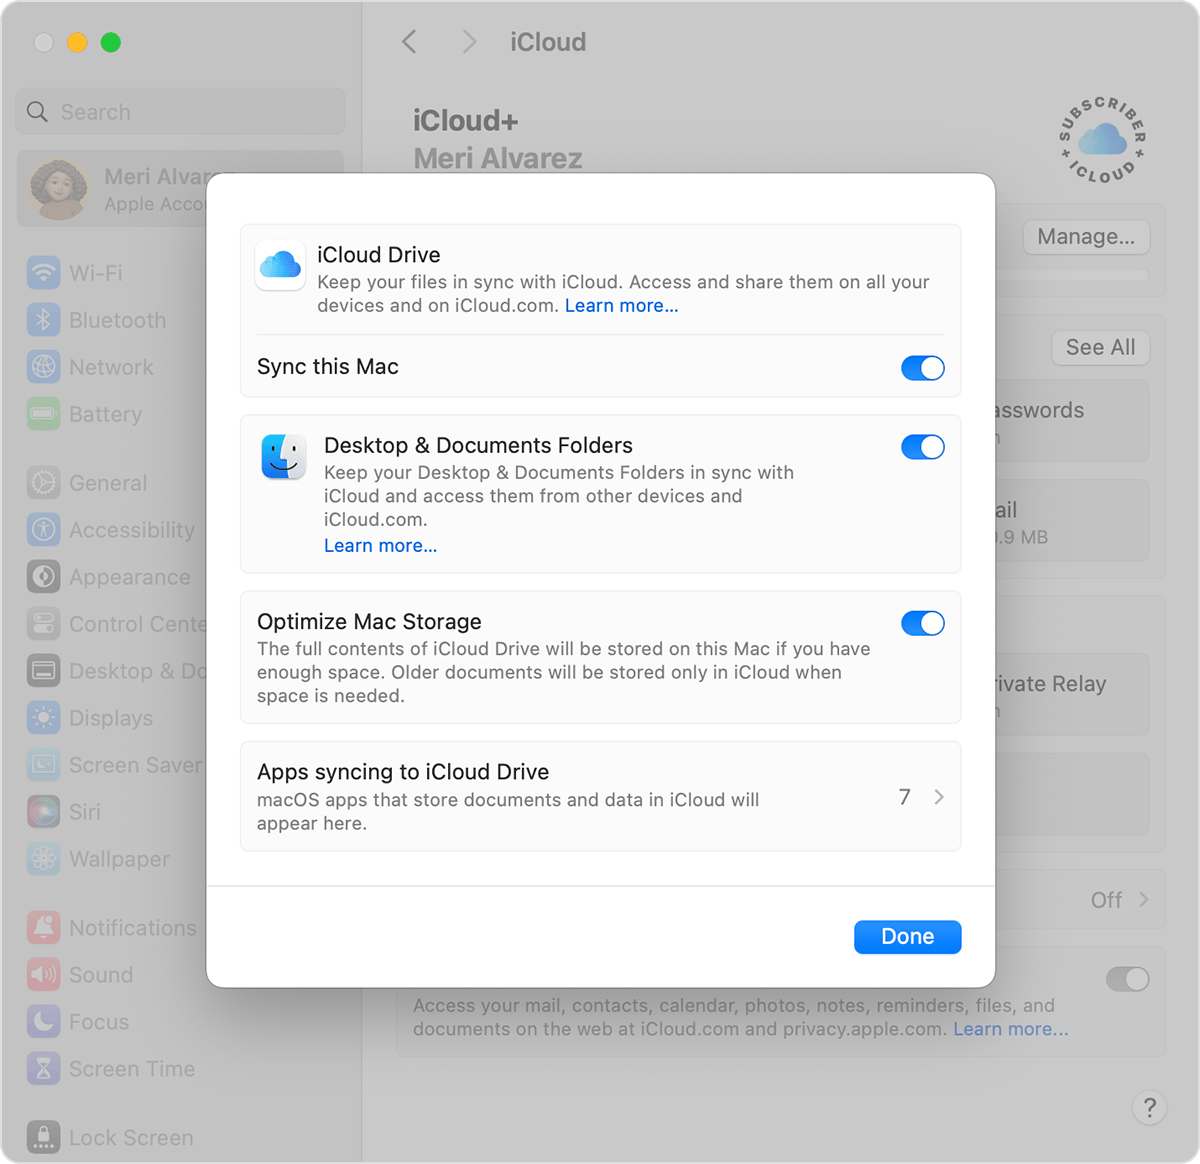
Step 3. Make sure the box next to iCloud Drive is checked. This allows your files to be saved and synced to the cloud.
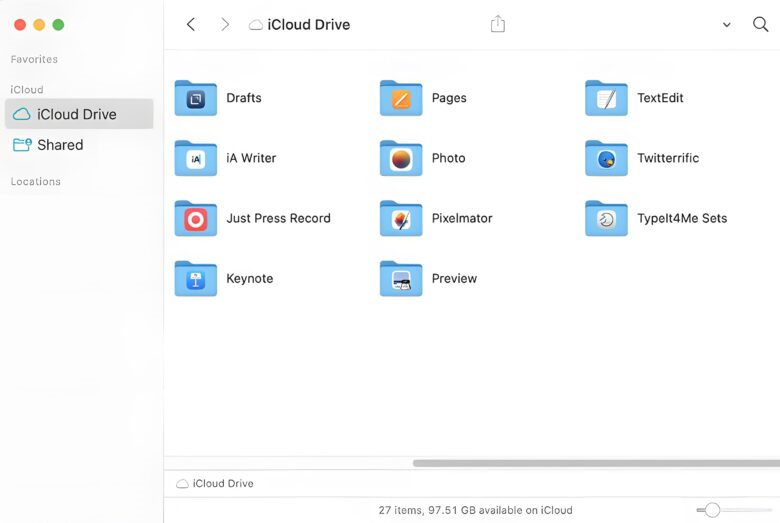
Step 4. On your MacBook Air, open Finder, click Go in the menu bar, then select iCloud Drive. You'll find your uploaded files there.
Method 3. AirDrop
AirDrop is a built-in macOS feature that lets you wirelessly share files between Apple devices. It uses Bluetooth to find nearby Macs and Wi-Fi to send the files—no cables or internet required.
Before You Start:
- Turn on Bluetooth on both Macs.
- Connect both Macs to the same Wi-Fi network.
To transfer files using AirDrop, follow these steps:
Step 1. Turn On Wi-Fi and Bluetooth on both Macs.
Step 2. Place the Macs near each other (within 30 feet).
Step 3. Open Finder, then go to AirDrop in the sidebar.
Step 4. Set AirDrop to “Everyone” so both Macs can find each other.

Step 5. Select the files you want to send.
Step 6. Right-click > Share > AirDrop, then choose the other Mac.

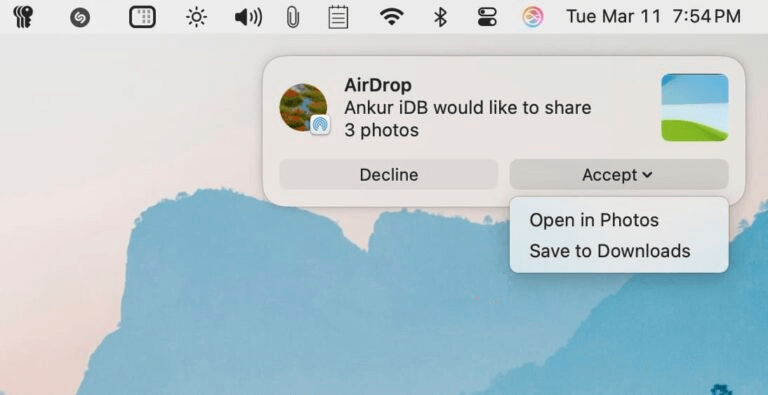
Step 7. On the receiving Mac, click Accept (unless both Macs use the same Apple ID—then it transfers automatically).
Step 8. Files will appear in the Downloads folder.
Method 4. File Sharing
macOS offers a built-in File Sharing feature within the Apple Sharing utility, enabling Macs on the same network to easily transfer files and share content. Here's how to set it up:
Step 1. Click on the Apple logo in the top-left corner of your screen.
Step 2. From the menu, select "System Settings."
Step 3. In the sidebar, choose "General" and then click on "Sharing."
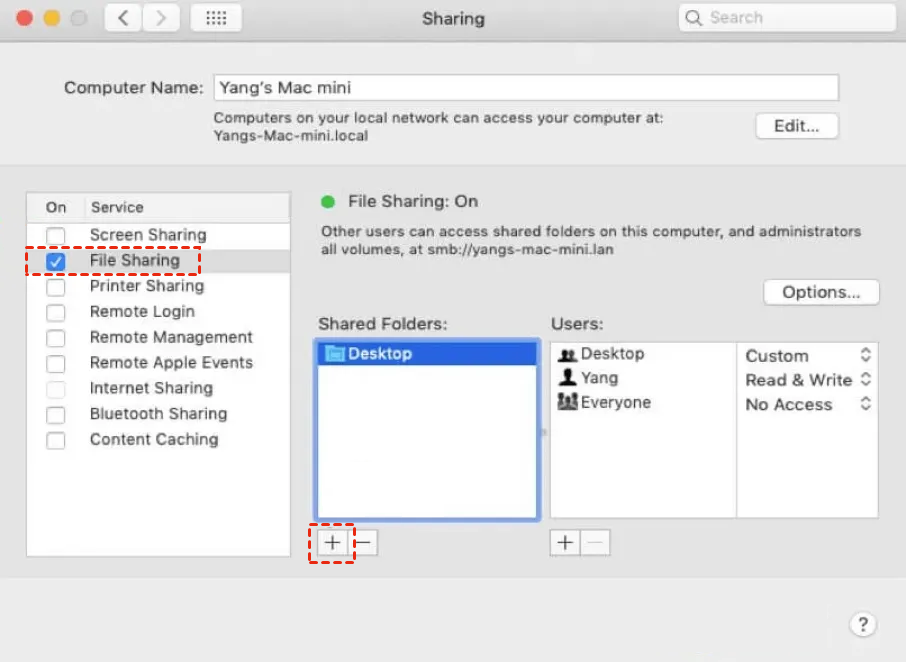
Step 4. Toggle "File Sharing" on and click the "Info" button for further configuration options.
Step 5. Click the "Add" button under the Shared Folders list to select the folders you want to share with other Macs.
Step 6. Right-click on the folder you want to share.
Step 7. From the context menu, choose "Advanced Options."
Step 8. Follow the on-screen prompts and click "Done" to complete the setup. Once done, other Macs on the same network will be able to access the shared files.
Method 5. Target Disk Mode
Target Disk Mode allows you to connect two Macs with a USB or Thunderbolt cable, making the internal hard drive of one Mac act as an external drive for the other. This is a quick way to transfer files from an old Mac to a new one.
Follow these steps:
Step 1. Connect the two Macs using a USB, USB-C, or Thunderbolt cable.
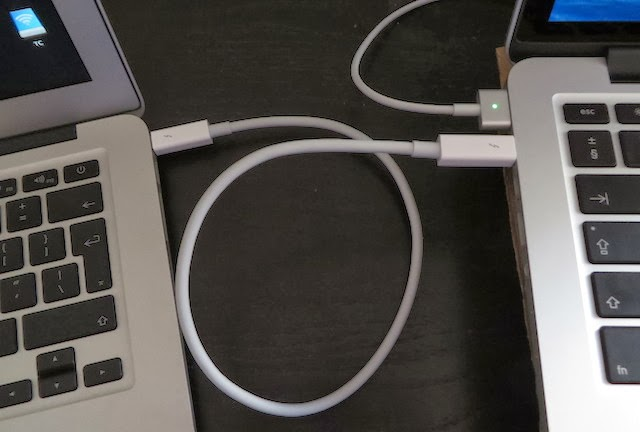
Note: For macOS 11 or later, use a Thunderbolt cable for proper connection.
Step 2. To start Target Disk Mode:
- If the Intel Mac is off, turn it on while holding the T key.
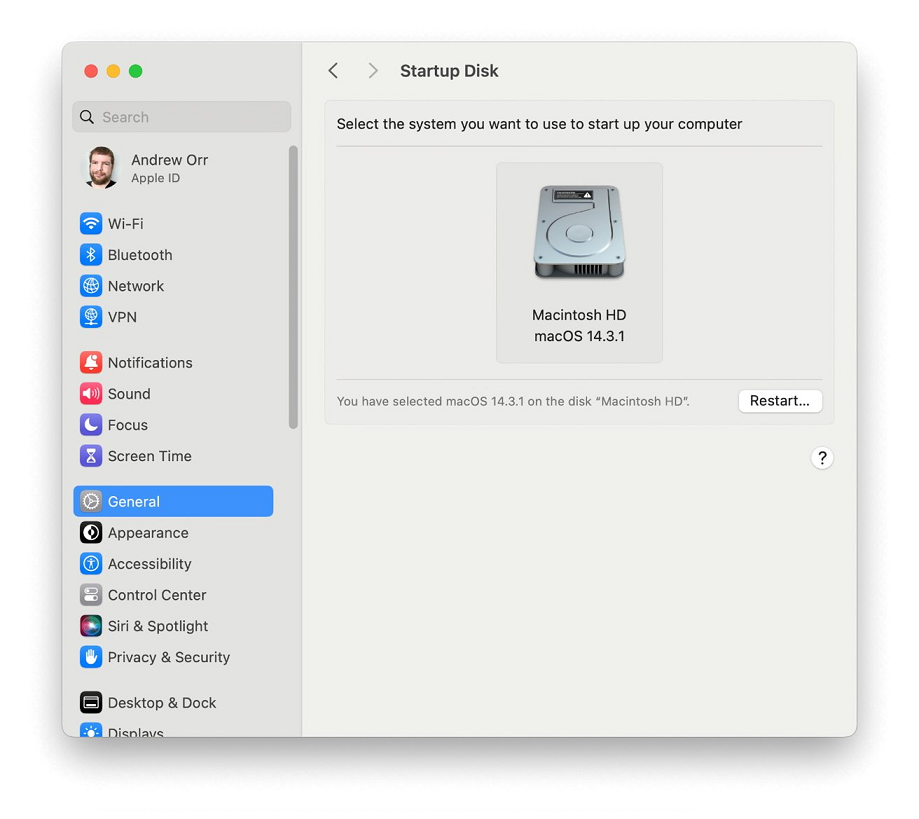
- If it's already on, go to the Apple menu > System Settings > General, scroll to Startup Disk, and click Restart in Target Disk Mode.
The Intel Mac will show up as a disk icon on the other Mac's desktop.
Step 3. On the second Mac, open Finder and click the connected Mac in the sidebar to access its files.
Step 4. Drag and drop the files you want to transfer.
Step 5. Once done, Control-click the disk icon in Finder and choose Eject.
Step 6. Turn off the Intel Mac by pressing the power button, then unplug the cable.
Method 6. Time Machine backup
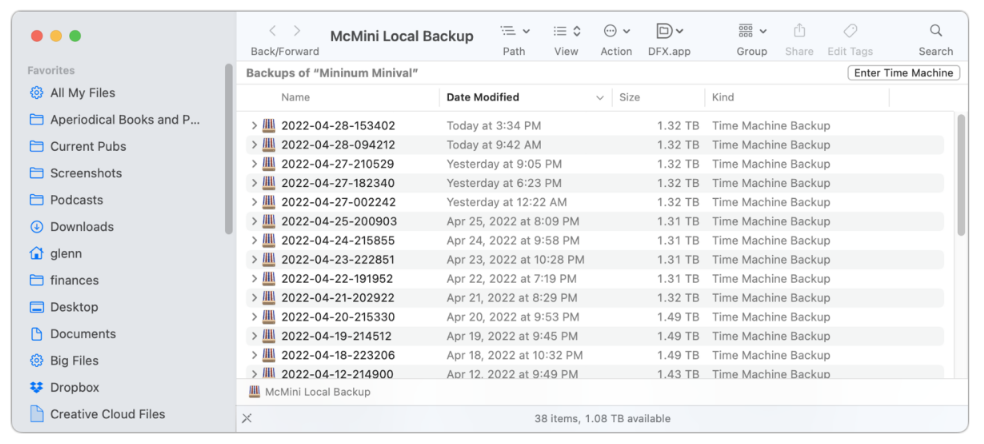
If you're concerned about the security or speed of wirelessly transferring large files, using a Time Machine backup is a faster, more reliable way to move all your data, including files, apps, settings, and user accounts, to a new Mac.
Here's how to transfer files with a Time Machine backup:
Step 1. Back up your old Mac (skip if you've already done this).
Step 2. Connect your Time Machine backup drive to your new Mac via USB, or use a USB flash drive.
Step 3. Restart your new Mac in macOS Recovery Mode.
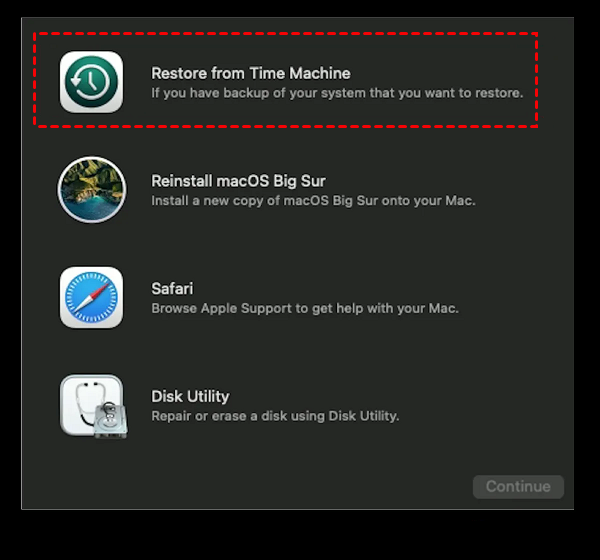
Step 4. In the recovery options, select "Restore From Time Machine Backup" and click Continue.
Step 5. Choose your Time Machine backup drive, then click Continue.
Step 6. Pick the most recent backup and follow the on-screen steps to complete the transfer.
Step 7. Once the transfer is done, restart your new Mac and check the migrated files.
Bonus tip: Best third-party Mac file transfer tool - AnyViewer
While Apple's built-in tools are quite effective, you may sometimes need additional flexibility or features to make the file transfer smoother. That's where AnyViewer comes in. AnyViewer is a third-party remote access and file transfer tool that enables you to connect your old Mac to your new one, even if they are on different networks. It allows you to easily access files on your MacBook Pro from your MacBook Air without the hassle of physically transferring them or dealing with network restrictions.
Why Choose AnyViewer?
- Cross-platform compatibility: Besides macOS, AnyViewer supports Windows, giving you the flexibility to transfer files across Mac and Windows.
- Fast file transfer: It ensures fast and secure file transfers, even when dealing with large files.
- Remote access features: You can access and manage your files remotely, making it convenient if you're away from your old Mac or have trouble with local networks.
- User-friendly interface: Setting up AnyViewer is straightforward. It only takes a few clicks to establish a remote connection between your devices.
How to transfer data from MacBook Pro to MacBook Air using AnyViewer:
Step 1. Download and install AnyViewer on both the old MacBook Pro and new MacBook Air.
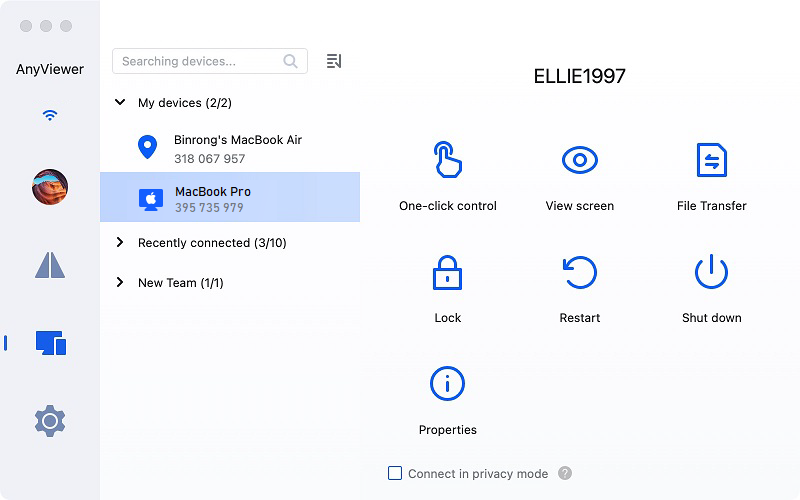
Step 2. Open AnyViewer on both devices and sign in with your account (or create one).

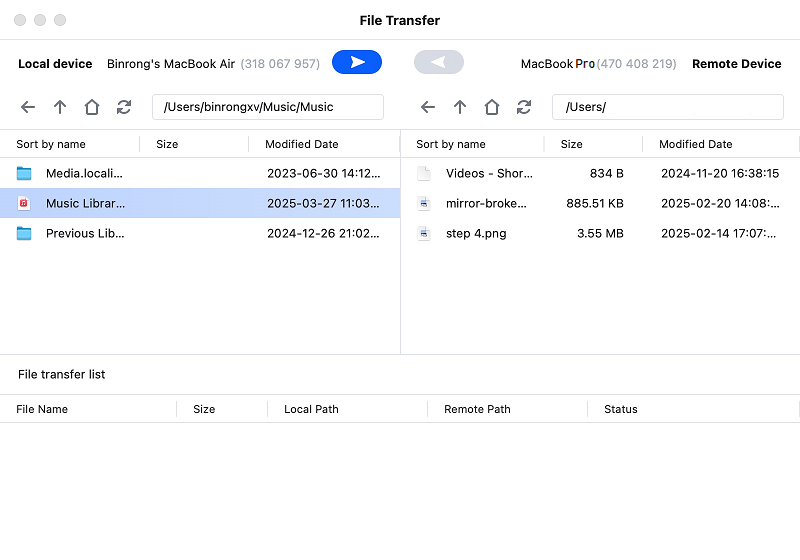
Step 3. On your old MacBook Pro, choose your new MacBook Air and click on the "File Transfer" option.
Step 4. Once connected, you can transfer files easily between the two Macs.
Tips: For better file transfer performance, consider upgrading to a Professional or Enterprise plan. These plans offer:
- Faster Transfers – Achieve speeds of up to 10 MB/s for quicker file transfers.
- Multi-Threaded Transfers – Support for up to 5 simultaneous file transfers, boosting efficiency.
- Unlimited File Transfers – No limits on the number of files you can transfer at once.
- Larger File Support – Transfer individual files up to 1 TB, perfect for handling large data.
Conclusion
In conclusion, knowing how to transfer data from MacBook Pro to MacBook Air is essential for a smooth transition to your new device. Whether you choose Apple’s built-in methods like Migration Assistant, iCloud, or AirDrop, or prefer the added flexibility of third-party tools like AnyViewer, there are plenty of options to ensure all your files, apps, and settings make the move seamlessly. Select the best method based on your preferences and enjoy the ease of setting up your new MacBook Air without hassle.
