
How to Add User to Remote Desktop Group on Windows Server 2012 R2
This post mainly introduces the detailed steps on how to add user to Remote Desktop group on Windows Server 2012 R2. In addition, free remote access software that requires no additional user account configuration is recommended.
By Ellie / Updated on December 13, 2024
Remote Desktop user account error
“Hello, I’ve recently installed Windows Server 2012 R2 and am attempting to grant access to a Windows 8 user. However, I recently received the following problem message: ‘the user account is not authorized’. What should I do?”
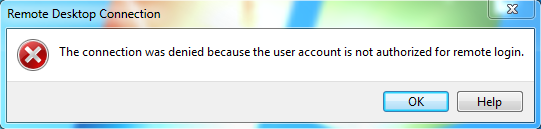
The above-mentioned error typically occurs when the user account that you are using to remotely connect to the target system doesn’t have sufficient permissions. Therefore, the fix to this error is to add user to Remote Desktop group on Windows Server 2012 R2.
How to add user to Remote Desktop group on Windows Server 2012 R2?
Following that, we’ll walk you through the steps to add user to Remote Desktop group on Windows Server 2012 R2. Before you start, please make sure to log in to your server Windows 2012 R2 with administrator privileges.
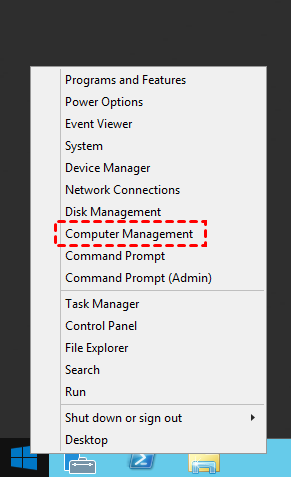
Step 1. Right-click the Windows icon and then open Computer Management.
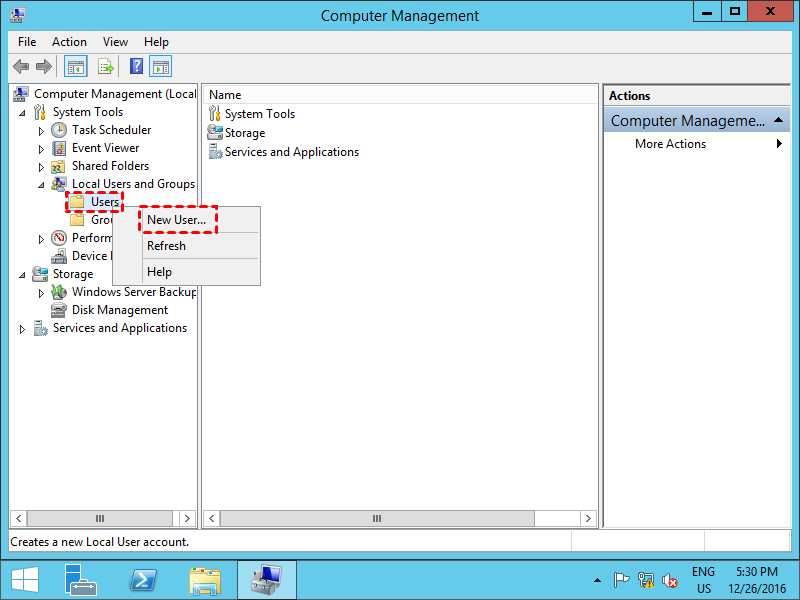
Step 2. Under the Local Users and Groups section, right-click Users and then choose New User.
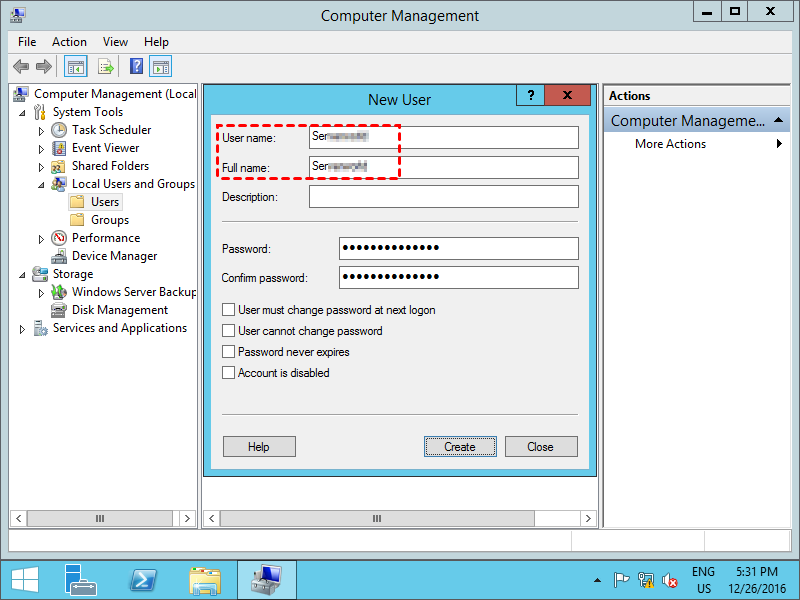
Step 3. Input User name and Password, then click Create.
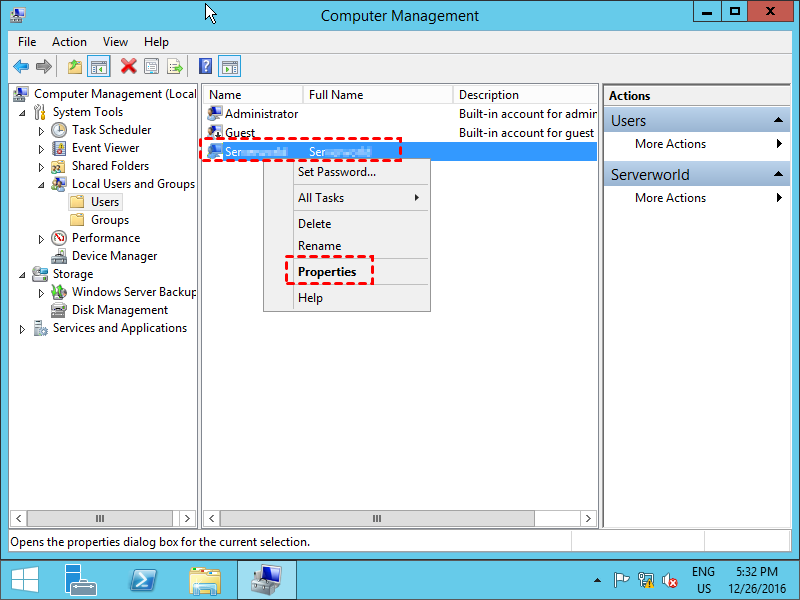
Step 4. Then you can see the newly created user. Right-click it and then choose Properties.
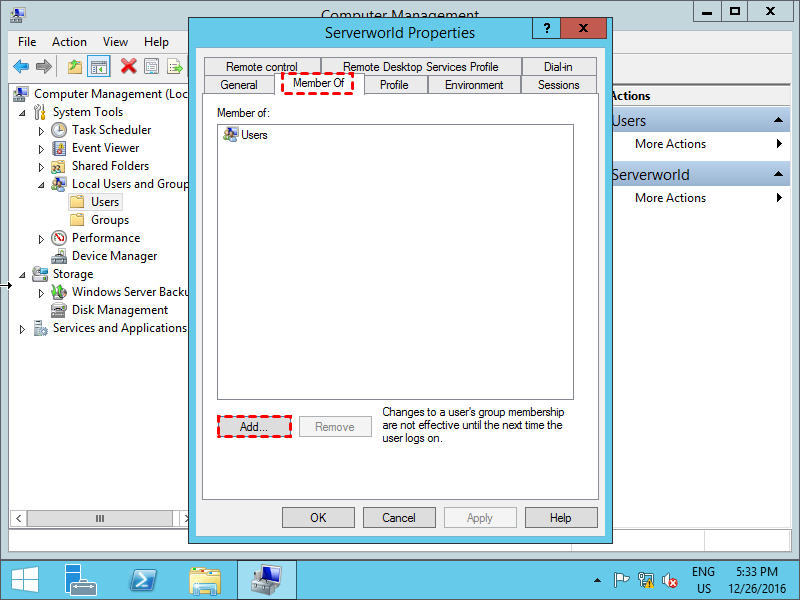
Step 5. Go to the Member of tab and then click Add.
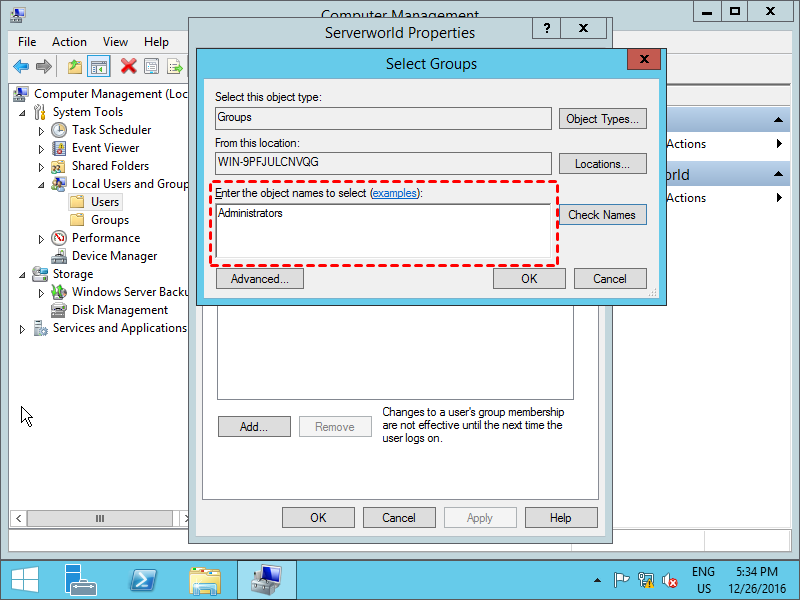
Step 6. Specify Administrators group.
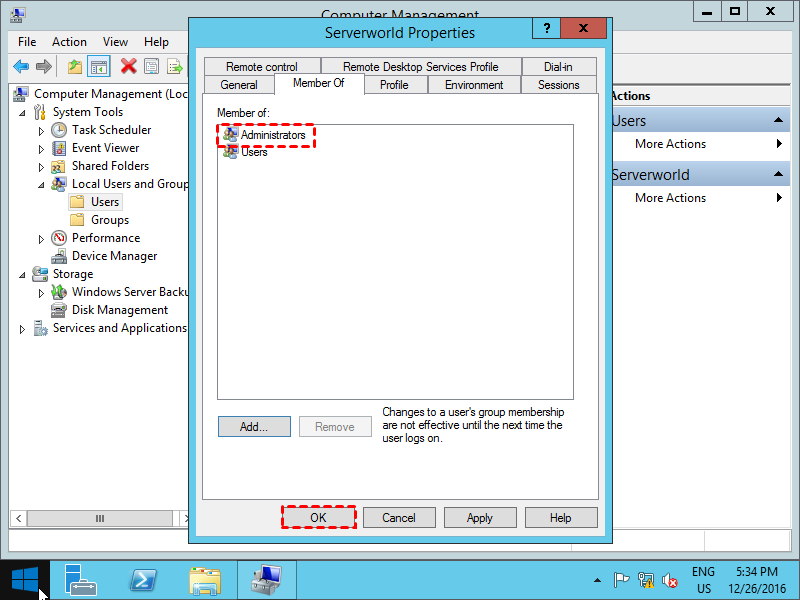
Step 7. Make sure the Administrators group is added and click OK. Then the user has been successfully added to Remote Desktop group on Windows Server 2012 R2.
✍Note: It’s worth noting that the way to add user to Remote Desktop group on Windows Server 2012, 2016, 2019 is pretty much the same as on the Windows Server 2012 R2.
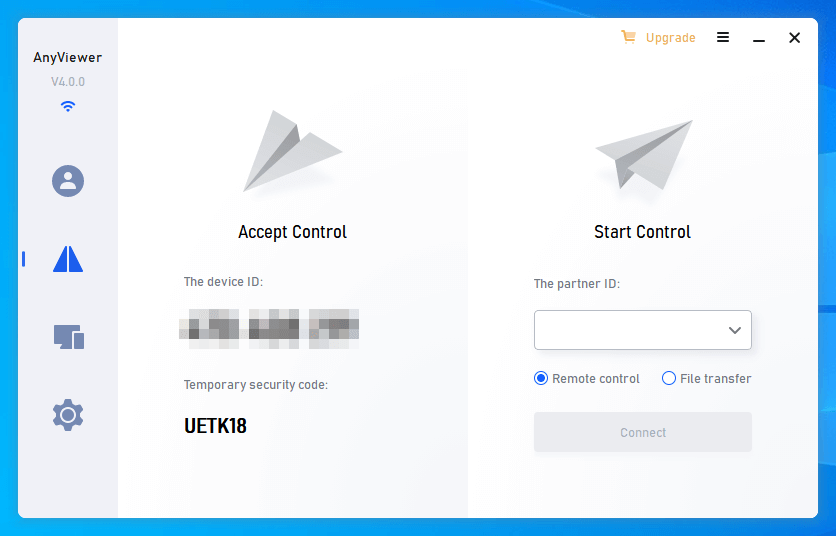
AnyViewer: free remote access software without user account configuration
The Windows built-in Remote Desktop has been very popular for its convenience. But sometimes, it requires very annoying configuration steps. If you would like to try easy and simple remote access software, you can use AnyViewer. It can help you quickly start a remote connection without complicated configuration.
Other benefits of AnyViewer include multiple remote connections, unattended remote access, toolbar shortcuts, instant chatbox, etc. Next, let’s get started with the following method.
Step 1. Download, install, and launch AnyViewer on both computers.
Step 2. Go to Log in, and then click Sign up. (If you already have signed up on its official website, you can log in directly.)

Step 3. Fill in the signup information.

Step 4. Then you can see you successfully logged in to AnyViewer. Your device will automatically be assigned to the account you've logged in to.

Step 5. Log in to the same AnyViewer account on the two devices, then click One-click control to achieve unattended remote access.

- Note: If you upgrade your account to a Professional or Enterprise plan, then you’ll have more rights. You can assign more devices. Also, you can connect to another computer in privacy mode, which means you can black the screen and block the mouse and keyboard of the remote computer.
Conclusion
Here in this post, we've shown you how to add user to Remote Desktop group on Windows Server 2012 R2 in step-by-step detail. In addition, we introduce a free third-party remote access software, AnyViewer, to you. It's worth a go for anyone searching for simple remote desktop software that doesn't require further complicated configurations.
