
3 Easy Ways to Use 3D Mouse in Remote Desktop
Struggling to use 3D mouse in remote desktop sessions? This guide shows you three easy ways to get your 3D mouse working smoothly. Whether you choose AnyViewer, USB Network Gate, or RemoteFX, you'll be able to control your 3D mouse remotely with ease.
By Ellie / Updated on May 28, 2025
How can I use 3D mouse in remote desktop?
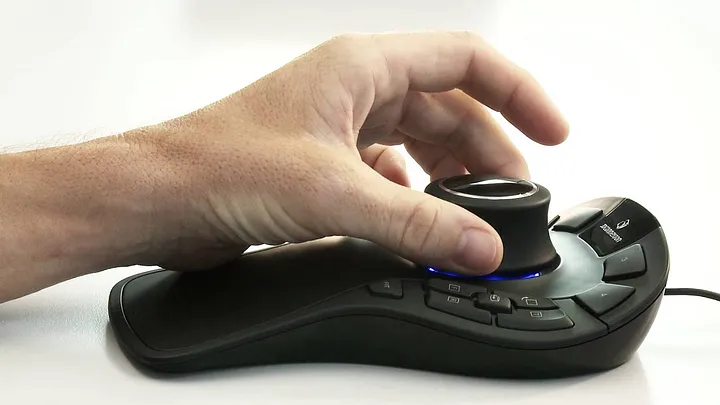
Ever tried to use 3D mouse in remote desktop connection, only to find it doesn't work the way it should? You're not the only one. Creative professionals who need to work remotely always encounter this problem. Devices like the 3Dconnexion SpaceMouse are vital for professionals in CAD, engineering, and 3D modeling, but remote setups often limit their functionality.
This guide is designed to help you break through those barriers. Whether you're working with AnyViewer, USB Network Gate, or using RemoteFX for USB redirection, we'll show you exactly how to get your 3D mouse working smoothly in remote desktop Windows environments or any remote desktop connection.
3 ways to use 3D mouse in remote desktop
Whether you're working on complex CAD designs or navigating 3D environments remotely, here are three effective methods to use 3d mouse in remote desktop connection seamlessly.
Solution 1. Use 3D mouse in remote desktop with AnyViewer
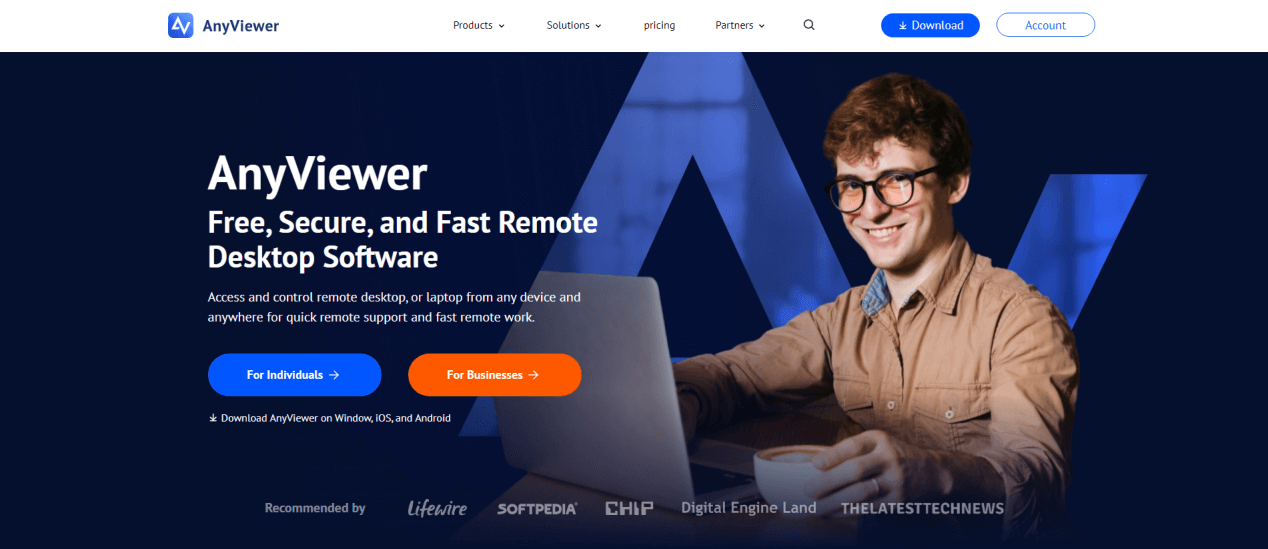
If you're looking for a simpler and more reliable way to use 3D mouse in remote desktop Windows sessions, AnyViewer is an excellent alternative to traditional RDP setups. Unlike RemoteFX or USB Network Gate, AnyViewer offers full remote device redirection capabilities without the need for complex group policy changes or driver issues.
Why Choose AnyViewer for 3D Mouse Redirection?
AnyViewer supports advanced remote control functionalities, including remote access to USB input devices like 3D mice. It excels in environments where low-latency input and driver compatibility are critical, such as CAD applications and 3D modeling software.
Benefits of using AnyViewer include:
- Effortless plug-and-play compatibility with a wide range of USB input devices
- No need for RemoteFX or complex configuration steps
- Smooth, high-frame-rate performance with ultra-low latency
- Delivers 4:4:4 true color accuracy for precise visuals
- Supports both Windows and macOS platforms
- Secure, encrypted connections for safe remote access
How to Use 3D Mouse in Remote Desktop via AnyViewer
Here's how you can set up AnyViewer to use 3D mouse in remote desktop connection remotely:
Step 1: Install AnyViewer on Both Computers
- Download and install AnyViewer on both the host PC (where the 3D mouse is plugged in) and the client PC (the one you'll use for remote control).
- Create an account and sign in on both devices using the same credentials.
- AnyViewer offers powerful features at a great price, it is recommended to upgrade your account.

Step 2: Enable Unattended Remote Access
- On the client computer, locate the host PC from the device list.
- Click "One-click control" to initiate an unattended connection.

Step 3: Connect Your 3D Mouse
- Plug your 3Dconnexion SpaceMouse or any compatible 3D mouse into your local (client) computer.
- AnyViewer will seamlessly transmit the mouse input to the host machine—no need for USB redirection tools or extra setup.
Step 4: Install the Required Drivers on the Host
- Make sure the appropriate drivers for the 3D mouse are installed on the host PC.
- Head over to the official website of the manufacturer, like 3Dconnexion, and grab the most up-to-date drivers for installation.
That's it! You can now use your 3D mouse in remote desktop sessions seamlessly using AnyViewer.
Solution 2. Use USB Network Gate to Redirect a 3D Mouse
USB Network Gate is a third-party tool that enables USB redirection over RDP. It allows the remote system to recognize and use 3d mouse in remote desktop Windows as if they were physically connected.
Step-by-Step Guide to Use 3D Mouse via USB Network Gate
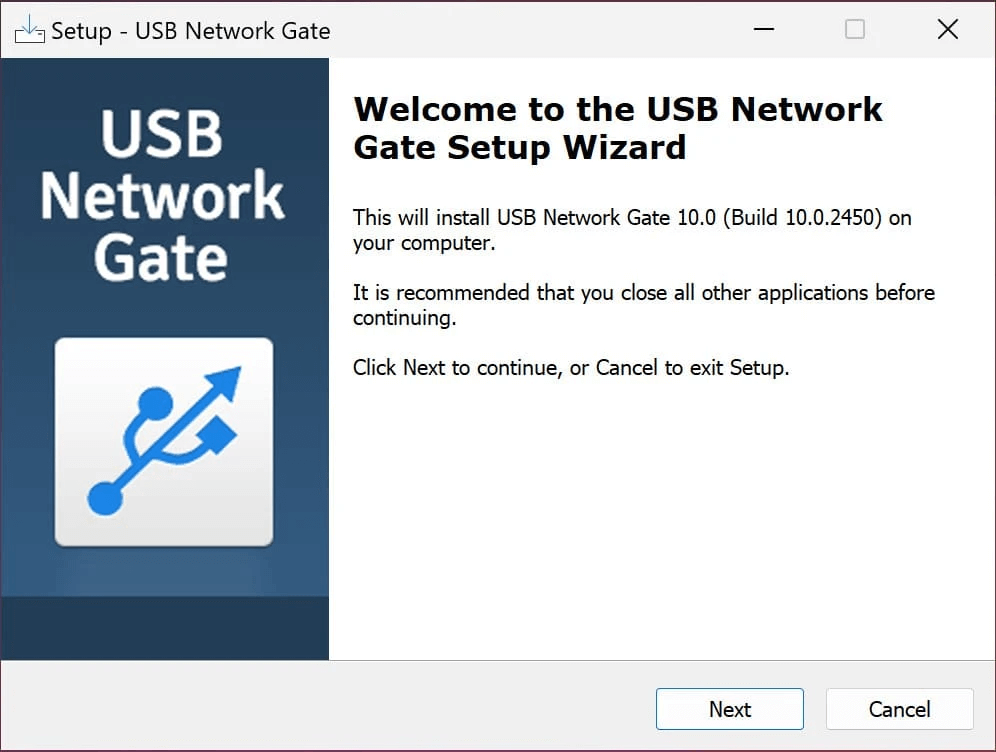
Step 1: Install USB Network Gate on the Host
- This is the local PC where the 3D mouse is physically connected.
- Download and install USB Network Gate.
Step 2: Install USB Network Gate on the Client
- This refers to the remote computer connecting to the host through Remote Desktop Protocol (RDP).
- Launch USB Network Gate on both ends.
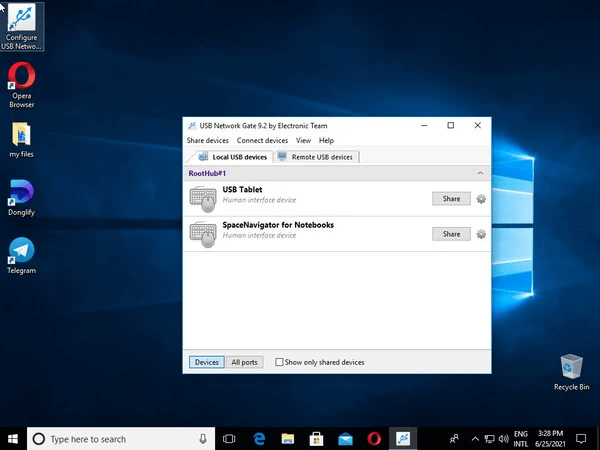
Step 3: Share the 3D Mouse from the Host
- Open USB Network Gate and navigate to the "Local Devices" section.
- Find your 3D mouse and click on "Sharing Options" to configure encryption or port settings if needed.
- Click Share.
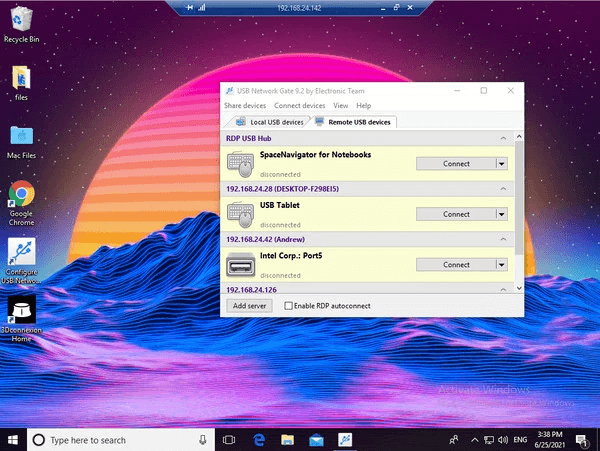
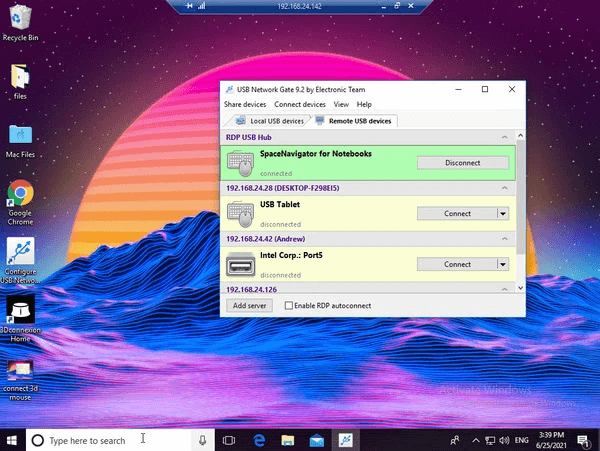
Step 4: Connect from the Client Side
- Start an RDP session to the host.
- Open USB Network Gate on the remote machine and go to "Remote Devices".
- Locate the shared 3D mouse and click Connect.
Tip: Make sure the 3Dconnexion drivers are installed on both machines to ensure full functionality.
Solution 3. Use RemoteFX USB Redirection (Legacy Option)
Microsoft's RemoteFX once allowed USB device redirection—including 3D mice—but its support has largely been phased out in recent Windows versions. It's only compatible with older systems like Windows 7 Pro SP1 and Windows Server 2008 R2.
How to Enable RemoteFX USB Redirection
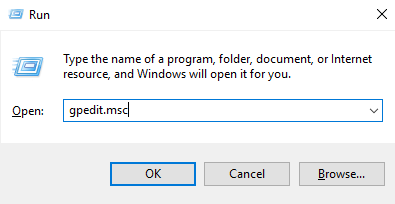
Step 1: Open Group Policy Editor
- Press Win + R, type gpedit.msc, and press Enter.
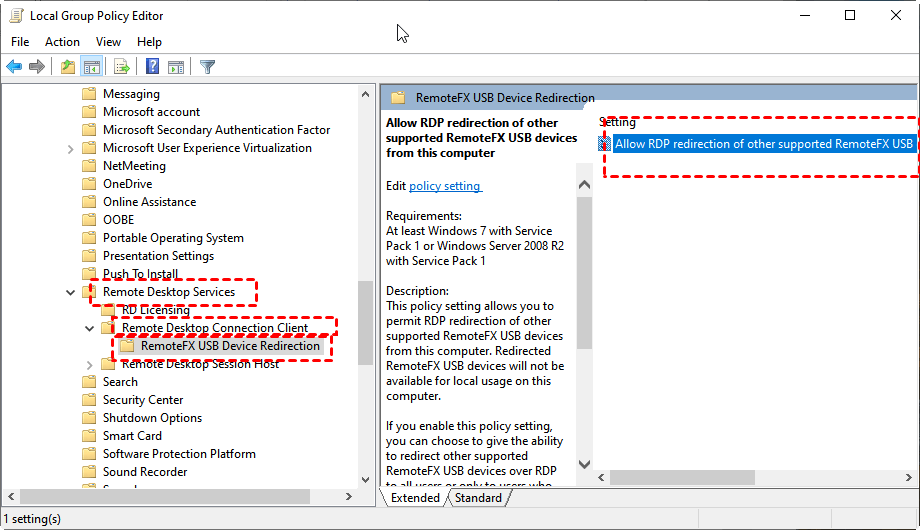
Step 2: Navigate to the Following Policies
- Computer Configuration > Administrative Templates > Windows Components > Remote Desktop Services
Step 3: Configure the Following Settings
- Enable: Remote Desktop Connection Client > Allow RDP redirection of other supported RemoteFX USB devices
- Enable: Remote Desktop Session Host > Connections > Allow users to connect remotely

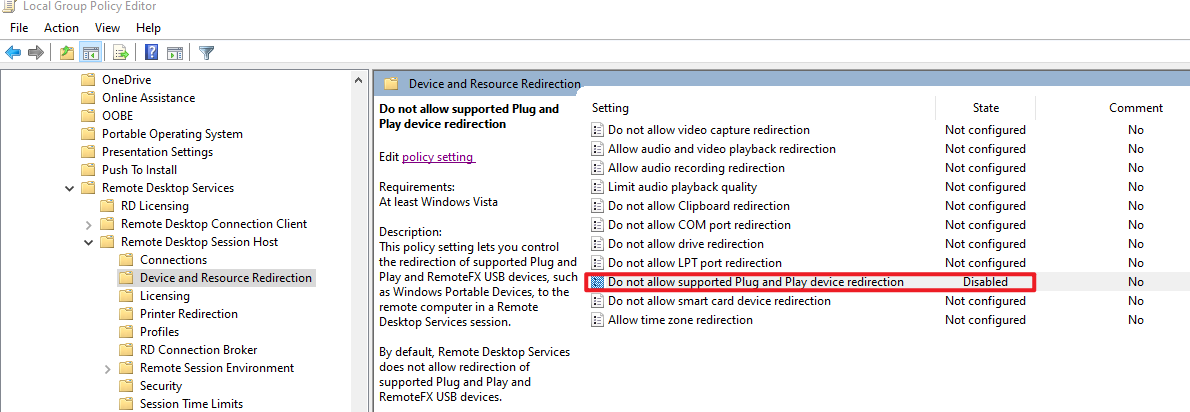
- Disable: Remote Desktop Session Host > Device and Resource Redirection > Do not allow supported Plug and Play device redirection
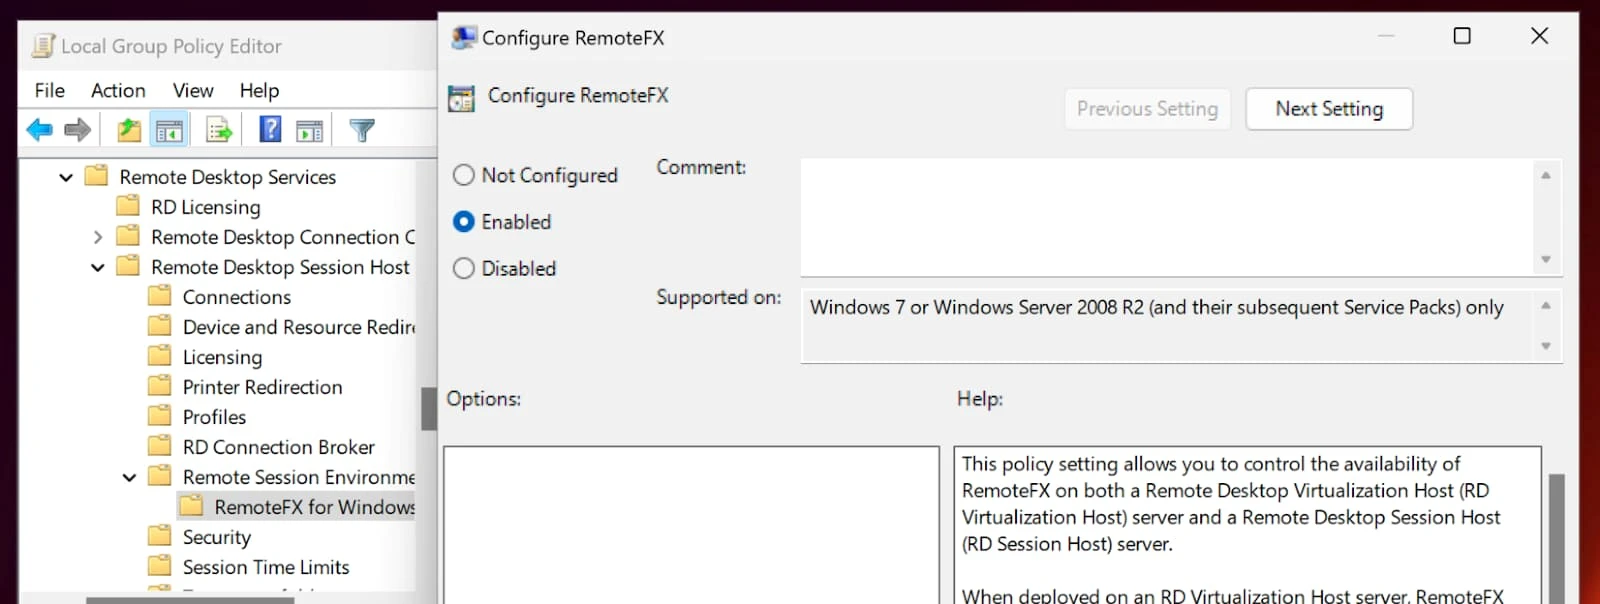
- Enable: Remote Desktop Session Host > Remote Session Environment > Configure RemoteFX
Step 4: Force Policy Update
- Open Command Prompt as Admin and run: gpupdate /force
- Restart your PC.
Step 5: Enable USB Redirection in RDP
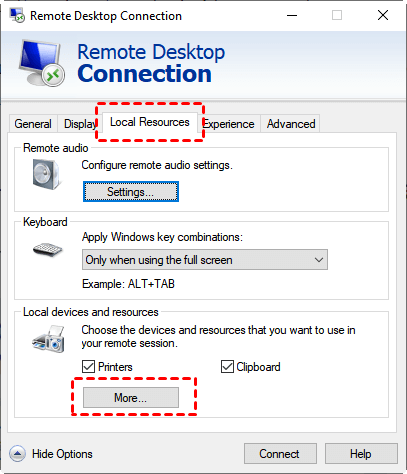
- Open Remote Desktop Client.
- Go to the Local Resources tab > click More.
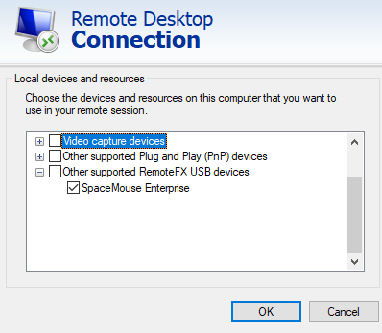
- Select Other supported RemoteFX USB devices, then check your 3D mouse.
Final thoughts
Being able to use 3D mouse in remote desktop connection doesn't have to be frustrating. With solutions like AnyViewer offering seamless USB input redirection, you can enjoy smooth, low-latency performance for CAD and 3D modeling work without the hassle. Alternatives like USB Network Gate and legacy RemoteFX redirection also provide viable options, depending on your setup. Choose the method that best fits your needs and enjoy full 3D mouse functionality—no matter where you're working from.
