
Three Ways to Transfer Files from PC to iPad Wirelessly
How do I transfer files from my PC to my iPad wirelessly? This post mainly introduces three programs for you which allows you to remotely transfer PC files to iPad or iPhone.
By Ellie / Updated on December 13, 2024
Can I transfer files from PC to iPad?
“After a long day at work, I despise sitting at my desk. I’d like to move some of my PC files on my iPad so that I can work on some of my paperwork while lying on the couch. If that’s the case, how do I transfer files from my PC to my iPad wirelessly?”
How to transfer files from PC to iPad/iPhone wirelessly
Here we listed three ways how to transfer files from PC to iPad wirelessly. Note, the three programs can also be used on iPhone. So you can remotely access the PC from iPhone and then transfer files.
Method 1. The Windows built-in Remote Desktop
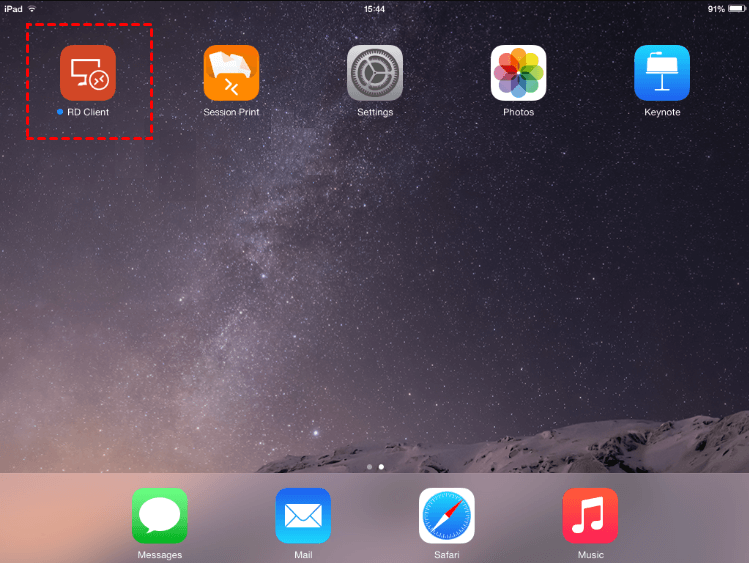
Step 1. Download RD Client on your iPad.
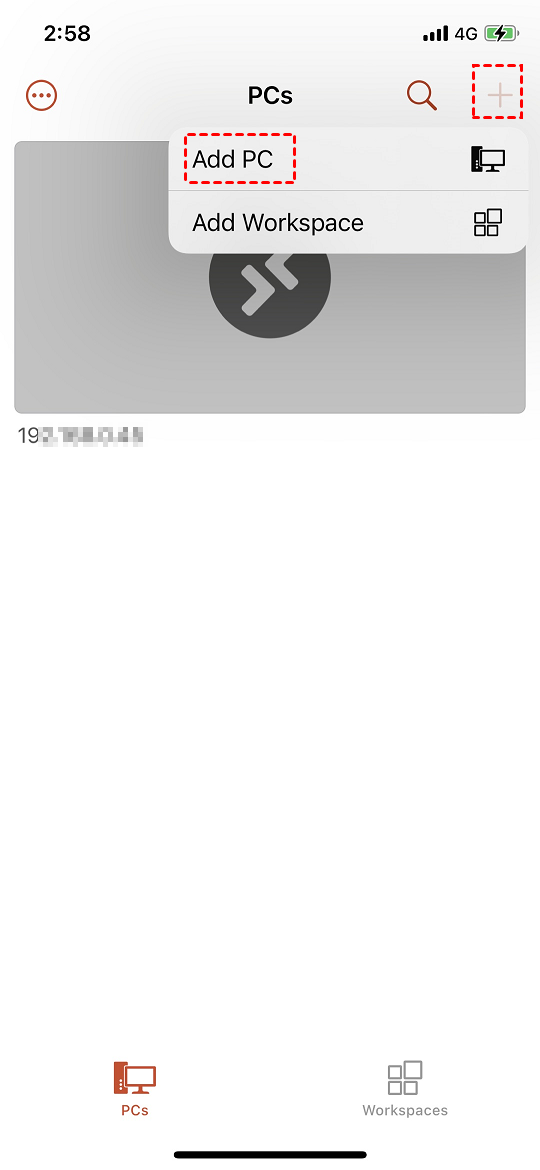
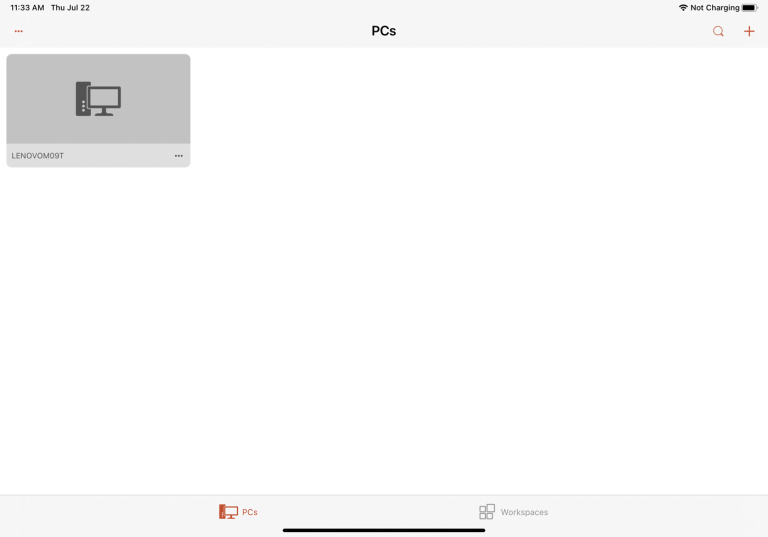
Step 2. Click “+” sign and then click Add PC.
Step 3. Enter the desktop name or IP address. Type the account name you want to use in the User Account field, or just select Ask When Required.
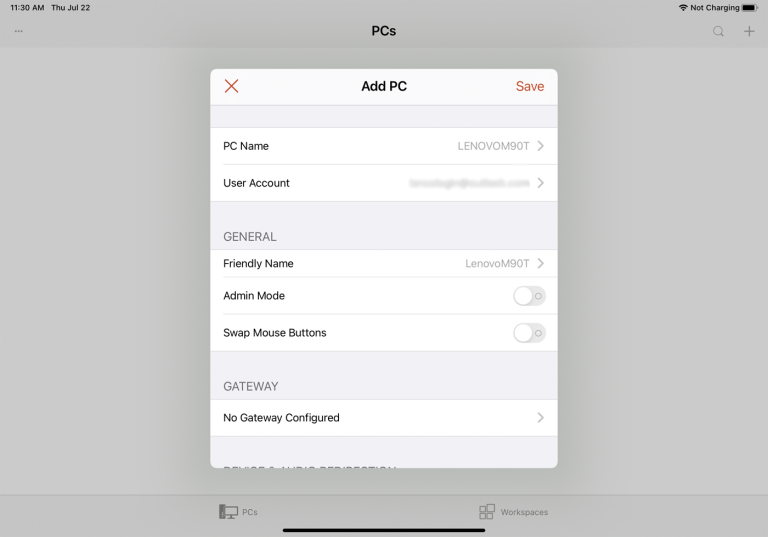
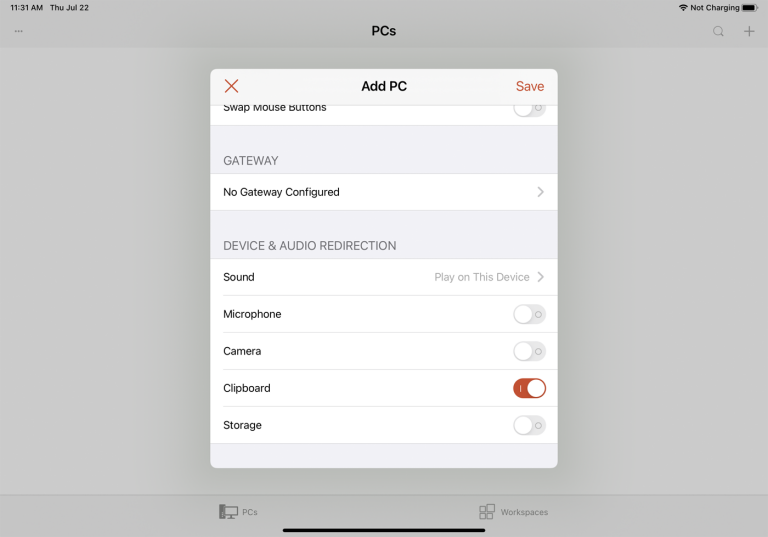
Step 4. Configure other options as you needed. Then click Save.
Step 5. An icon for the computer you want to access will appear, tap that icon. Before this, please make sure that Remote Desktop has been enabled on your computer.
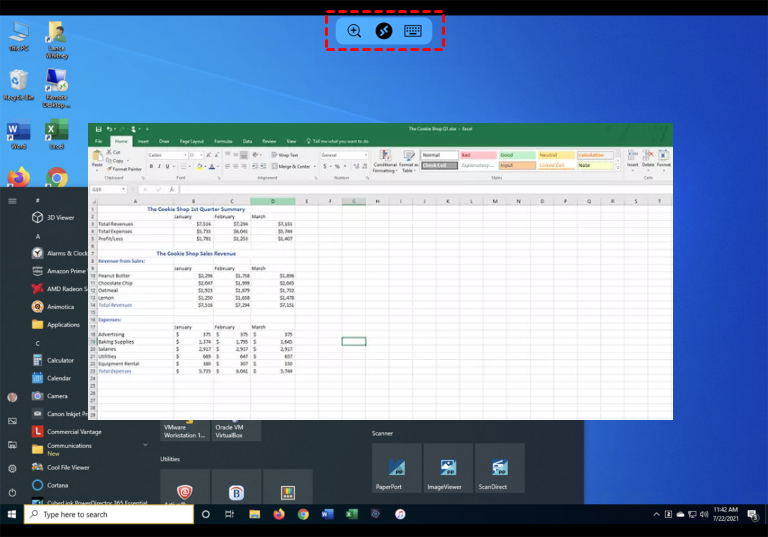
Step 6. Then you can access files on your PC from your iPad. You can also transfer files by long-pressing the files to copy them on the computer and then pasting them on the iPad.
Method 2. The iPad built-in Files app
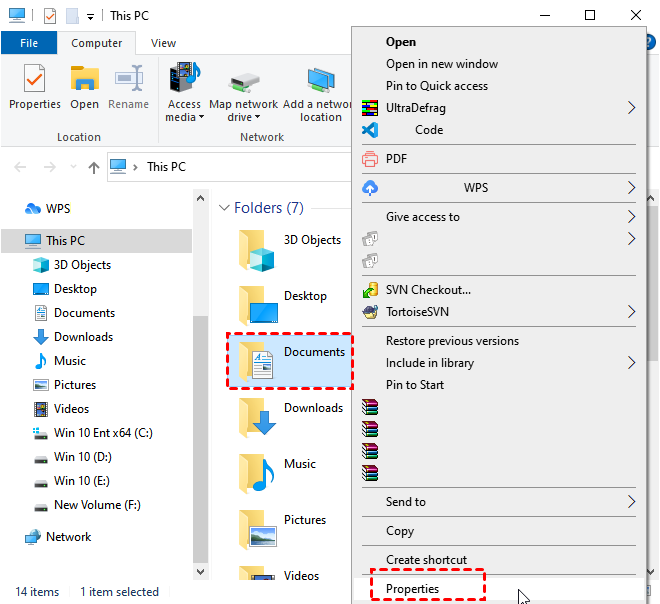
Step 1. On the computer, right-click the folder you want to access from the iPad, then choose Properties.
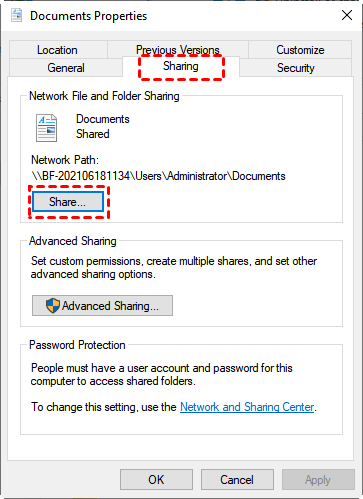
Step 2. Go to Sharing tab, then click Share.
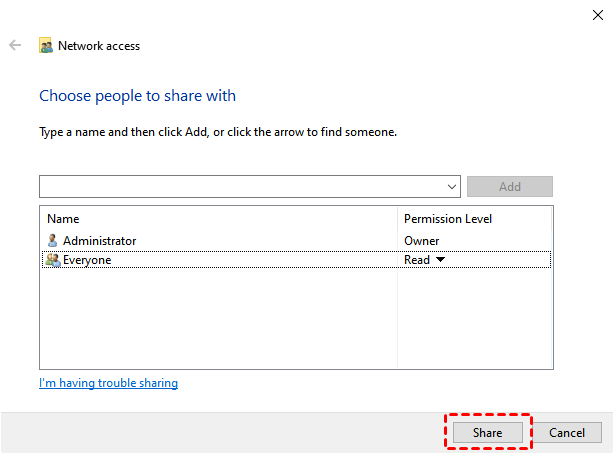
Step 3. Choose people to share with, then click Share.
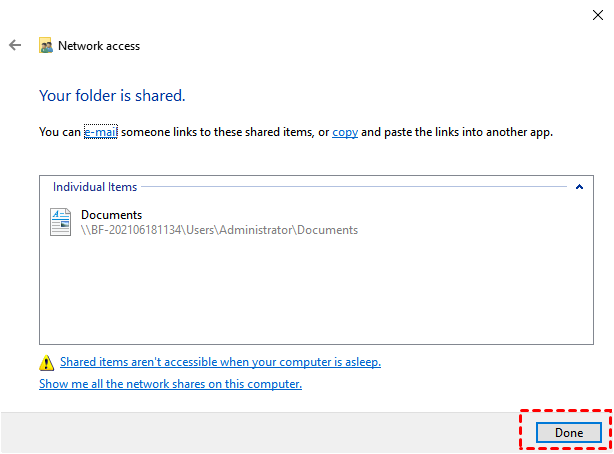
Step 4. Click Done to finish the process.
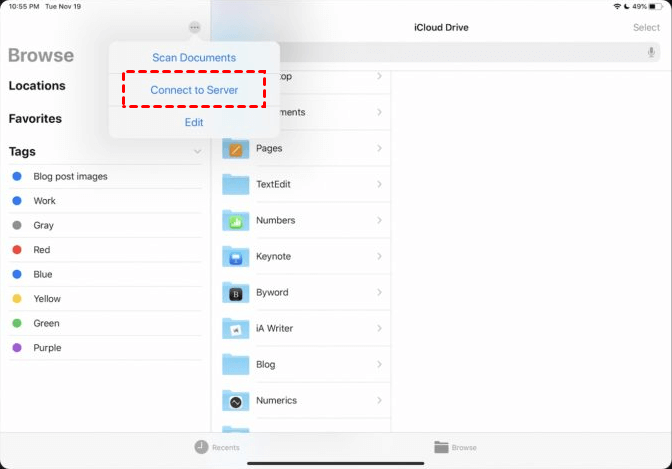
Step 5. Open the built-in Files app on your iPad.

Step 6. Tap on the "triple-dot" icon located at the top-right corner.
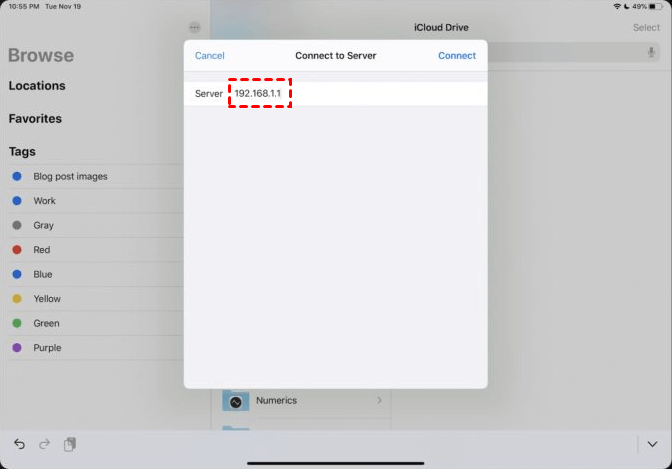
Step 7. Put in the server address and tap Connect.
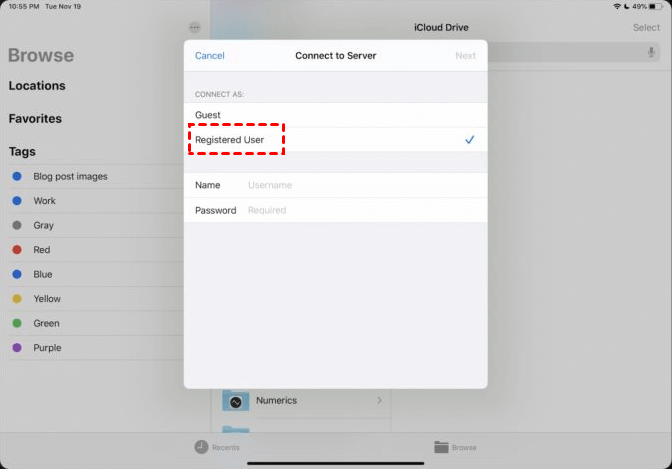
Step 8. Choose Guest or Registered User according to the setup on your file server. Enter the username and password, and then tap Next.
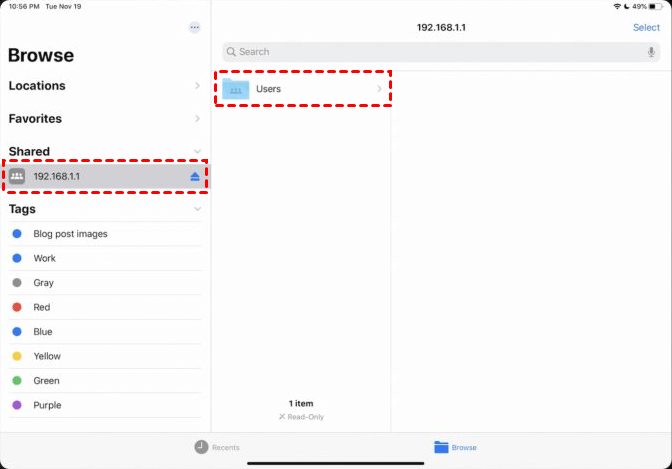
Step 9. You will now be connected to the shared folder.
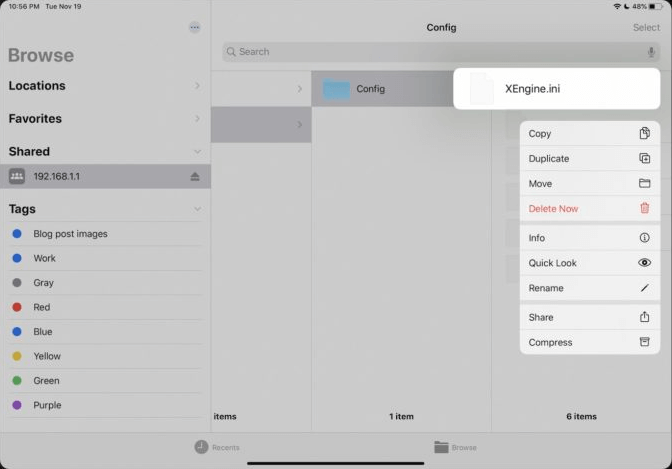
Step 10. You’re able to copy the files you want then paste them to your iPad.
Method 3. iCloud Drive
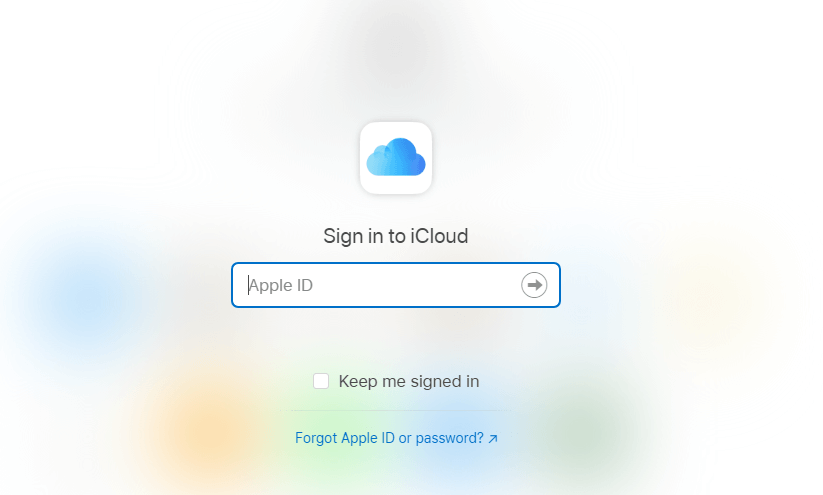
Step 1. On the computer, open the iCloud Drive page in the browser. And then enter your Apple ID and password to log in to your iCloud account.
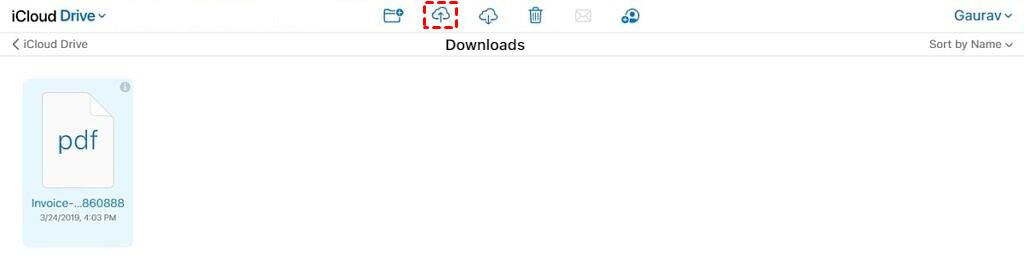
Step 2. After you’ve logged in to iCloud Drive, you’ll see a row of icons on the upper middle of the screen. Click the second icon (Upload) to upload your computer files to your iCloud Drive.
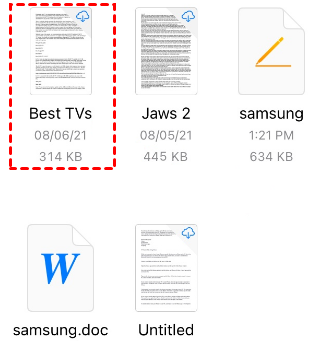
Step 3. On your iPad, go to the Files app and navigate to iCloud Drive, you’ll see the files you've just uploaded on your computer.
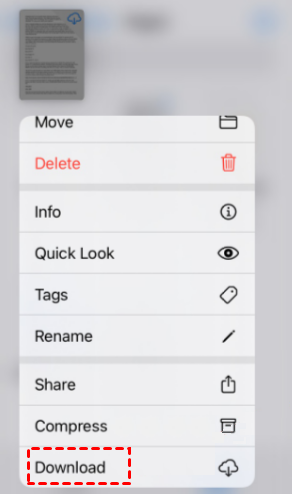
Step 4. You can long-press the file and then download it.
Conclusion
Here in this post, we listed three programs to help you transfer files from PC to iPad wirelessly, namely, RD Client, Files, and iCloud Drive. Of course, there are also other programs that allow you to access PC files from iOS devices, for example, AnyViewer. AnyViewer supports multiple Windows versions and iOS 10.0 or later. It has a really intuitive interface and a simple operating process, you can easily connect your iOS devices to your computer.
