
Stepwise Tutorial: How to Share Folder Remote Desktop
Are you trying to transfer folders and files between computers? This post provides you with a stepwise tutorial on how to share folder Remote Desktop. If you’re interested, keep reading!
By Ellie / Updated on December 13, 2024
How do I access a shared folder in Remote Desktop?
“How do I access and share folders on a remote computer when I connect to it with Windows Remote Desktop Connection?”
-Question from Reddit
How to share folder Remote Desktop [2 ways]
Typically, there are two ways to transfer folders using Windows Remote Desktop. The first is to redirect drives and folders, and the second is to copy and paste folders directly. Before you can share folder Remote Desktop, there are some preparation works.
Part 1. Set up Remote Desktop to share folders
Before using Microsoft Remote Desktop share folders, you need to do three things: check if remote access is enabled, get the IP address and PC name for remote access, and configure Remote Desktop settings to share folders.
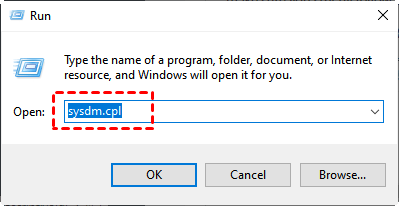
Step 1. Press Win + R to invoke the Run dialog box. Then type in “sysdm.cpl” and hit OK to open System Properties.
Step 2. Check whether“Allow remote connections to this computer” is ticked.

Step 3. Invoke the Run dialog box again. Type in “cmd” and press OK.

Step 4. Then type “ipconfig” and press Enter to get the IP address. Now you can see a group of IP addresses, of which the IPv4 address is the one you need.

Step 5. Then type “query user” to get the PC name for Remote Desktop.

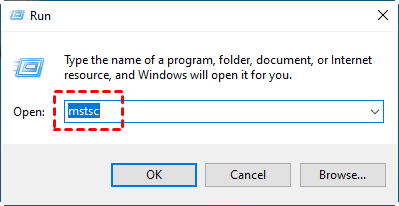
Step 6. Type in “mstsc” in the Run box to launch Remote Desktop Connection.
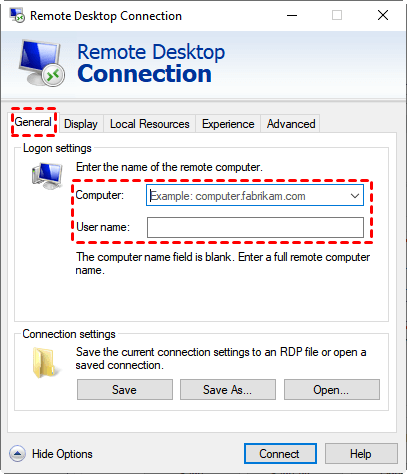
Step 7. Click Show Options and then go to the Local Resources tab, and check Clipboard. Then click More.
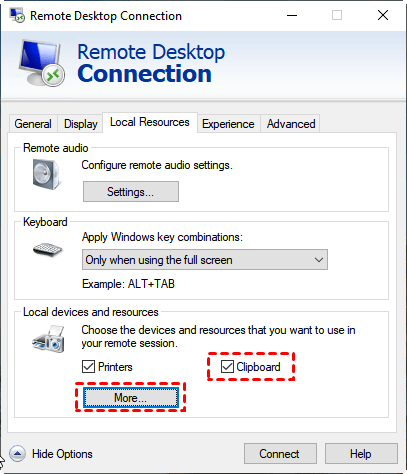
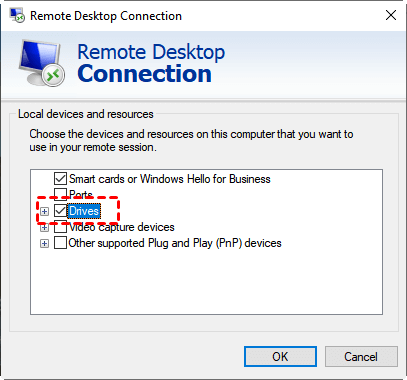
Step 8. On the Local devices and resources window, check Drives. Click OK to finish the setting.
Step 9. Return to the General tab, enter the remote computer's IP address and PC name, and then click Connect.
Part 2. Windows Remote Desktop Connection share folders
Now you have successfully connected to the remote desktop, you can start to use Windows Remote Desktop Connection share folders. There are two ways. Before starting, we should note the Remote Desktop file transfer limits.
- ✍Size limit. RDP allows you to copy and paste files up to 2 GB in size from a remote desktop to your local computer. For larger files that cannot be copied and pasted, you must enable drive syncing, which allows you to use any drive from a local computer on a remote desktop.
- ✍Speed limit. RDP file transfer is relatively slow. RDP protocol uses a lot of its bandwidth for screen data and instruction transfer. It is not designed for file transfer originally. This is the primary reason why it is slow.
- ✍Network limit. You cannot connect the two computers directly if they are on different networks. Instead, you need to set up port forwarding or VPN to use RDPand then transfer files.
Way 1. Share folders to shared drives
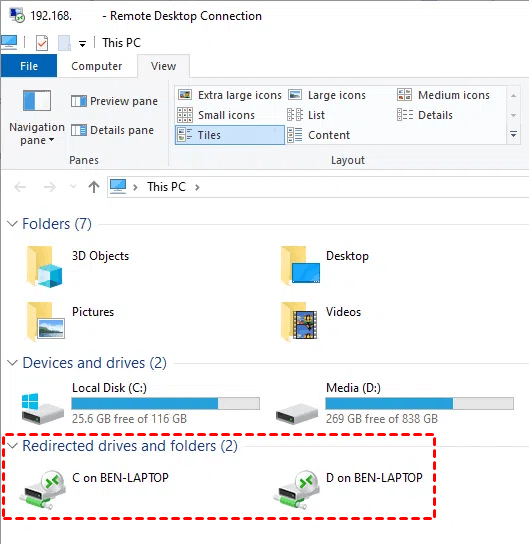
Step 1. Right-click the Start menu > File Explorer on the remote desktop. You should see all shared devices in the “Redirected drives and folders” section.
Step 2. Drag folders between drives as desired.
Way 2. Copy and paste folders directly
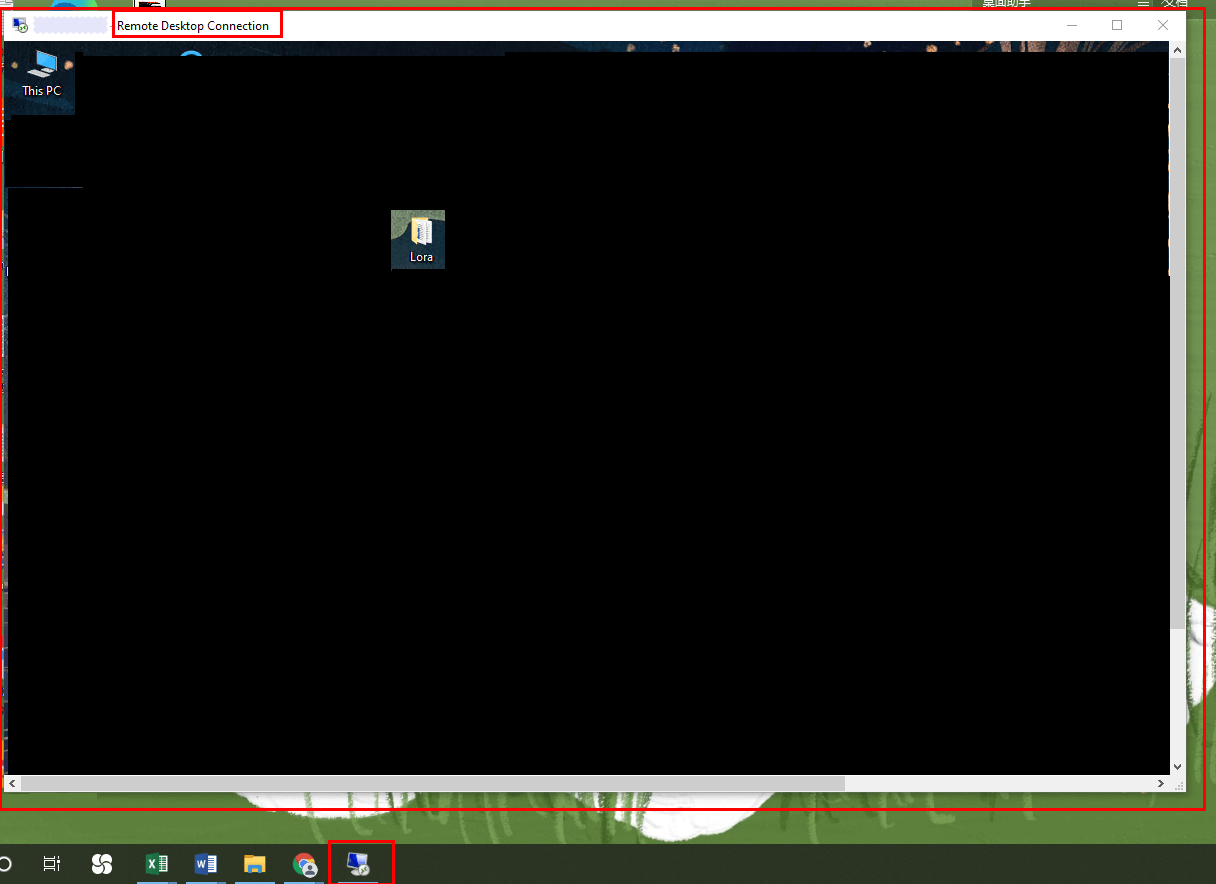
Step 1. On the remote desktop, choose the folder that you want to copy to your local computer with your mouse, and press Ctrl + C to copy files.
Step 2. Go to your local desktop, and press Ctrl + V to paste the copied folder. This is how to copy-paste folders from the remote desktop to the local desktop.
AnyViewer: Share folders between devices with ease
There’s an easier way to share folders between devices. Like Remote Desktop, AnyViewer is a remote file transfer tool that would allow you to transfer files and folders from anywhere. The differences are:
- AnyViewer doesn’t require complicated configurations. It can achieve folder share directly.
- AnyViewer can be used directly even if the two devices are not on WiFi or the LAN, while Remote Desktop can’t.
Step 1. Download, install, and launch AnyViewer on both Windows computers. If your version is lower, please upgrade first.
Step 2. On the Controller computer, go to Log in, and then click Sign up. (If you already have signed up on its official website, you can log in directly.)

Step 3. Fill in the signup information.

Step 4. Then you can see you successfully logged in to AnyViewer. Your device will automatically be assigned to the account you’ve logged in to.

Step 5. Choose your target computer, and then click File Transfer.

- Notes:✎... It is recommended to upgrade your account to a Professional or Enterprise plan to share folders at a faster speed and in a larger size.
Closing words
This post primarily gives a stepwise tutorial on how to share folder Remote Desktop. Follow the steps to configure the Remote Desktop to share files and folders. Besides, we also recommend a Remote Desktop file transfer alternative to you. With AnyViewer, you can share files between devices with ease.
