
Complete Guide to Remote Desktop Session Recording
Remote desktop session recording is essential for businesses, IT admins, teachers, and remote workers who need to keep records of their sessions. This guide shows you how to record them, reviews five top tools, and gives step-by-step instructions for each.
By Ellie / Updated on September 17, 2025
Can remote desktop session be recorded?
Absolutely. While Microsoft's built-in Remote Desktop Protocol (RDP) client doesn't include a native session recording feature, you can still record remote desktop session activities using third-party software. Better yet, many modern remote desktop tools now integrate remote desktop session recording, so you don't have to juggle multiple apps.
For example, AnyViewer lets you start recording as soon as you connect, no add-ons, no complicated setup. Whether you want to keep a record for training, compliance, or troubleshooting, these tools make it easy to save high-quality session videos. If you're wondering how to record remote desktop session without hassle, you'll find plenty of solutions in this guide.
In this guide, we'll explore the top 5 tools for remote desktop session recording, starting with the most feature-rich and user-friendly option.
Top 5 tools for remote desktop session recording
Whether you need to capture sessions for training, compliance, or troubleshooting, these five tools offer reliable and efficient ways to record remote desktop session activities.
Option 1. AnyViewer [Recommended]
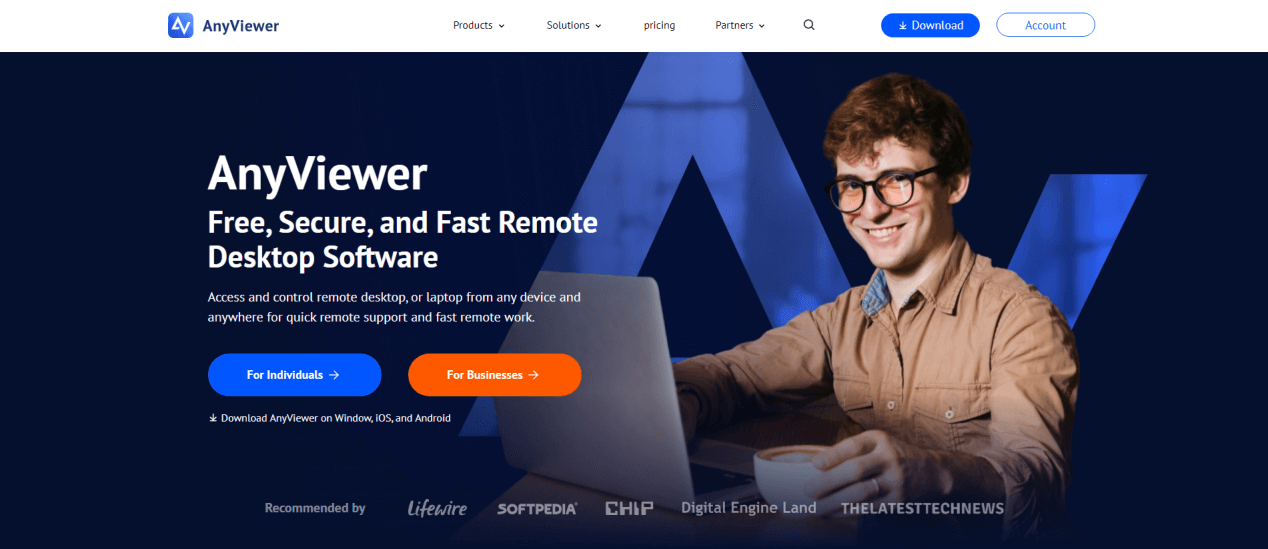
If you're looking for a remote desktop tool that connects devices effortlessly and offers built-in remote desktop session recording, AnyViewer is the clear winner. Unlike many tools that require add-on software or complex setups, AnyViewer integrates recording directly into its interface, so you can start capturing sessions in seconds.
This makes it ideal for businesses needing compliance-ready logs, educators recording lessons, or IT admins troubleshooting user issues.
Why Choose AnyViewer for Remote Desktop Session Recording?
- Built-in Recording: No need for third-party apps; recording is available right from the toolbar.
- High-Performance: Delivers smooth, low-latency remote control even while recording in high quality.
- One-Click Start/Stop: Quickly toggle recording during a live session.
- Secure Storage: Save recordings locally or to the cloud with ECC encryption.
- Cross-Platform Support: Works on Windows and macOS for maximum flexibility.
- HD Playback: Perfect for reviewing fine details in troubleshooting videos.
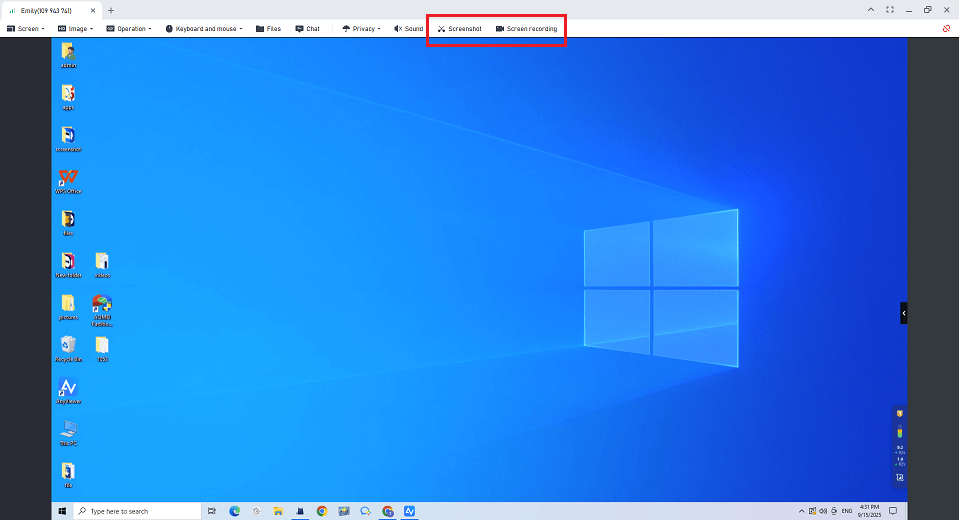
How to Record RDP Sessions Using AnyViewer
Step 1. Install AnyViewer on both local and remote devices.
Step 2. Log in to your account and start a remote session.
Step 3. Click Screen recording on the session toolbar.
Step 4. Pause or stop at any time.
What Makes AnyViewer Stand Out?
- Beginner-Friendly Interface: Minimal setup, intuitive controls.
- Low Latency: Maintains smooth remote control even during recording.
- Flexible Plans: Free version includes recording; paid tiers add file transfer, multi-session control, and more.
- Robust Security: ECC encryption ensures data integrity and privacy.
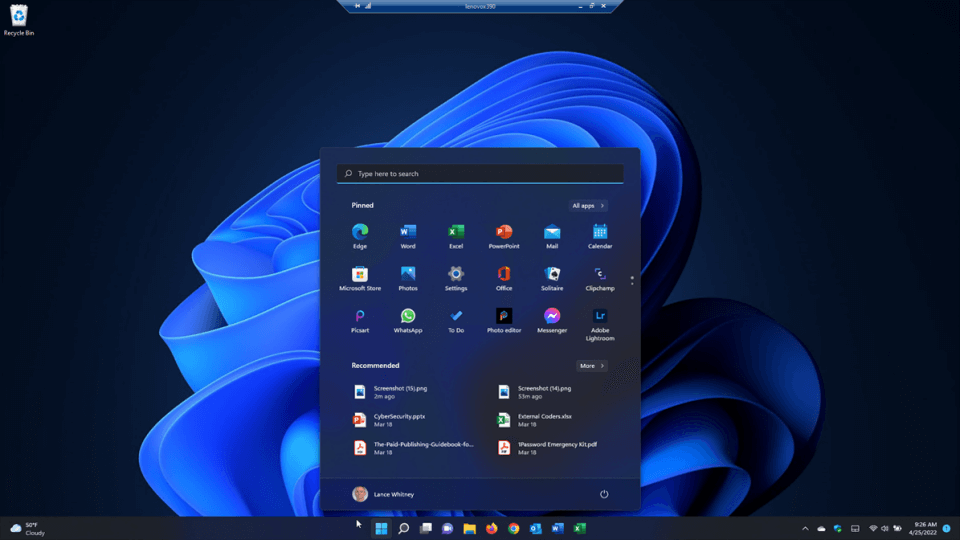
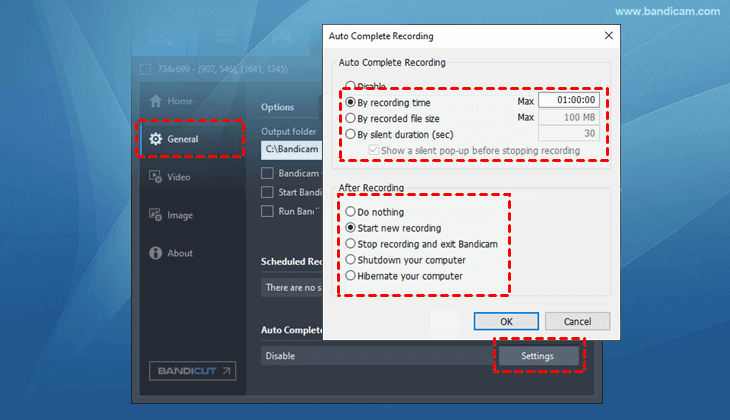
Option 2. Remote Desktop Connection + Bandicam Screen Recorder
Windows' Remote Desktop Connection (RDC) is a reliable way to connect to another PC, but it doesn't offer recording by default. That's where Bandicam comes in, a lightweight yet powerful screen recorder that works alongside RDC to capture every click and keystroke.
How to Record Using RDC + Bandicam
Step 1. Connect to your remote PC using RDC.
Step 2. Launch Bandicam on your local machine.
Step 3. Select the recording mode (fullscreen or specific window).
Step 4. Start recording your session.
Step 5. Save the file when done.
Extra Features You'll Love:
- Scheduled Recording: Automate start/stop times, ideal for monitoring long-running tasks.
- Long Sessions: Record continuously for over 24 hours without interruption.
- Video Cutting & Editing: Use Bandicut to trim, merge, or split recordings without re-encoding.
Why This Setup Works Well:
You get RDC's stability combined with Bandicam's flexibility, perfect for users who prefer Microsoft's native remote desktop tool but still need high-quality recordings.
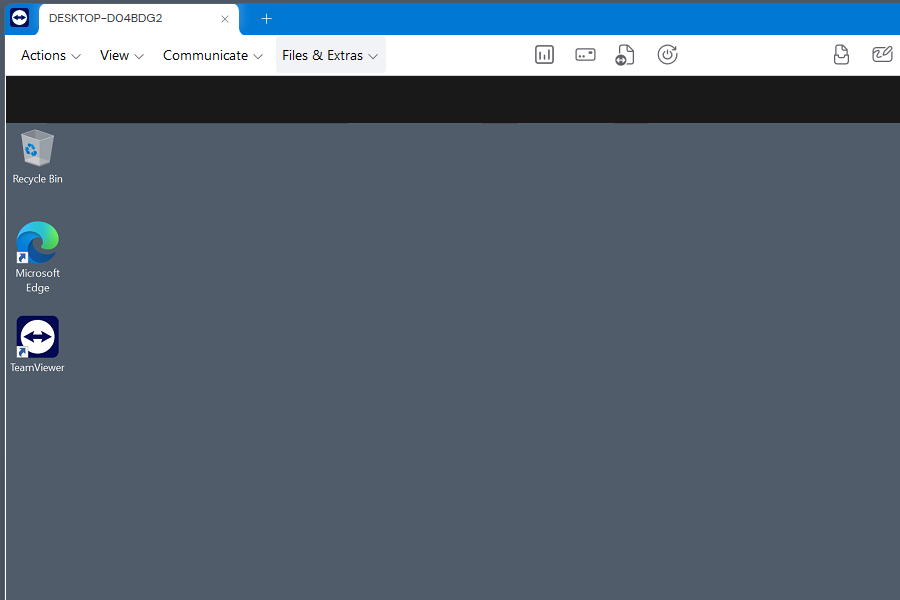
Option 3. TeamViewer

TeamViewer is one of the most widely used remote desktop solutions, offering integrated session recording that can be activated manually or automatically. It's especially useful for support centers, as it can capture both video and audio of remote sessions.
Manual Recording
Step 1. Connect to the remote device.
Step 2. In the session window, click Files & Extras > Start Session Recording.
Step 3. Once finished, save the recording in the prompted location.
Automatic Recording
Step 1. Click the Settings icon in the top-right corner.
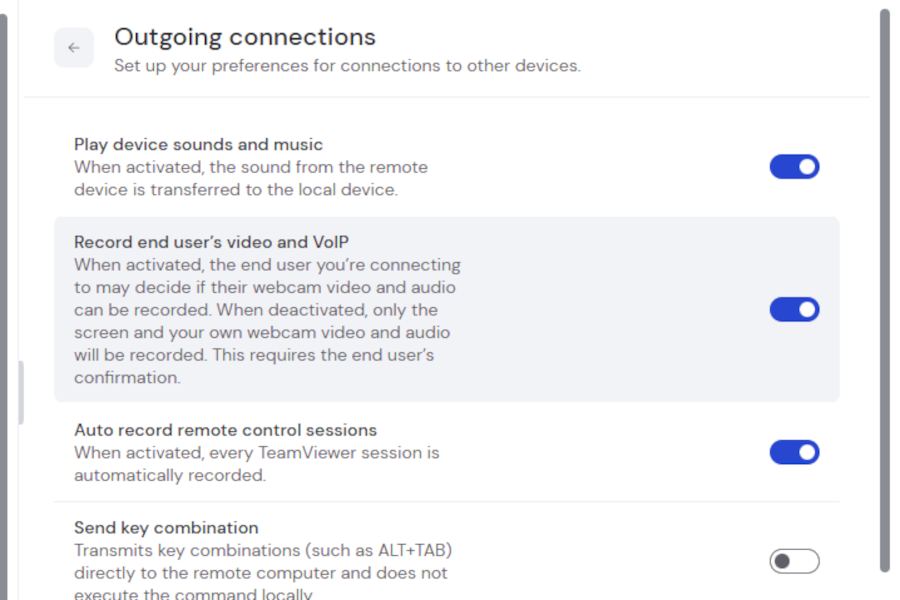
Step 2. Navigate to Remote Control > Session settings > Outgoing connections.
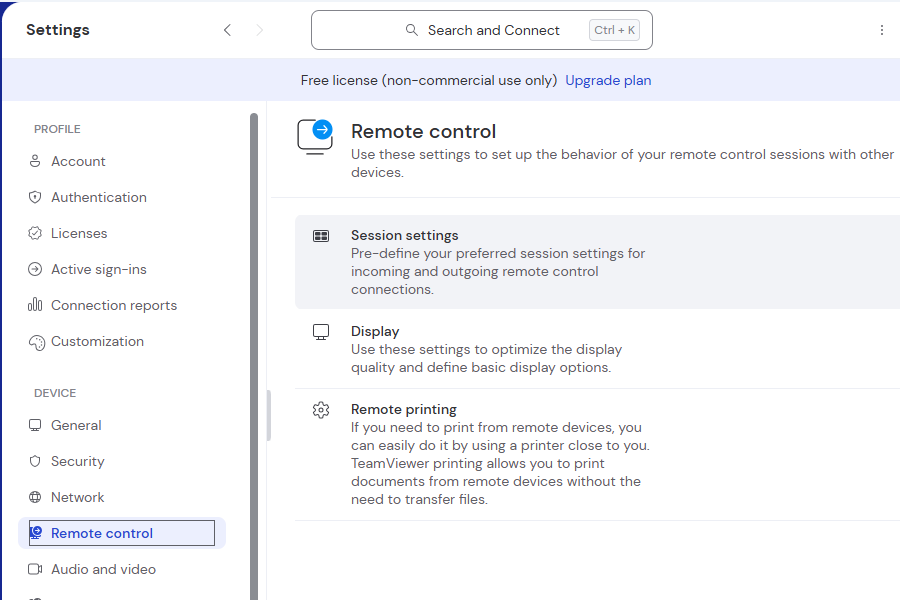
Step 3. Enable Record end user's video and VoIP.
Advantages of TeamViewer Recording:
- Records both video and audio (including VoIP calls).
- Files are saved in TeamViewer's proprietary format, which can be converted to standard formats later.
- Great for training new IT staff with real-life troubleshooting examples.
Option 4. Splashtop Remote Desktop
Splashtop is known for fast, high-quality remote sessions and includes an easy recording function that saves sessions in `.webm` format. This is perfect for IT tutorials, user training, or auditing support sessions.
How to Record in Splashtop
Step 1. Install and sign in to Splashtop on your device.
Step 2. Connect to your target PC.
Step 3. Click Record from the toolbar to start.

Step 4. Click Stop when done. Recordings are saved automatically.
Recording Modes:
- Automatic Recording (Splashtop On-Prem only): Start recording immediately when the session begins.
- Manual Recording: Start or stop recording at any time.
Pro Tip: If .webm files don't open in Windows Media Player, simply drag and drop them into a Google Chrome tab for instant playback.
Why Splashtop Stands Out:
Low-latency streaming combined with simple, built-in recording makes it ideal for businesses that need smooth visuals and quick setup.
Option 5. Remote Access Plus
Remote Access Plus goes beyond simple recording, offering customizable recording settings to fit auditing, compliance, and training needs.
How to Enable Recording
Step 1. From the web console, navigate to Tools > Remote Control > Screen Recording.
Step 2. Enable Screen Recording.
Step 3. Configure settings:
- Codec format: Choose the video compression type.
- Frame rate: Higher rates mean smoother video, but larger files.
- Color quality: Select based on storage and quality needs.
- Storage limits: Automatically delete older files when limits are reached.
Step 4. Optionally enable User Notification to inform participants.
Step 5. Save your settings; all sessions will now be recorded automatically.
What's Great About Remote Access Plus:
- Fine-tuned control over recording quality and size.
- Built-in compliance features like user notifications and credential protection.
- Ideal for companies with strict IT governance requirements.
Conclusion
Remote desktop session recording is no longer just for compliance; it's now an everyday tool for training, troubleshooting, and documentation. While Windows RDC lacks native recording, tools like AnyViewer make it simple with built-in, secure, and cross-platform functionality. Whether you prefer a full-service remote desktop app or pairing RDC with a screen recorder, knowing how to record remote desktop session ensures you can capture exactly what you need, whenever you need it.
