
How to Use Remote Utilities for Remote Access [A Beginner’s Guide]
This post will introduce how to use Remote Utilities for remote access. Unlock the power of remote access with our comprehensive guide and learn essential tips and techniques for seamless remote work and enhance your productivity from anywhere.
By AnyViewer / Updated on December 13, 2024
How do I connect to Remote Utilities?
Hey, everyone! I recently started working remotely and am curious about connecting to Remote Utilities to access my work computer. Please guide me on how to use Remote Utilities. I want to ensure an efficient connection to stay productive while working remotely. Thanks in advance for your help!"
- Question from a user

About Remote Utilities
Remote Utilities is a comprehensive remote access software that facilitates secure and efficient connections between remote computers. With Remote Utilities, users can easily troubleshoot technical issues, access files, and collaborate with remote colleagues, regardless of their geographical location. Remote Utilities empowers individuals and teams to optimize workflows and enhance productivity in remote work environments.
![]()
How can I perform Remote Utilities host setup for remote access? Please keep reading.
How to use Remote Utilities for remote access
This guide will explore how to install and use Remote Utilities to maximize your remote access capabilities.
Part 1. Install Remote Utilities on your computers
First, you need to install Remote Utilities Host and Viewer respectively on your computers.
Note: Please ensure you are logged in with an administrator account on the computer where you intend to install Host.
Step 1. Download Remote Utilities Host on your host computer. Locate the downloaded EXE file and run it.
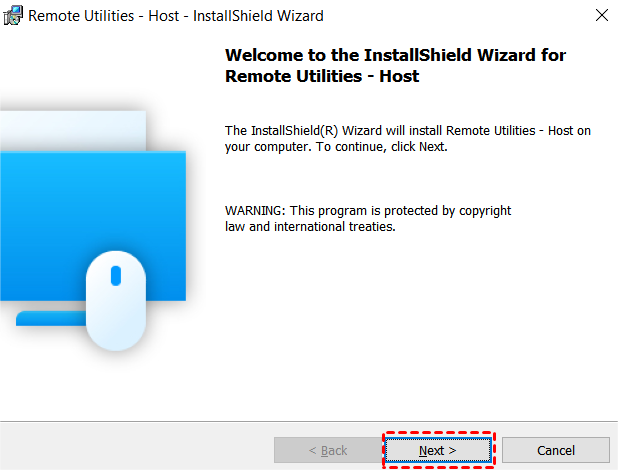
Step 2. Once the installation wizard appears, click the "Next" button.
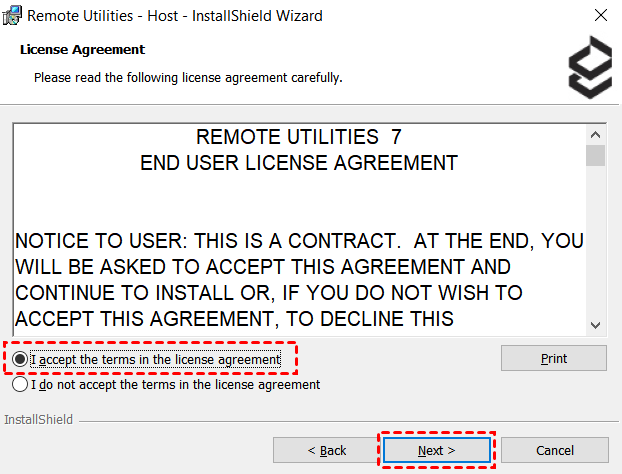
Step 3. Review the license agreement and indicate your acceptance by selecting "I accept the terms in the license agreement." Then, click "Next."
Step 4. Retain the default installation directory or modify it according to your needs. After making a decision, click "Next."

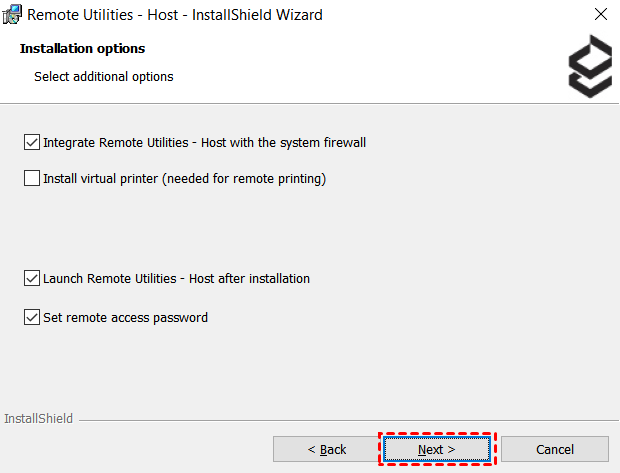
Step 5. By default, the recommended options will be selected. However, if there are any options you do not require, feel free to deselect them. Once done, click "Next."
Step 6. Click the "Install" button to initiate the installation process.

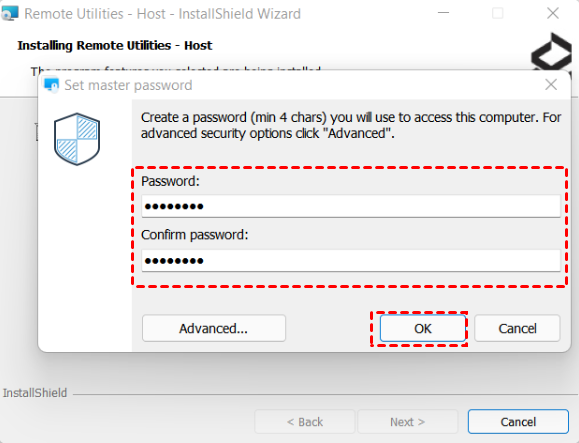
Step 7. Set the access password for added security and click "OK."
Step 8. Allow the installation process to complete. Once finished, click "Finish" to close the wizard.
Repeat similar steps to install Remote Utilities Viewer on your client computer.
Part 2. Remote Utilities host setup
To continue with how to use Remote Utilities, you will need to get the ID code on the host computer.
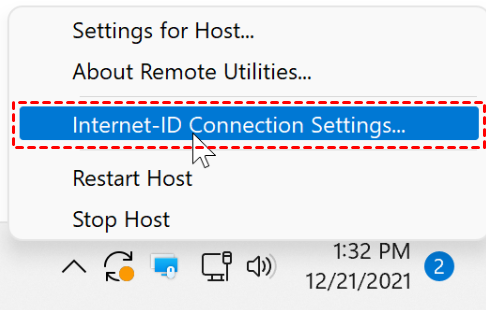
Step 1. Right-click on the blue Host icon. From the context menu, select "Internet-ID Connection Settings."
Step 2. Locate and click on the "Get New ID" button.
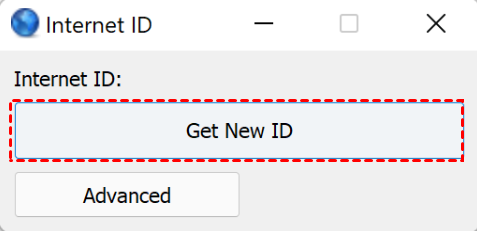
Step 3. Make sure to take note of the provided Internet-ID code for future reference. Once done, you can close the window.

Part 3. Connect to the remote computer from client
Now you can use Remote Utilities to control the host computer remotely.
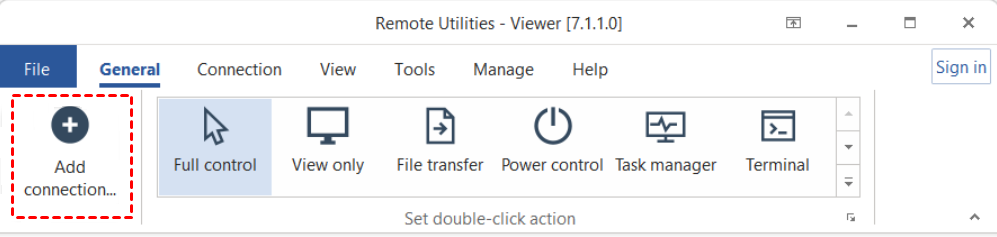
Step 1. Open Remote Utilities Viewer on your local computerand clickthe "Add Connection" option.
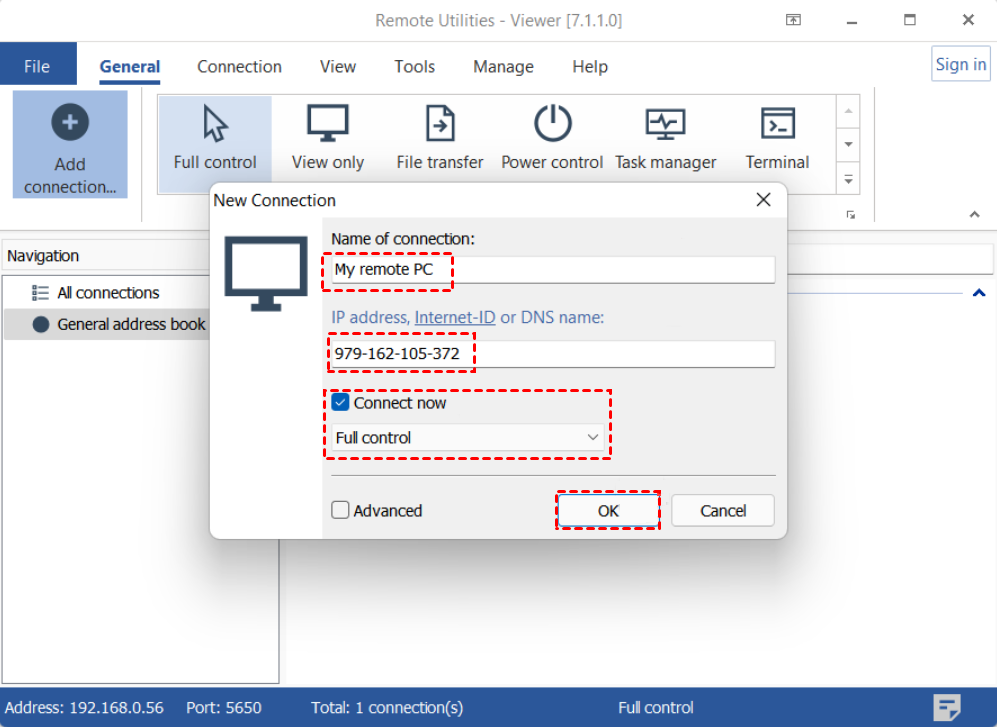
Step 2. Provide a name for the connection and input the Host Internet-ID code. Opt for the "Connect now" setting and finalize the process by selecting "OK."
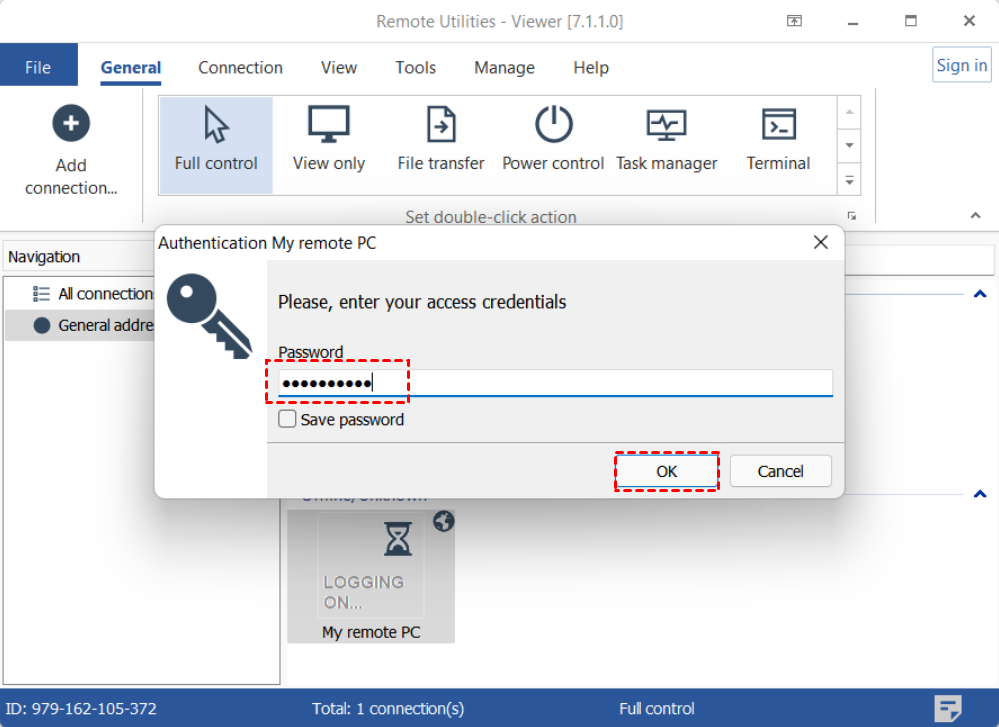
Step 3. Enter the Host access password. Click "OK." to confirm your input.
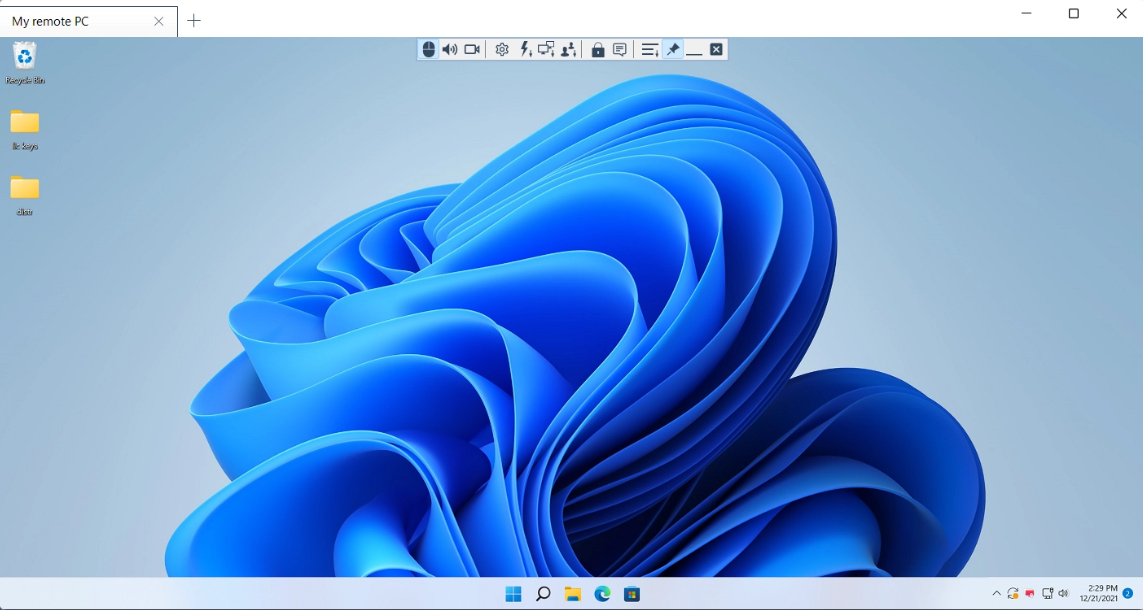
Step 4. A remote session will operate in the Full Control connection mode.
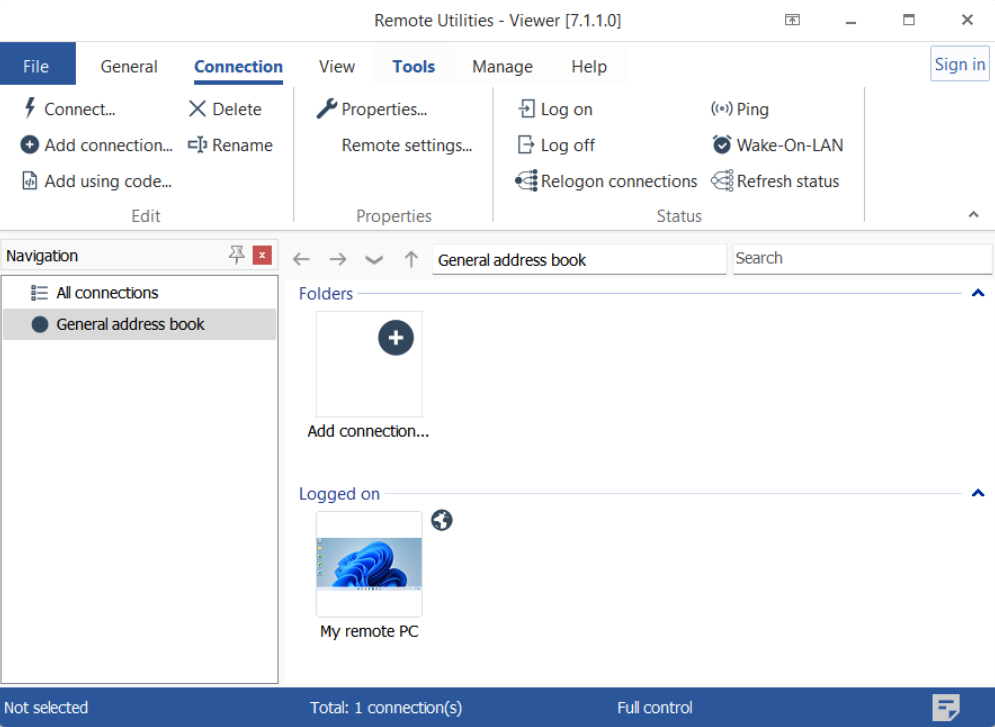
Step 5. A newly established connection will be stored in your address book, guaranteeing effortless access for future utilization.
Next-level remote connectivity: Discover the best Remote Utilities alternative
PC remote control apps have become an indispensable tool for individuals and businesses alike, providing the ability to connect to remote computers and perform tasks seamlessly. While Remote Utilities has long been popular, it's worth exploring alternative options to find the perfect fit for your needs. If you're seeking a powerful alternative to Remote Utilities, look no further than AnyViewer—a robust remote access software designed to elevate your remote access experience.
Advantages of AnyViewer:
►Advanced security measures: AnyViewer employs industry-standard encryption protocols, safeguarding sensitive information and providing peace of mind during remote sessions.
►Streamlined interface for seamless connectivity: AnyViewer boasts an intuitive and user-friendly interface that simplifies the remote access process. With its sleek and modern design, you'll find it easy to navigate the various features and functionalities.
►One-click unattended access: You can connect to a remote computer without needing someone at the other end to grant you access. Whether you're away from your desk or troubleshooting a system after office hours, AnyViewer ensures you can achieve unattended access whenever you need to, without any hassle.
►Customizable remote support tools: AnyViewer has various remote support tools, allowing you to troubleshoot and assist others easily. From file transfer and remote desktop control to multiple sessions, viewing multiple monitors, and real-time chat, AnyViewer provides a comprehensive set of tools to facilitate efficient collaboration and support. Whether you're helping a colleague or providing technical assistance to clients, AnyViewer has you covered.
Download it now to unleash the full potential of remote connectivity with AnyViewer!
Step 1. Launch AnyViewer on the host computer. Take a moment to create a new account, utilizing the provided credentials to log in.

Step 2. Start AnyViewer on the client computer. Utilize the newly established account details to sign in. Rest assured, the client computer will automatically assign itself to your account upon successful login.

Step 3. Goto the Device section, where a comprehensive list of available devices awaits. Identify the device you wish to connect to and establish a connection by selecting the One-click control option.

- Notes:✎...AnyViewer provides businesses with a range of flexible and cost-effective licensing options, meticulously designed to cater to diverse requirements. These licensing options come bundled with an array of impressive benefits, including:
- Streamlined connectivity to up to 100 devices with just a single click.
- Effortlessly manage and connect to 10 devices simultaneously.
- Seamlessly transfer large files with no limitations, boasting a remarkable capacity of up to 1TB per file, ensuring frictionless data exchange.
- Enhanced security is ensured through the privacy mode feature, effectively obscuring the host PC screen while simultaneously disabling the keyboard and mouse for added peace of mind.
Conclusion
That’s all for how to use Remote Utilities. For those seeking a superior experience, we highly recommend exploring the exceptional capabilities of AnyViewer. With its user-friendly interface, seamless connectivity, and impressive benefits, AnyViewer takes remote control to new heights. Unlock a world of convenience and efficiency by embracing AnyViewer for all your remote access needs. Try it today and experience the difference firsthand.
