
Answered: Does Remote Desktop Work from Anywhere?
Does Remote Desktop work from anywhere? Yes! This post primarily introduces how to use Remote Desktop Connection inside and outside the network. Keep reading if you’re interested!
By Ellie / Updated on December 13, 2024
Can you use Remote Desktop on different networks?
Yes, it is possible to utilize Remote Desktop on distinct networks. Windows Remote Desktop Connection (RDC) is primarily designed for usage within the same network. While it is a commonly chosen option for remote access, it may not offer the utmost simplicity in terms of remote PC access. Nevertheless, it is still viable to employ Windows RDC across diverse networks.
How does Remote Desktop work from anywhere?
How does Remote Desktop work from anywhere? The Remote Desktop Connection setup process involves several steps. It can be divided into distinct parts, with using Remote Desktop within the network being relatively simpler compared to utilizing it outside of the network. Below, you will find a comprehensive guide outlining the detailed steps to enable Microsoft Remote Desktop work from anywhere.
Using Remote Desktop inside the network
To establish a Remote Desktop connection within the network, you need to follow five essential steps. These steps are outlined below:
Part 1. Allow remote connections to this computer
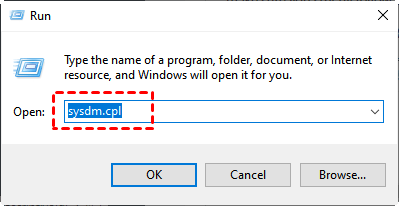
Step 1. On the host computer, press the combination of Win and R keys simultaneously.
Step 2. In thebox, type "sysdm.cpl" and press Enter. This action will open the System Properties window.
Step 3. Go to the Remote tab, tick the"Allow remote connections to this computer" option, then click OK.

Part 2. Changing the Windows Firewall settings
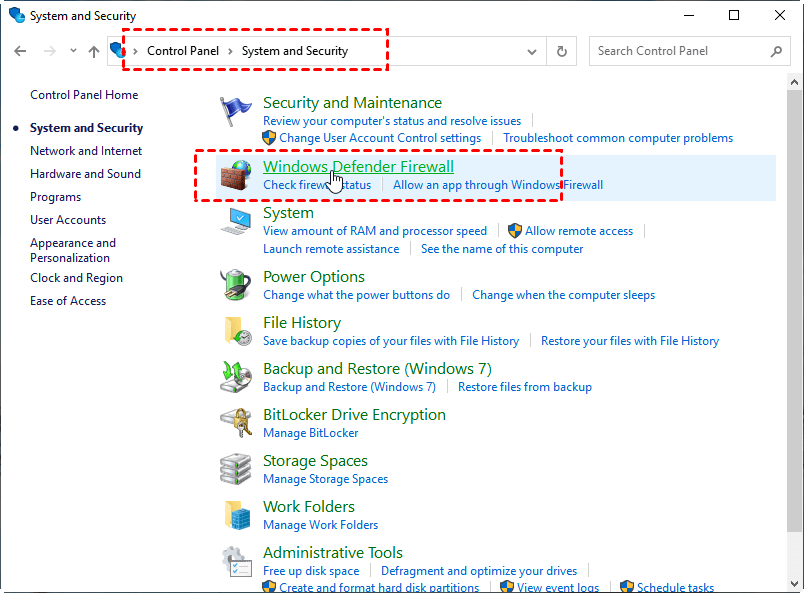
Step 1. On the host computer, access the Control Panel by selecting it from the Start menu. Go to System and Security > Windows Defender Firewall.
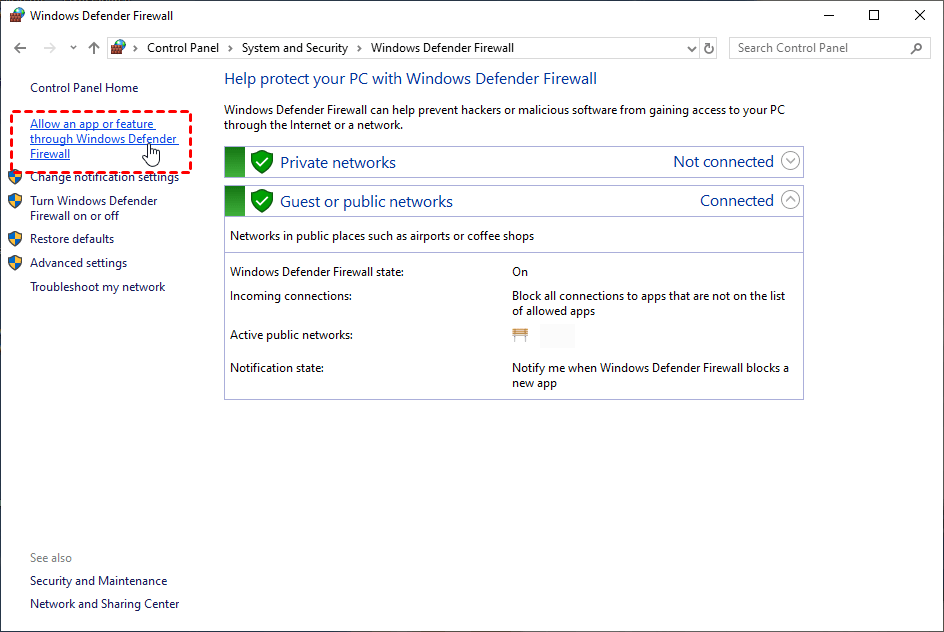
Step 2. In the Windows Defender Firewall window, locate and click Allow an App or Feature Through Windows Defender Firewall in the left navigation pane.
Step 3. Scroll through the list of applications and features, find Remote Desktop, ensure that the checkbox next to it is selected, and click OK.

Part 3. Assigning a static IP address
To ensure consistent connectivity for Remote Desktop, assigning a static IP address is necessary. The local network's IP address is crucial for configuring the client computer with the appropriate IPv4 address. Typically, routers assign dynamic IP addresses, which can vary each time a PC connects to the network. This variability can hinder Remote Desktop Connection. Therefore, assigning a static IP address to the PC is recommended. Follow the steps below:
Step 1. Open the Run dialog box, type "cmd" and press Enter to launch the Command Prompt.

Step 2. To retrieve the IP address for Remote Desktop, type "ipconfig" and press Enter. A list of IP addresses will be displayed.

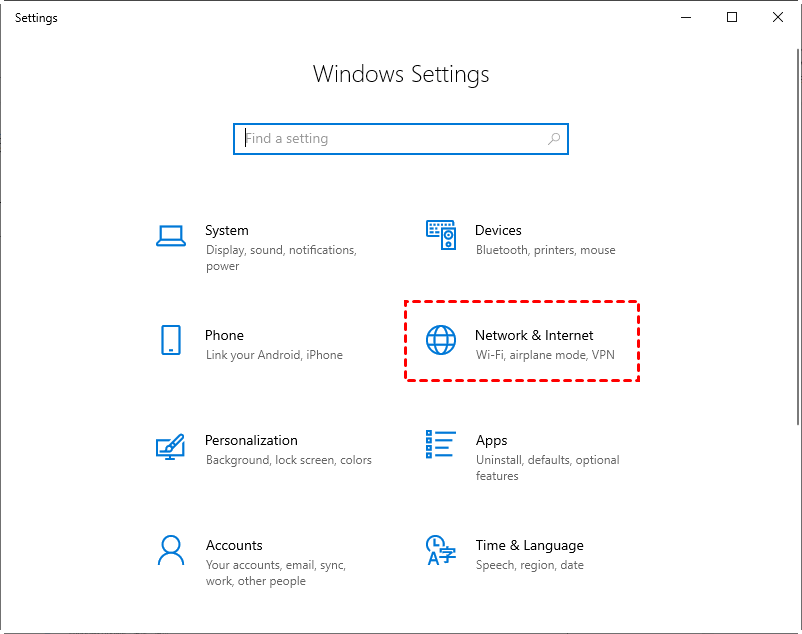
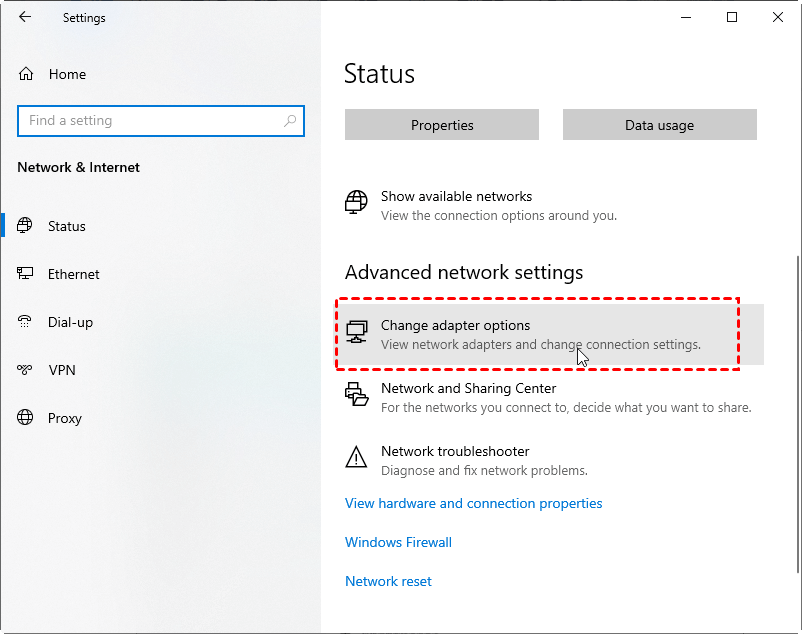
Step 3. Click on Start and then select Settings. Locate and click on Network & Internet.
Step 4. Navigate to the Advanced network settings and click Change adapter options below.
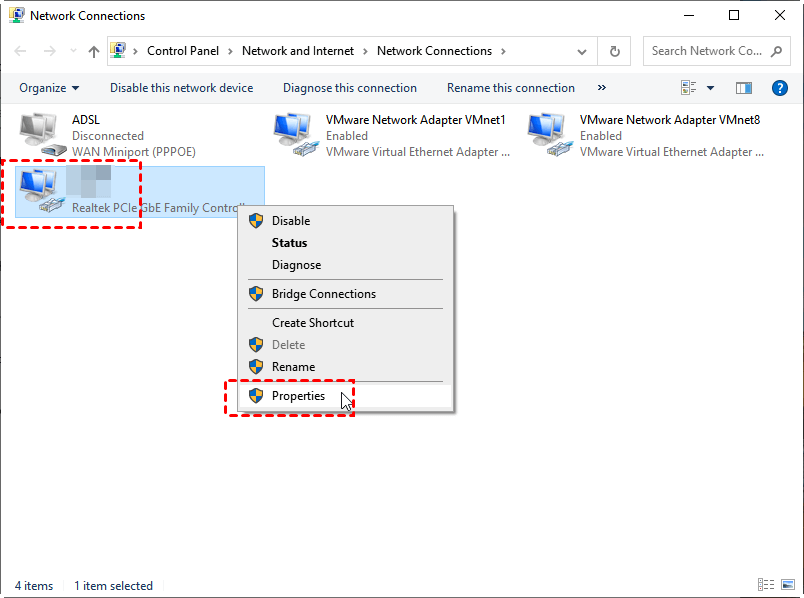
Step 5. Right-click on your network connection and select Properties.
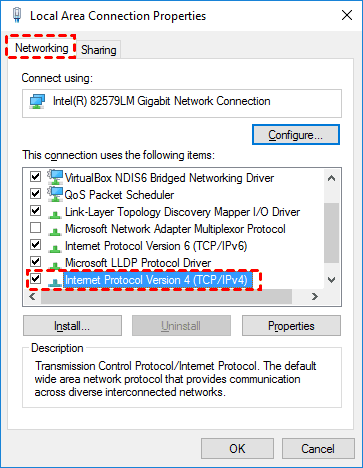
Step 6. Check the box next to Internet Protocol Version 4 (TCP/IPv4) and click on Properties.
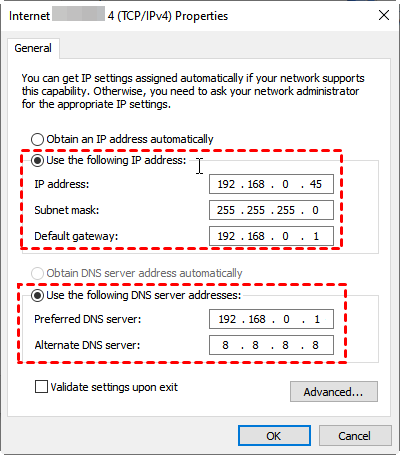
Step 7. In the General tab, enable "Use the following IP address" and assign a static IP address. For instance, if your router's IP is 192.168.0.1 and the usable IP range is 192.168.0.2 to 192.168.0.254, you can set the Static IP as 192.168.0.45.
- Set the Subnet mask to the default value of 255.255.255.0.
- Set the Default gateway to the previously noted Default Gateway address.
- Enable "Use the following DNS server addresses" and set the Preferred DNS server to the same Default Gateway address. Set the Alternate DNS server to Google DNS, specifically 8.8.8.8.
Click OK to save and apply the changes.
Part 4. Getting the remote PC name
To obtain the PC name for remote access, follow these steps:
Step 1. Open the Command Prompt on your computer.
Step 2. Type "query user" into the Command Prompt and press Enter. The PC name will be displayed.

Part 5. Gaining access to the remote desktop
With all the necessary preparations, you can now access the remote computer. Here's how to connect to the remote computer within the local network:
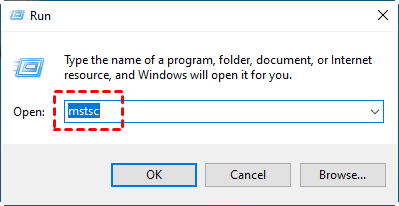
Step 1. On the client computer, open the Run dialog box. In the Run dialog box, type "mstsc" and press Enter. This action will open the Remote Desktop Connection.
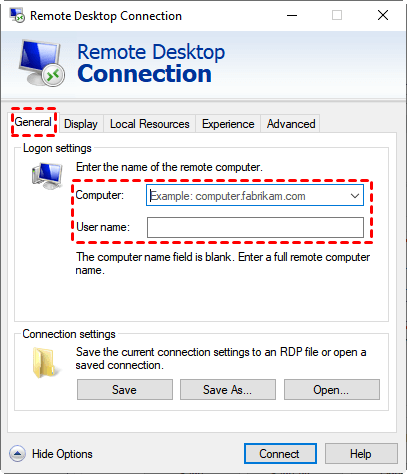
Step 2. Click on Show Options. Enter the IP address and the name of the host computer in the designated fields. Then, click on Connect.
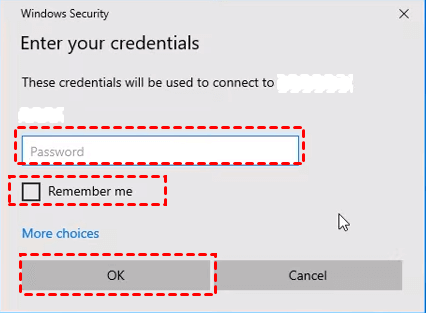
Step 3. A pop-up window will appear, prompting you to input the password of the remote computer. Enter the password and click OK to proceed.
Connecting Remote Desktop outside the network
To establish a Remote Desktop connection outside of the network, an additional step is required before finally connecting to the remote computer, either through port forwarding or setting up a VPN.
Option 1. Enable port forwarding on your router
To enable port forwarding, which involves redirecting port 3389 to your computer's IP address, follow these steps:
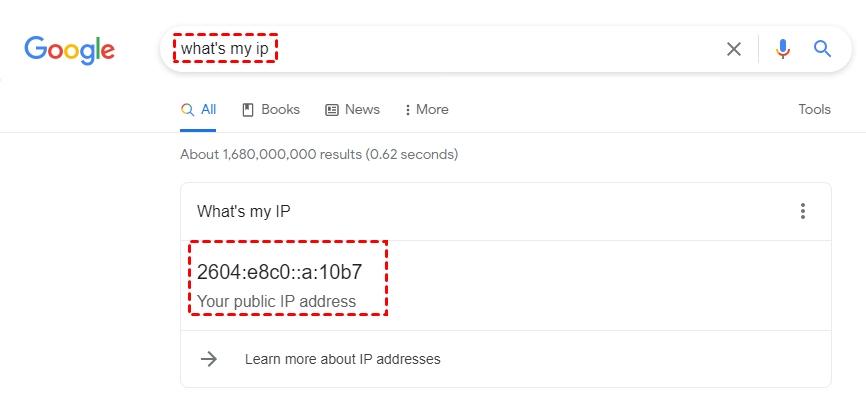
Step 1. Enter "what is my IP" into your browser's search bar and note down your public IP address (remember to keep it confidential for security purposes).
Step 2. Open your web browser and enter the IP address of your router. If a privacy warning appears, select Advanced and then Continue to proceed.

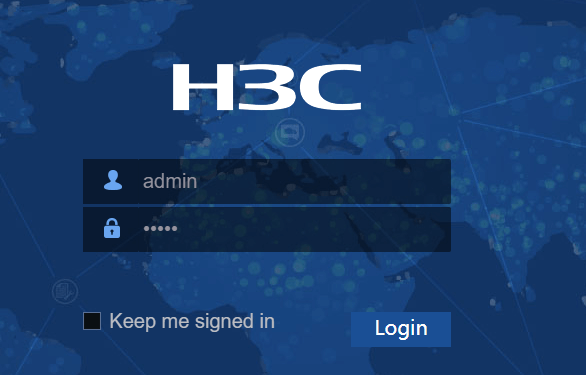
Step 3. Enter the username and password for your router when prompted, and click Login.
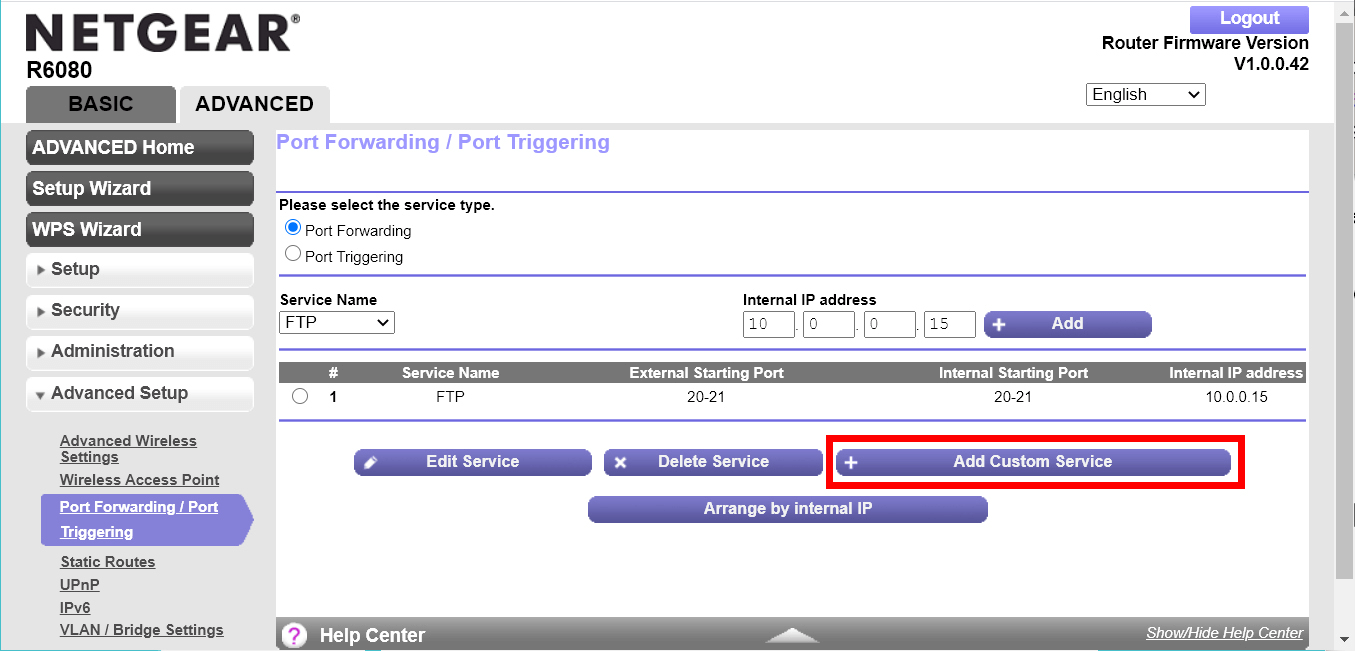
Step 4. Navigate to the Port Forwarding/Port Triggering section in the left pane. To add a new port forwarding rule, go to Add > Add Custom Service.
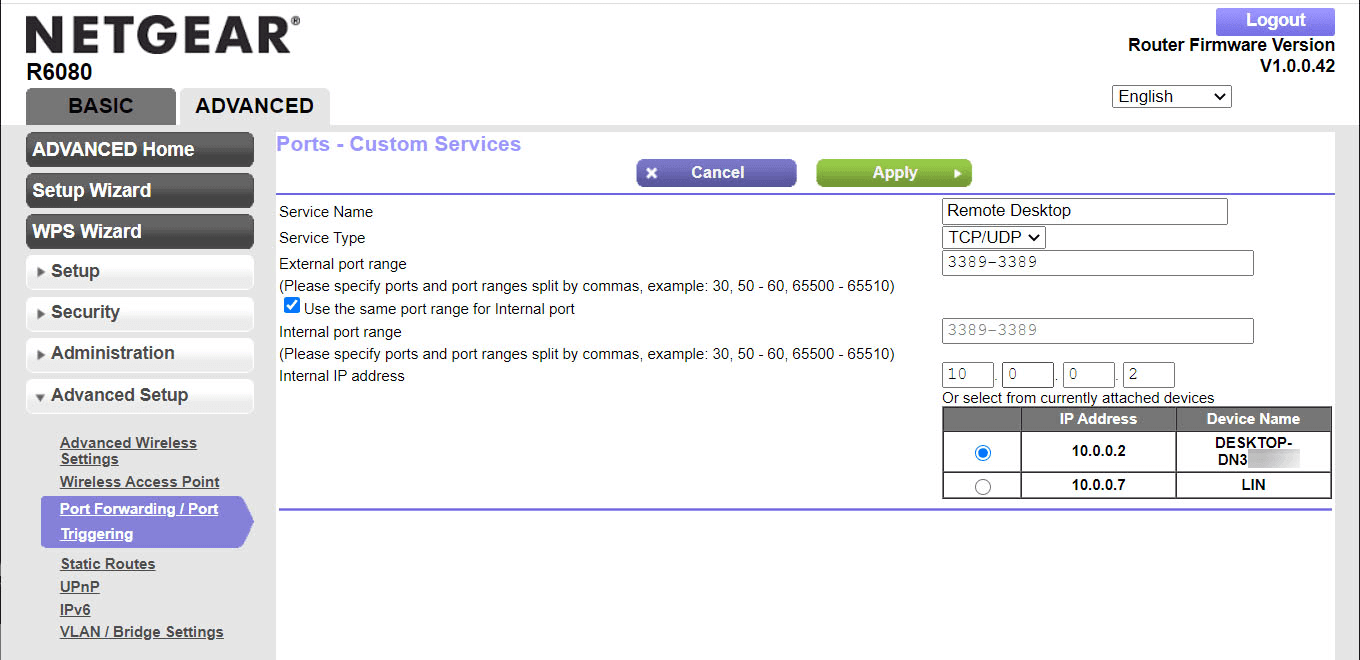
Step 5. In the Port Forwarding interface, choose the port you want to forward (if unsure, select TCP/UDP or Both under Service Type). Select the IP address of the device you wish to port forward and click Apply.
Step 6. Follow the same steps as for using Remote Desktop Connection over a local area network (LAN), and you should now be able to connect to a remote desktop over the internet.
Option 2. Use a VPN
Alternatively, you can utilize a virtual private network (VPN) to connect to your local area network without exposing your PC to the public internet. When connected to the VPN, your RD client will function as part of the same network, granting access to your PC. There are various VPN services available, so you can choose the one that suits your needs best.
Bonus tip: An easier way to access the remote desktop from inside or outside your network
Utilizing the free remote access software AnyViewer is recommended to access remote desktops from both inside and outside your network. It offers a straightforward setup process, enabling direct access to remote computers without the need for additional configuration such as port forwarding or VPN.
AnyViewer is regarded as the best Remote Desktop alternative for two key reasons. Firstly, it provides additional features that are not supported by Remote Desktop, including chat functionality, the ability to reboot and reconnect to the remote computer, support for multiple sessions, and more. Secondly, AnyViewer is compatible with Windows Home, which is not supported by the standard Remote Desktop functionality.
To set up AnyViewer for remote desktop access, follow these steps:
Step 1. Download, install, and launch AnyViewer on both computers. On the Controller computer, go to the login page and click the Sign up option.

Step 2. Fill in the required sign-up information.

Step 3. Once successfully logged in to AnyViewer, your devices will be automatically assigned to the logged-in account.

Step 4. Log in to the same AnyViewer account on both devices. By clicking One-click control, you can establish a direct connection for unattended remote access.

Step 5. After a successful connection, you will have access to the remote desktop. You can now fully control it and provide remote support as if you were physically present.
Note: Optionally, you can upgrade your account's plan to Professional or Enterprise. These plans offer additional benefits:
- Theability to assign more devices for unattended access.
- Moreconnection channels for simultaneous remote connections.
- Theability for one device to connect to multiple devices simultaneously.
- Theoption to black the remote PC screen and disable remote keyboard and mouse clicks for privacy protection.
- Thecapability to transfer 1TB files at 10 MB/s.
- Notes:✎...
-
You can also upgrade your account to a Professional or Enterprise plan. What can a professional or enterprise plan brings to you:
- Faster file transfer speed. Transfer speed for a free account is 500 KB/s, and for a paid account is up to 10 MB/s.
- Increasing number of files transferred in bulk.
- Larger size of a single file that can be transferred.
- More devices can be assigned to the same account for unattended remote access.
- More Currently connected devices are displayed for management.
- Connect in privacy mode to protect privacy.
The bottom line
This post primarily introduces how does Remote Desktop work from anywhere, while also presenting a more convenient solution for accessing remote computers. Give AnyViewer a try today and experience hassle-free remote access from anywhere.
