
Can I Record the Google Meet Session? [Tutorial & Tips]
Recording Google Meet sessions is simple with the right tools. This guide explains how to record Google Meet on laptop and mobile, including step-by-step instructions, tips for smooth recordings, and ways to manage sessions remotely using AnyViewer.
By Ellie / Updated on December 16, 2025
Can I record the Google Meet session?
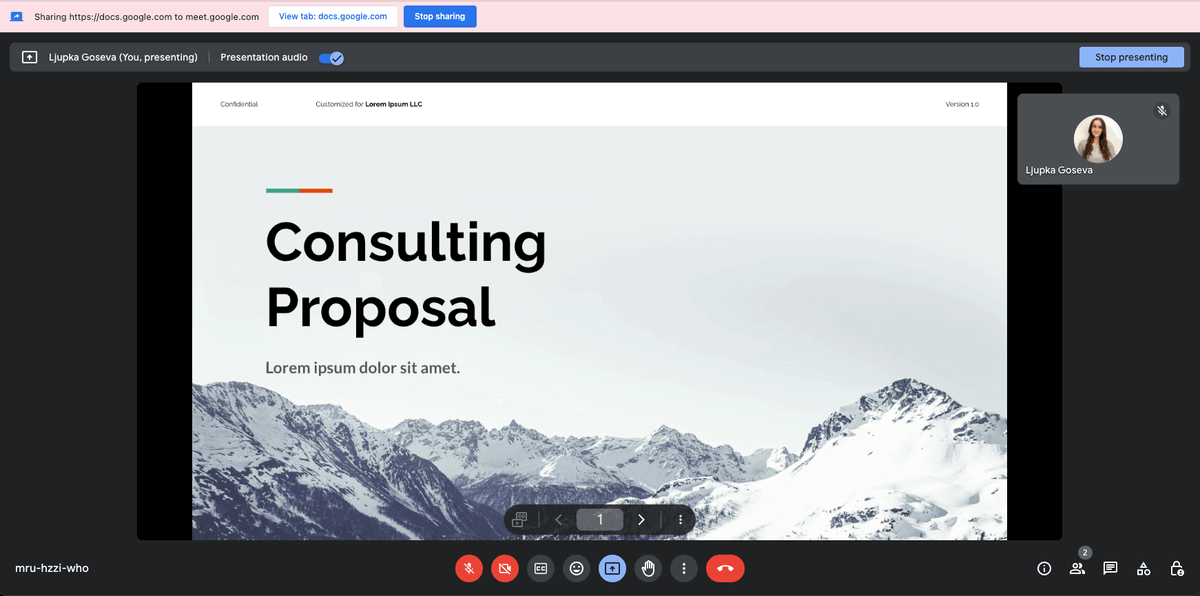
Can I record the Google Meet session? Google Meet enables users to join live virtual meetings and discussions with ease. Ideal for professional settings, interviews, training sessions, or classroom instruction, these high-quality video calls can be recorded for later reference.
This article delves into Google Meet, covering how to record Google Meet on a laptop, Mac, or mobile device, the advantages of saving sessions, and practical tips to ensure a smooth, productive experience for everyone involved.
What can be recorded during a Google Meet session?
A Google Meet session is a live virtual meeting that allows participants to interact through video and audio. Recording this type of meeting is available only to organizations with a Google Workspace plan that supports the feature, and administrators must enable it for participants to access or reference later.
Google Meet sessions are commonly used for:
- Team meetings and collaborative discussions
- Online classes and lectures
- Client communications
- Virtual workshops or conferences
- Job interviews and employee training
- Social interactions with family and friends
When a Google Meet session is recorded, the system captures the active speaker along with any shared content. This includes presentations, slides, or documents displayed by the speaker, as well as messages exchanged in the meeting chat, ensuring all key information is preserved for later review.
How to record a Google Meet session
Recording a Google Meet session is straightforward, but it’s only available for specific Google Workspace plans. Here’s a step-by-step guide on how to record a Google Meet call on mobile and computers.
How to record Google Meet on Windows PC
Here’s how to record a Google Meet session on PC:
Step 1. Start or join a meeting: The recording feature is limited to certain Google Workspace editions, such as Essentials, Business, Enterprise, and Education Plus. Personal accounts do not have this option. You can record if you are the meeting organizer, or, as a participant, if you belong to the same organization as the organizer.
Step 2. Locate the Activities icon: At the bottom-right corner of your screen, click the Activities icon, which looks like a triangle, square, and circle. From the menu, select Recording.

Step 3. Start recording: Click Start recording, then confirm by clicking Start. All participants in the meeting will receive a notification that the session is being recorded.
Step 4. Stop recording: When the meeting ends or you want to stop recording, navigate to Activities > Recording > Stop Recording. Confirm by clicking Stop Recording in the pop-up window.
The recording is automatically saved to the meeting organizer’s My Drive under the Meet Recordings folder. Both the organizer and the person who initiated the recording, if different, will receive an email containing a shareable link to the saved session.
How to record Google Meet on a Mac
Mac computers come with a built-in screen recording feature that makes capturing Google Meet sessions simple. Follow these steps to record your meetings:
Step 1. Open screen recording controls: Press Command + Shift + 5 on your keyboard to bring up the recording options.
Step 2. Select the window to record: Choose “Record a Single Window” and select the window where your Google Meet session is taking place.
Step 3. Start recording: Click Record to begin capturing the meeting.
Step 4. Stop recording: When the session is over, click the Stop button to end the recording.
Step 5. Save your recording: A thumbnail of your recording will appear on the screen. Click it to choose where to save the file for future use.
How to Record Google Meet on Android
Most Android devices running Android 11 or later include a built-in screen recording feature. Follow these steps to record your Google Meet sessions:
Step 1. Open the Screen Recorder: Swipe down from the top of your screen to access the Quick Settings panel and locate the Screen Recorder.

Step 2. Set up your recording: Choose “Record one app” and select “Device audio and microphone” under audio settings to capture both system sound and your voice.
Step 3. Select Google Meet: You will be prompted to choose an app; select Google Meet.
Step 4. Start recording: The recording begins automatically after a 3-second countdown.
Step 5. Join your meeting: Participate in your Google Meet session as usual while the recording runs in the background.
Step 6. Stop recording: Tap the red recording button in the top-left corner of the screen and select Stop recording.
The recorded video will be saved to your device’s gallery or photos app, typically under a Screen Recordings folder.
How to Record Google Meet on iPhone
iPhones come with a built-in screen recording feature, which is useful for recording Google Meet sessions despite mobile limitations. Follow these steps:
Step 1. Add Screen Recording to Control Center: Open Settings, go to Control Center, find Screen Recording, and tap the + icon to add it.

Step 2. Access Control Center: Return to your Home screen and open the Control Center.
Step 3. Prepare for recording: Press and hold the Record button. Choose where the file will be saved and tap the Microphone icon to enable audio recording.
Step 4. Start recording: Tap Start Recording. After the countdown, your screen begins recording.
Step 5. Join your Google Meet session: Open the Google Meet app and participate as usual.
Step 6. Stop recording: Tap the red status bar at the top of your screen and confirm by selecting Stop. The recording will be saved to your Photos app.
Note: iOS records audio from the microphone, not directly from apps. This means other participants’ voices will only be captured if they can be heard through your iPhone’s speakers.
Benefits of recording a Google Meet session
Google Meet recordings have a maximum duration of eight hours, after which they automatically stop. Recording your meetings offers several advantages:
- Reference Material: Recorded sessions allow participants to revisit important discussions, decisions, and shared content whenever needed.
- Training Resources: Recordings can be repurposed as training videos for employees, volunteers, or anyone requiring guidance, making onboarding and skill development more efficient.
- Accessibility for Absentees: Those unable to attend live meetings, workshops, classes, or conferences can catch up later, ensuring everyone stays informed and included.
Tips for recording Google Meet sessions
To ensure a smooth and effective recording experience, consider the following tips:
- Notify participants in advance: Always inform attendees that the session will be recorded. This can be included in the meeting invite and mentioned verbally before starting. Google Meet also displays notifications when recording begins and ends.
- Test your audio and video settings: Check your microphone, speakers, and camera before the meeting to guarantee clear and professional-quality recordings.
- Conduct a practice session: Running a trial recording can help you familiarize yourself with the process and avoid any technical issues during the actual meeting.
- Be aware of the automatic stop: Google Meet automatically stops recording if all participants leave the meeting.
- Share the recording effectively: After the session, you can share the recording via Google Drive or send an email link. Grant access to specific users through their email addresses or simply copy and share the link with your intended audience.
Bonus tip: Enhance your Google Meet recording with AnyViewer
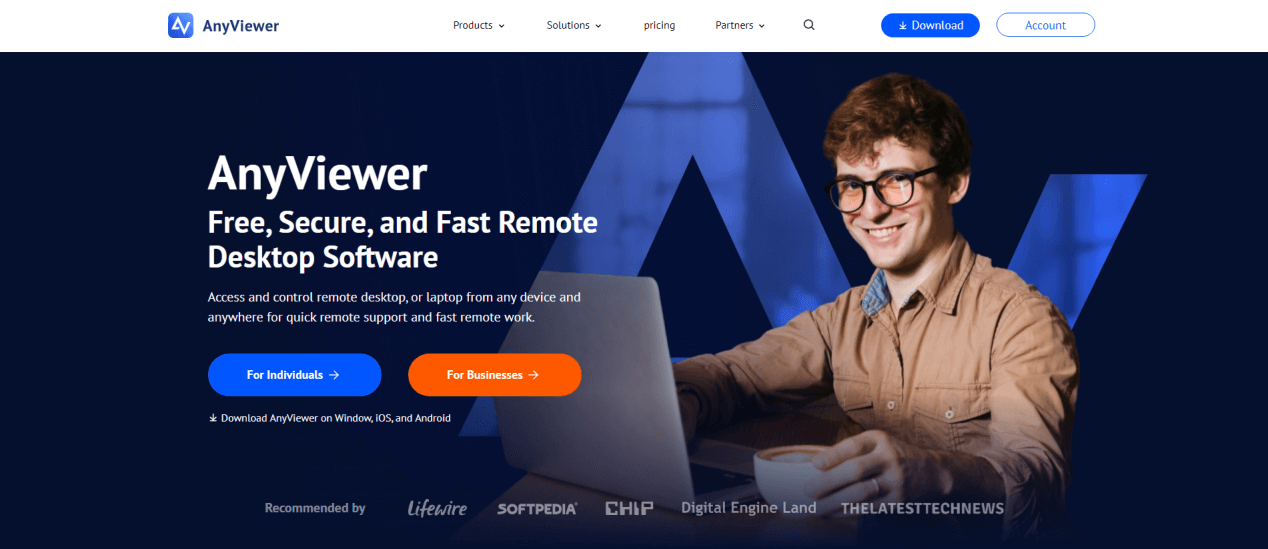
Recording a Google Meet session is straightforward with Google’s built-in tools, but what if you need more flexibility, such as accessing a meeting from a different device, recording sessions on a remote computer, or managing your meetings while traveling? This is where AnyViewer can make a real difference.
AnyViewer is a reliable remote access software that allows you to securely connect to your computer from anywhere. With it, you can control your desktop as if you were sitting in front of it, making it easy to start, pause, or manage Google Meet recordings even when you’re not physically at your workstation.
Some key benefits of using AnyViewer alongside Google Meet include:
- Remote Access for Recording: Access your office or home computer remotely to start or monitor recordings of meetings without being tied to one location.
- Cross-Device Flexibility: Whether you’re on a laptop, tablet, or smartphone, AnyViewer lets you control your computer and ensure all Google Meet sessions are properly recorded.
- Secure and Efficient: With advanced encryption protocols and multi-layered security measures, AnyViewer keeps your sessions and recorded files safe from unauthorized access.
- Easy Setup and Use: You don’t need to be tech-savvy. AnyViewer’s intuitive interface allows you to quickly connect to your devices and manage recordings with minimal effort.
By combining Google Meet’s native recording features with the remote access capabilities of AnyViewer, you get the best of both worlds: effortless meeting recordings and the freedom to manage them from anywhere. Whether you’re a professional attending multiple meetings a day or a team leader monitoring online training sessions, AnyViewer ensures you never miss a moment.
Conclusion
Recording Google Meet sessions is an essential tool for keeping track of important meetings, training sessions, and collaborative discussions. By knowing how to record Google Meet on laptop or mobile, you can preserve important discussions, training materials, and collaborative sessions. By following best practices, such as notifying participants, testing your setup, and sharing recordings effectively, you ensure a smooth and productive experience.
For added flexibility, tools like AnyViewer allow you to manage and record meetings remotely, providing secure access from any device. Combining these tools ensures you never miss a key moment, making your virtual meetings more organized, accessible, and efficient.
