
How to Transfer Files from Windows to iPad with Different Utiliteis
Refer to the post and learn how to transfer files from Windows to iPad with/without iTunes.
By Ellie / Updated on December 13, 2024
iPads and Windows computers are popular devices for entertainment, study, or work. There are many occasions when you need to transfer files from Windows to iPad. For example, you have cleared all data on your iPad and the backup files are saved on your Windows computer. To complete file transfer to iPad from PC, keep reading!

How to transfer files from PC to iPad with iTunes via USB cable
iTunes might be the first idea that occurs to you. It is featured with File Sharing, which allows you to transfer files between computer and iOS devices. What you need to know is that this feature only supports files on several apps, including Keynotes, Numbers, Page, Kindel, etc. If you decide to use this tool, refer to the below steps.
Note: You can also use the iTunes File Sharing feature to transfer files from iPad to PC.
Step 1. Download and install iTunes on your Windows computer.
Step 2. Connect your iPad to the PC using a USB cable.
Step 3. Run iTunes on Windows and click iPad button.
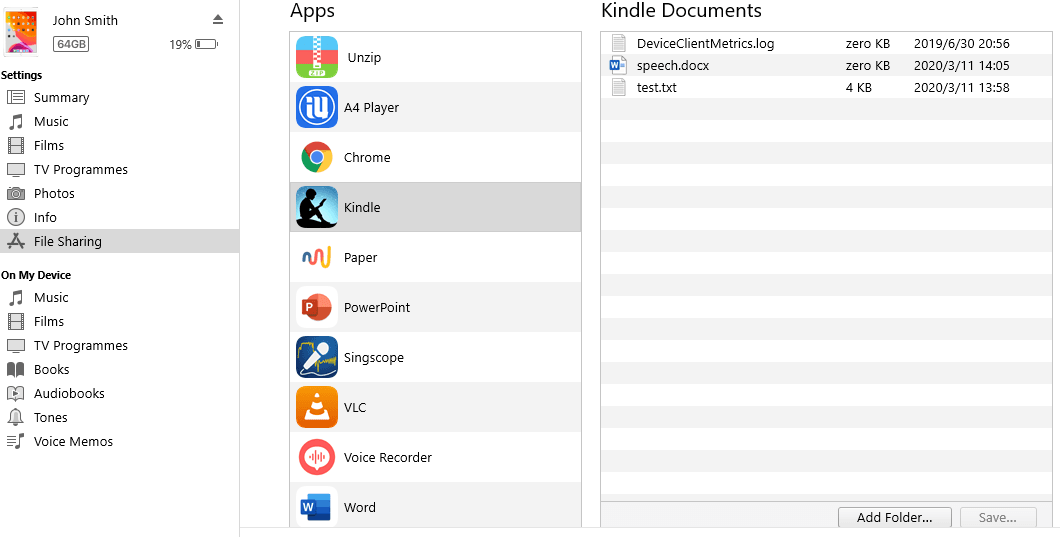
Step 4. Click File Sharing and you can see a list of all apps where you can transfer files between the iPad and the computer.
Step 5. Click an app to view its documents; choose the files that you want to transfer to iPad from Windows, click Save and choose a place to save the files. Then, click Save to start the transfer.
Way 1. Transfer files from Windows computer to iPad via cloud service wirelessly
If want to achieve file transfer between Windows and iPad without a USB cable, cloud services like iCloud and Google Drive can be a good solution. Let's see how to use iCloud to transfer files from Windows computer to iPad.
Step 1. Click on iCloud Drive in the browser and log in with your Apple ID and passcode.
Step 2. Click iCloud Drive, click Upload, and choose the files you want to transfer.
Step 4. On your iPad, go to Files > Browse > iCloud Drive. And all files that you have uploaded will be listed.
Way 2. Transfer a few files from Windows to iPad with Email
When the amount of files is few, you can choose Email to move files to iPad from Windows. Here are the whole process.
Step 1. On your Windows computer, open a browser and go to Gmail or any other mail that you like.

Step 2. Add the to-be-transferred files as an email attachment and send them.
Step 3. On your iPad, check the email and download the attachment on your device.
Further reading: View and use files on Windows from iPad without transfer [remotely]
Whether you want to transfer files with/without iTunes and a USB cable, you can find a proper way. However, how can you view the files on the PC from your iPad when you are not sitting in front of the PC? In such circumstances, you can use remote access software for iPad, like AnyViewer. It supports you to connect to Windows computer from iPad, iPhone, Android, or another Windows on the same network or from a different network without setting up a router. After getting access to your PC from your iPad, you can view PC files directly from the iPad without transfer and you can even use Windows apps with your iPad. Now, see how to use AnyViewer to connect to Windows computer from iPad.
Step 1. Free download AnyViewer Windows on your Windows computer.
Step 2. Free download AnyViewer iOS on your iPad from App Store.
Step 3. Install and run AnyViewer on both devices. Create an AnyViewer account and log into it on the two devices.

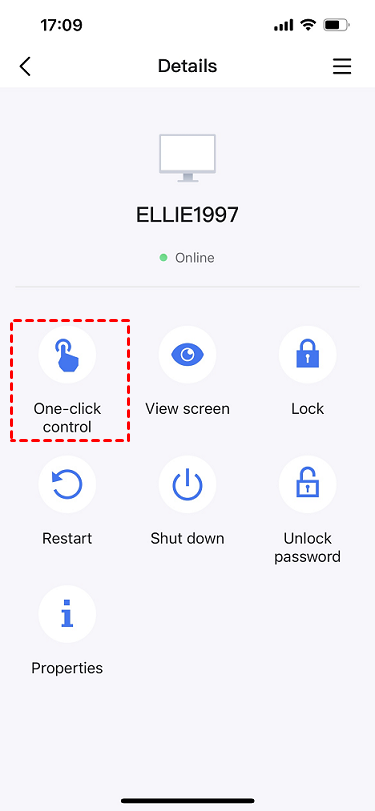
Step 4. On the iPad, go to Device, tap the Windows computer that holds the files you want to view, and tap One-click control to achieve unattended remote access.
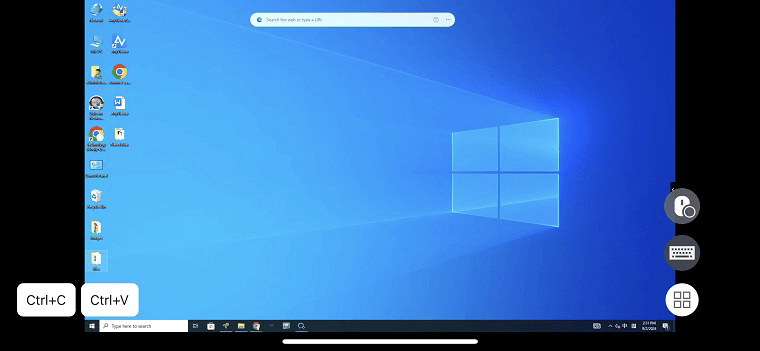
Immediately, you can see the desktop of the remote Windows computer. Go to Windows Explorer, and you can see all files on the PC without physical presence.
Notes:
- You can also get access to PC from your iPhone via a security code or send a remote control request if you don't want to log into the same account on the two devices.
- Direct file transfer between Windows computer and iPad isn't supported, and you can use iCloud or Email to transfer files from the remote PC to your local iPad.
