
How to Remote Desktop with Dynamic IP [Easiest Guide with Pictures]
This post is a step-by-step tutorial on Remote Desktop with dynamic IP. You need to enable Remote Desktop, change the firewall settings, perform port forwarding, map your dynamic IP, etc. Keep reading to get the details.
By AnyViewer / Updated on December 13, 2024
How to use Remote Desktop with dynamic IP?
Hi. I'm working abroad and occasionally need access to my home computer, which is on all the time. How can I Remote Desktop with dynamic IP? Is there anything I can do in Windows with the router turned on?”
- Question from a user
How to Remote Desktop using dynamic IP address
Remote Desktop is a useful tool to access your work computer remotely from home or on vacation. However, connecting to your network with a dynamic IP address can be problematic because the IP address changes each time you need to input for Remote Desktop.
The good news is that dynamic DNS may direct your dynamic IP address to an easy-to-remember name so you can use the fixed name for Remote Desktop. Following that, we'll go over how to use Remote Desktop Connection with a dynamic IP address.
►Note: Windows Home/Standard editions can not use RDP as the host device. Please check the system of your host PC before operations.
Part 1. Enable Remote Desktop on the host PC
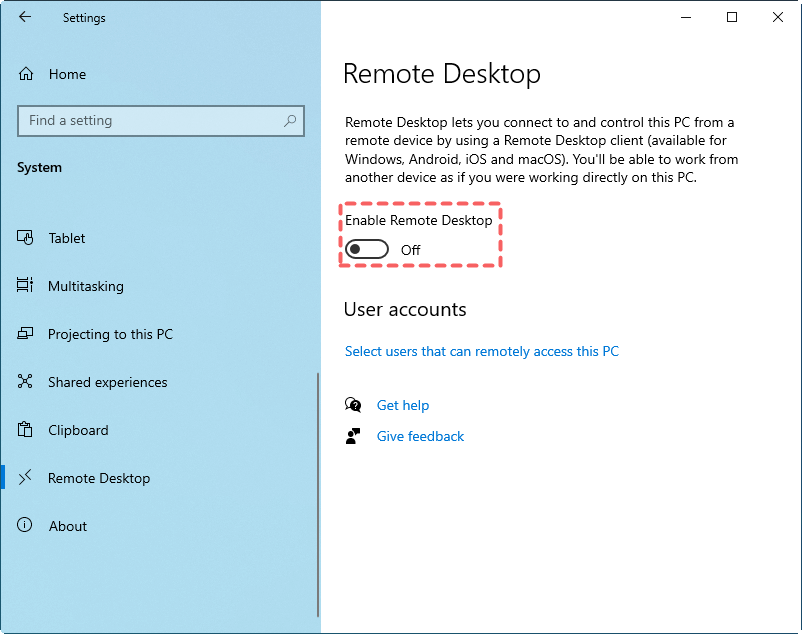
To begin, enable Remote Desktop on the host computer to make it RDP-accessible.
Step 1. Open the system Settings and click System > Remote Desktop > Enable Remote Desktop.
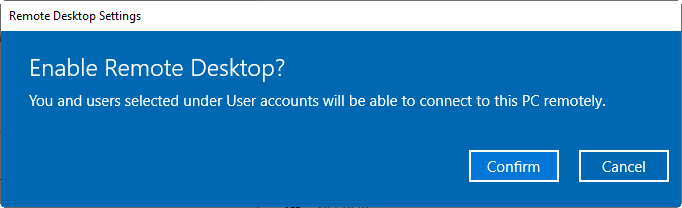
Step 2. Click Confirm.
Part 2. Set a password for your user account
The steps below will help you create a password for your user account if you don't already have one.
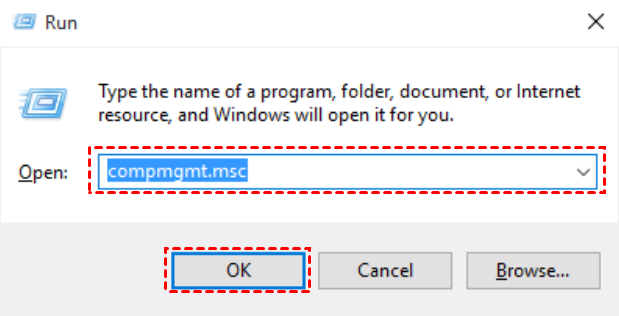
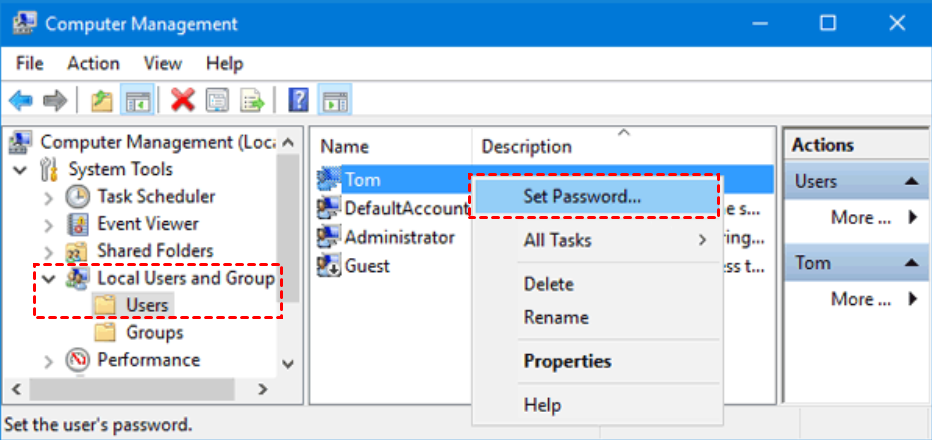
Step 1. Press Win + R, enter “compmgmt.msc” and click OK.
Step 2. Click Local Users and Groups > Users from the left pane, right-click your account, and select Set Password.
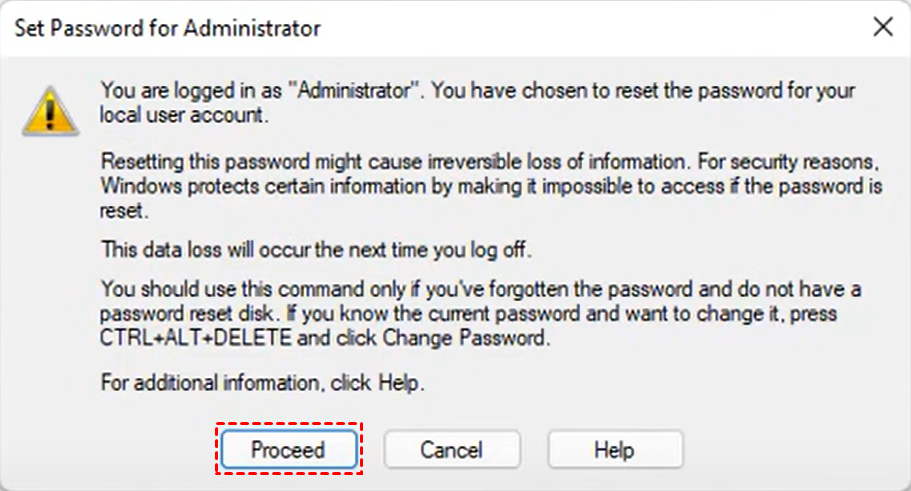
Step 3. Click Proceed.
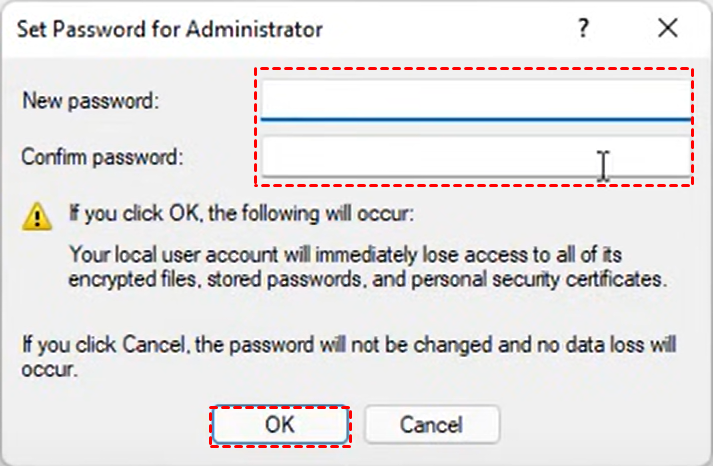
Step 4. Enter a new password, re-enter to confirm it, and click OK.
Part 3. Allow Remote Desktop in Windows Firewall
Sometimes Windows Firewall may block the RDP connections. You need to change the Firewall settings.
Step 1. Open Control Panel. Click System and Security > Windows Defender Firewall. Choose Allow an app or feature through Windows Defender Firewall.
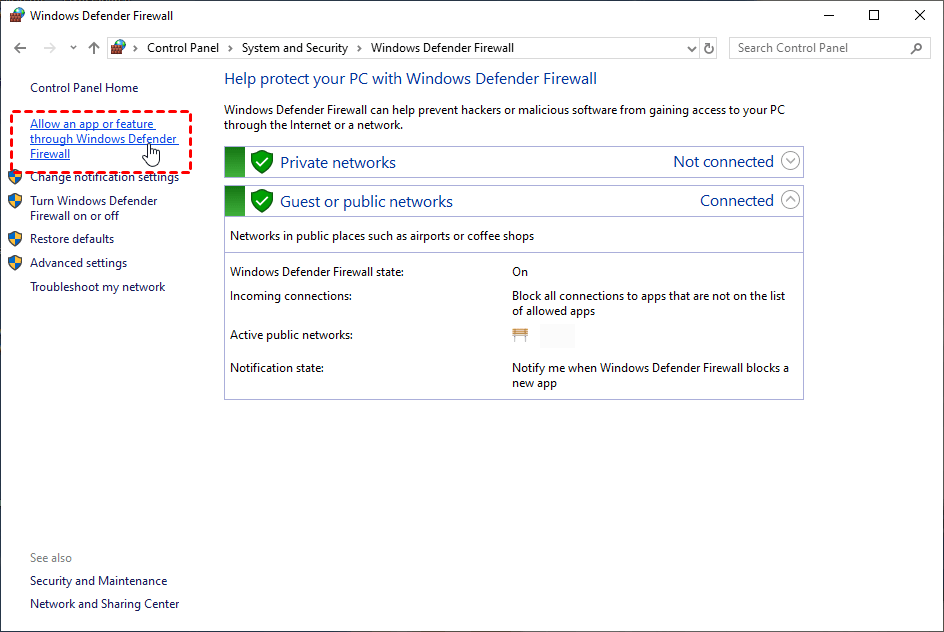
Step 2. Click Change settings and check Remote Desktop. Then click OK.

Part 4. Perform RDP port forwarding
You also need to forward the RDP port 3389 on your router to allow a Remote Desktop connection over the Internet.
Step 1. Check your router’s user manual to get the login details.
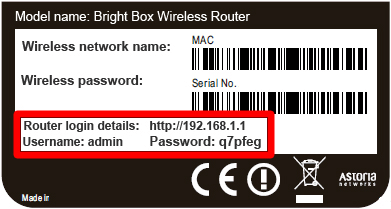
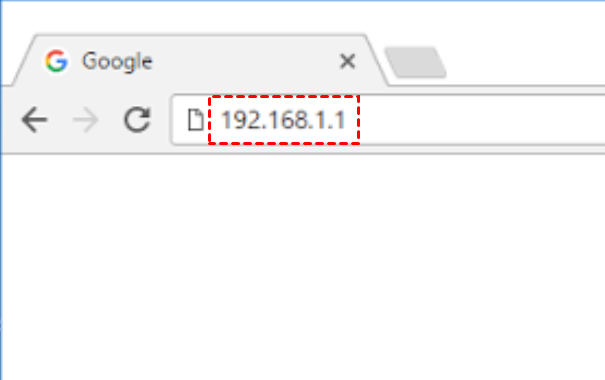
Step 2. Open a web browser. Type in the address of your router, and then hit Enter.
Step 3. Enter the login information, then click Login.

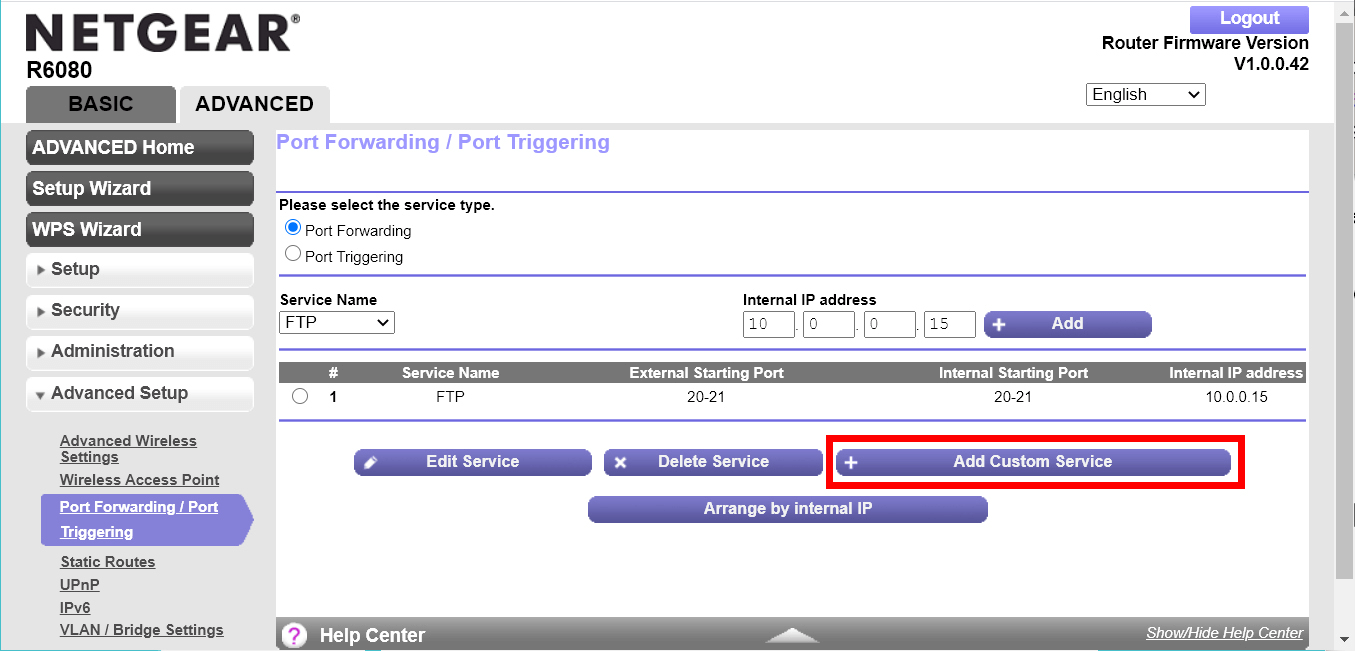
Step 4. Click the Port Forwarding/Port Triggering option from the left pane and Add Custom Service.
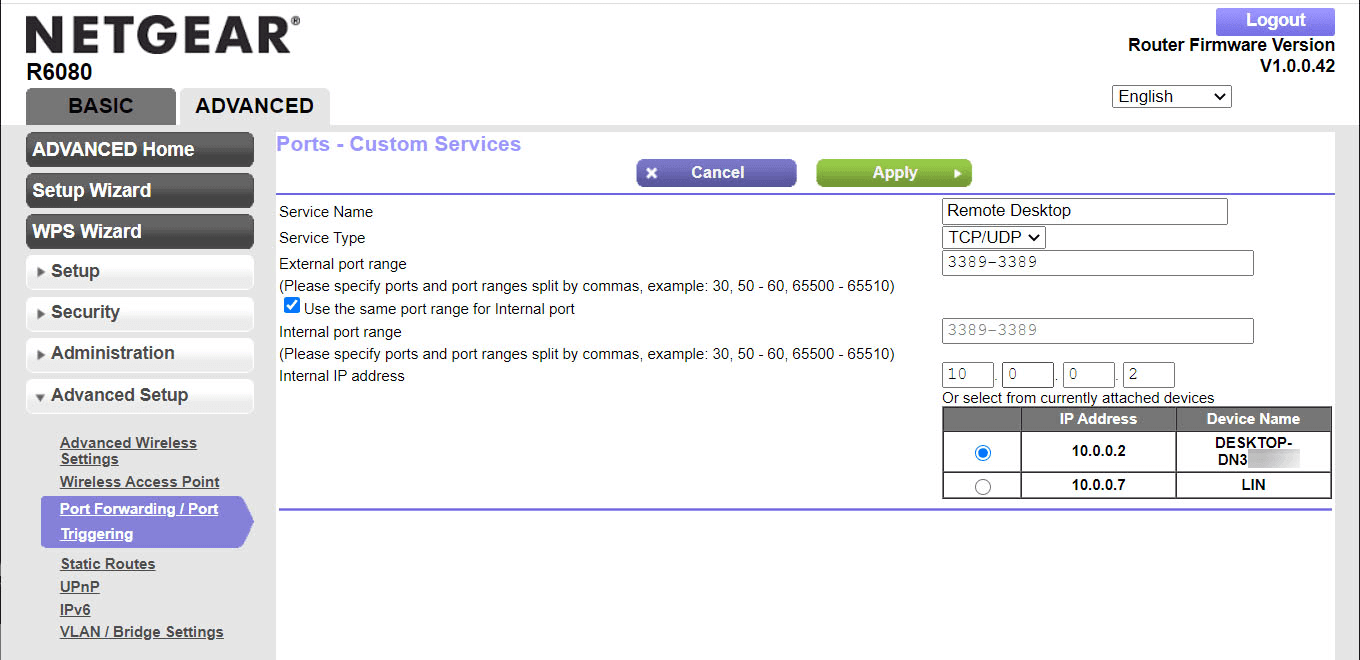
Step 5. Input a name for the new service, choose "TCP/UDP" or "Both" as the Service Type, and enter the port number 3389 and the IP address.
Part 5. Map your dynamic IP to a host domain
Internet service providers alter your IP address on a regular basis, but with dynamic DNS, you may keep your domain pointing at the current IP address of your home server or other devices. Numerous dynamic DNS tools are available for free. We will use Duck DNS as an example here.
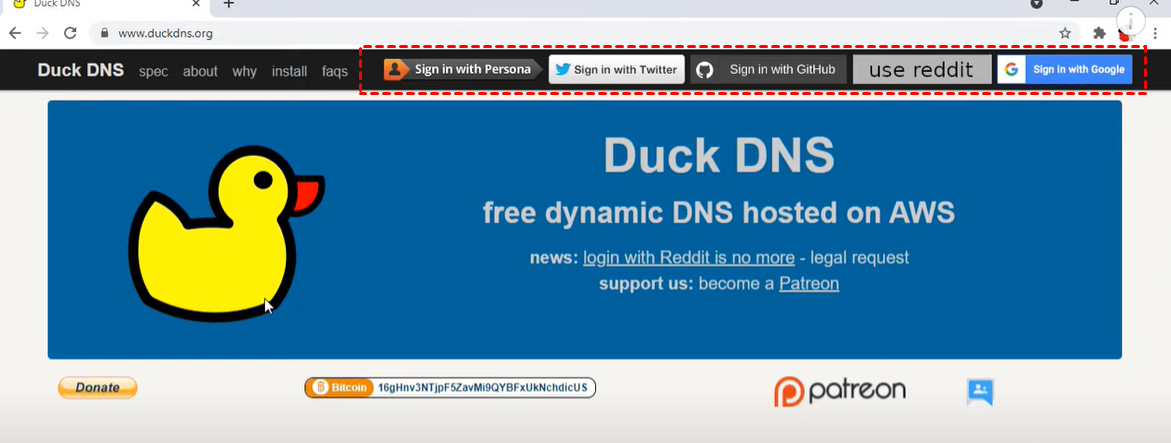
Step 1. Go to Duck DNS official website and log in using your choice of methods at the top.
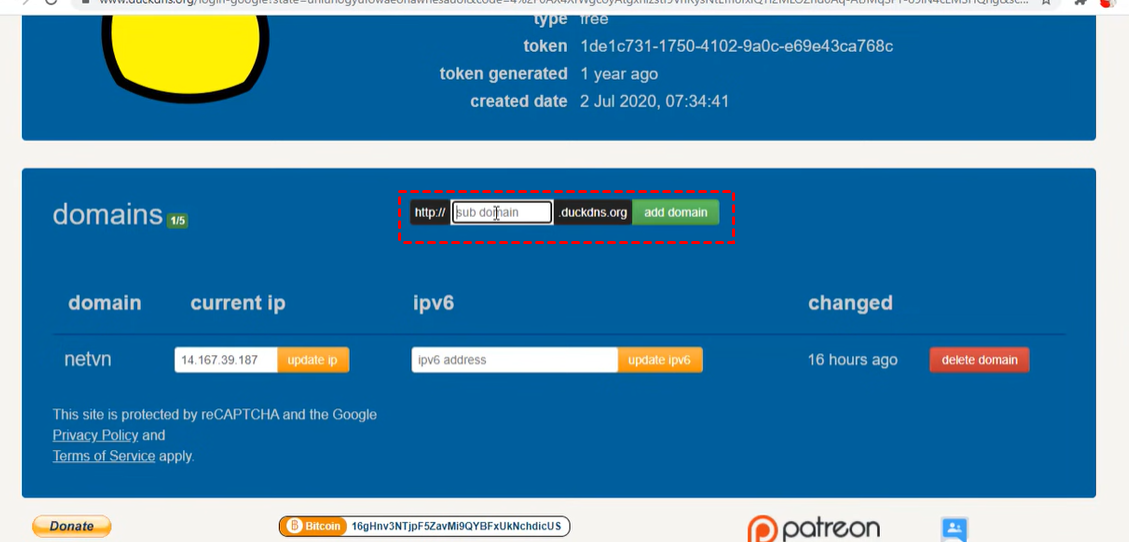
Step 2. Go to the Domains part, and enter a name for your subdomain.
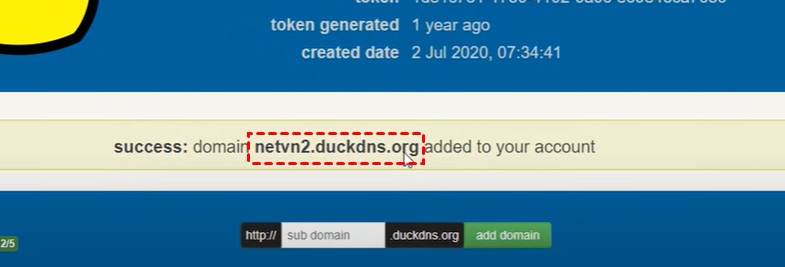
Step 3. Note down the domain name.
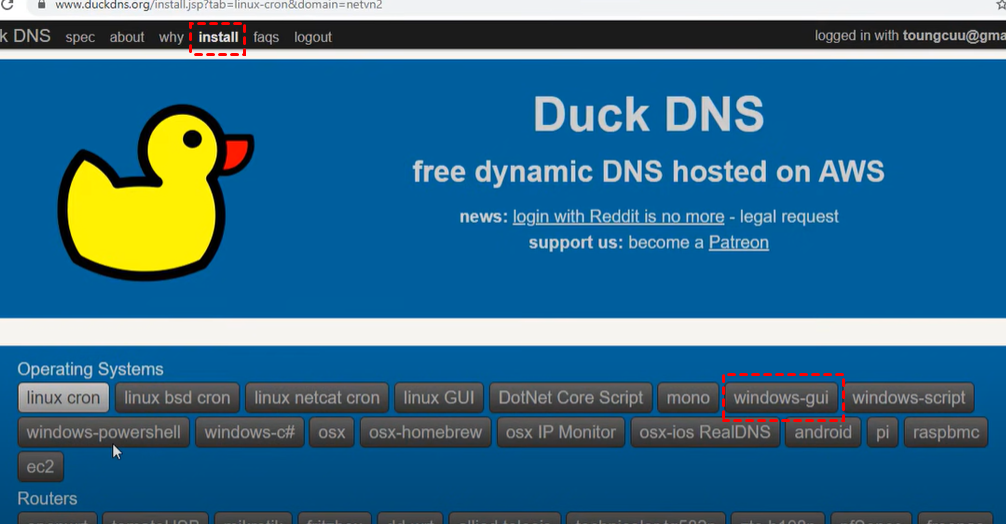
Step 4. Go to the install interface and select windows-gui under Operating Systems.
Step 5. Scroll down to download and install the software.
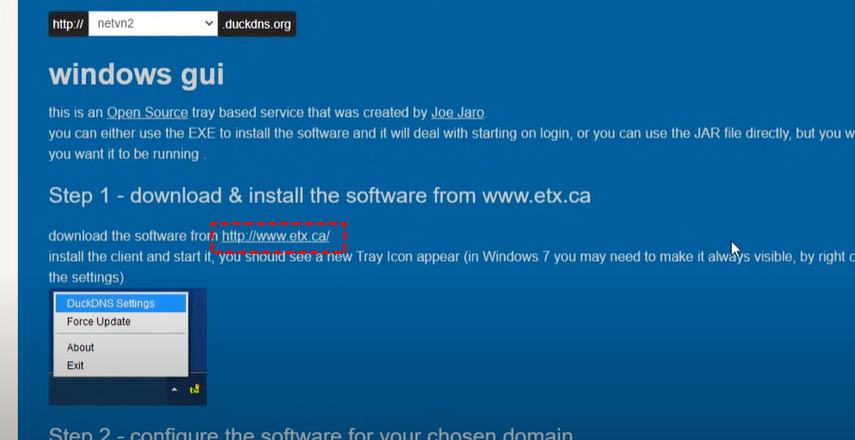
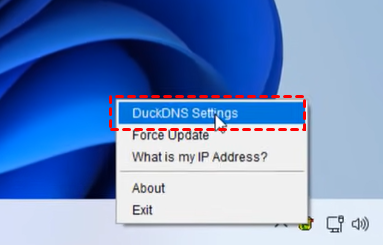
Step 6. Right-click DuckDNS icon from the system tray and select DuckDNS Settings.
Step 7. Back to the website to copy the token.
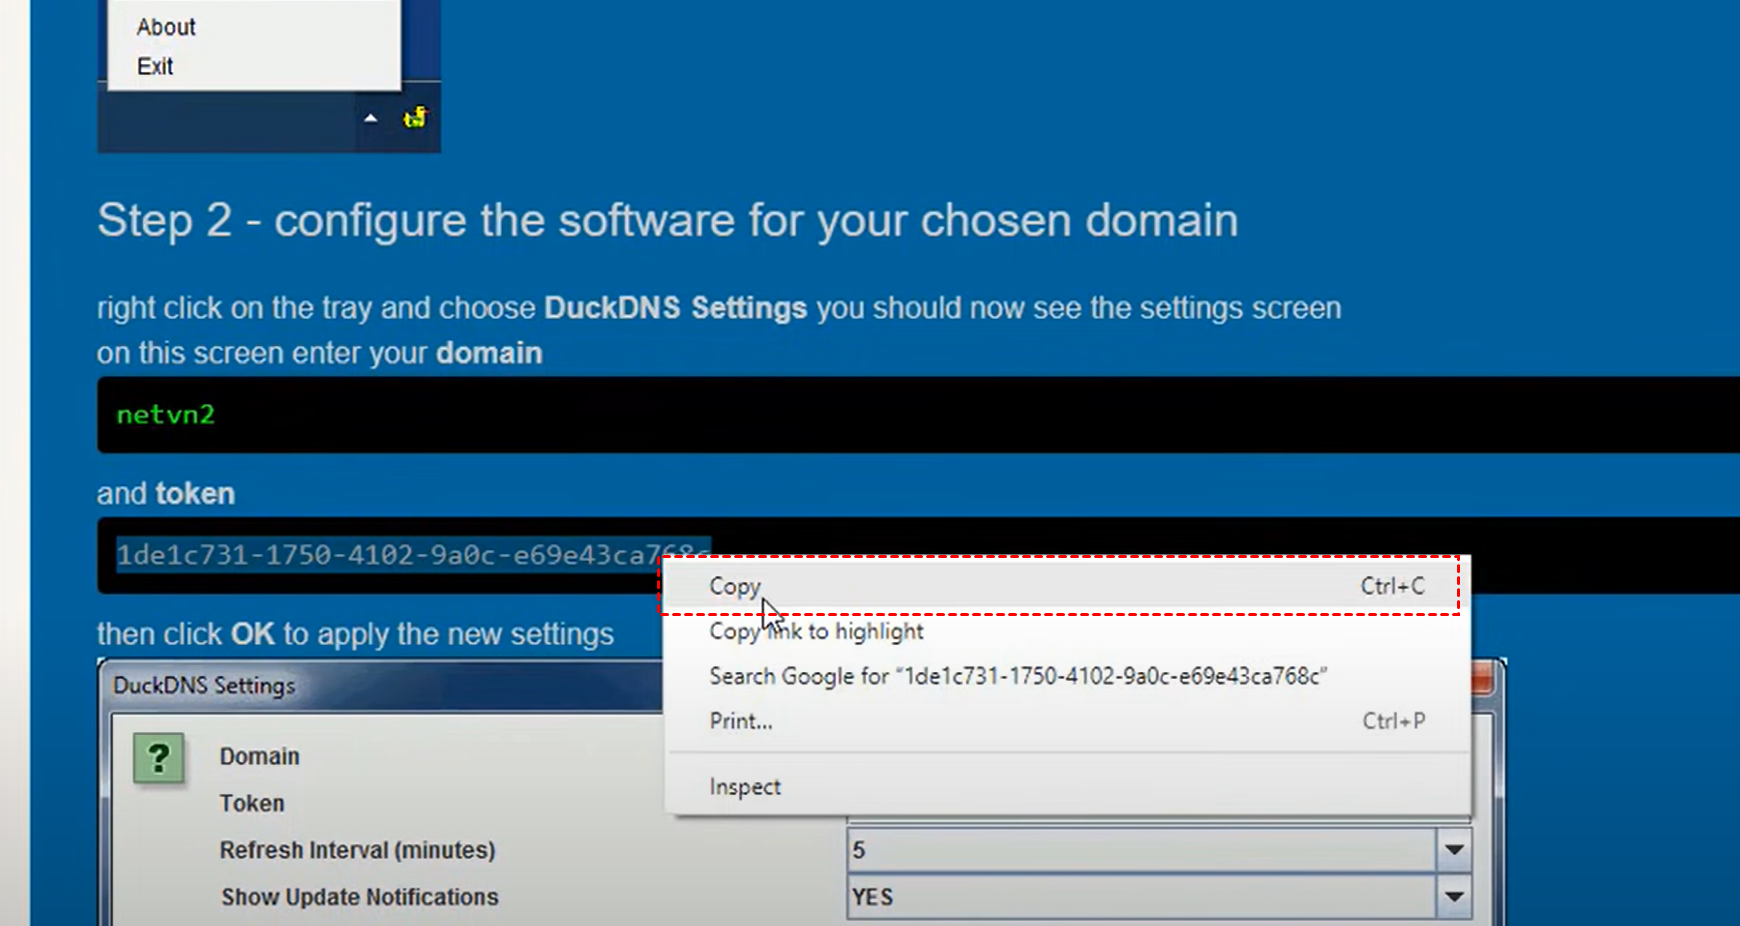
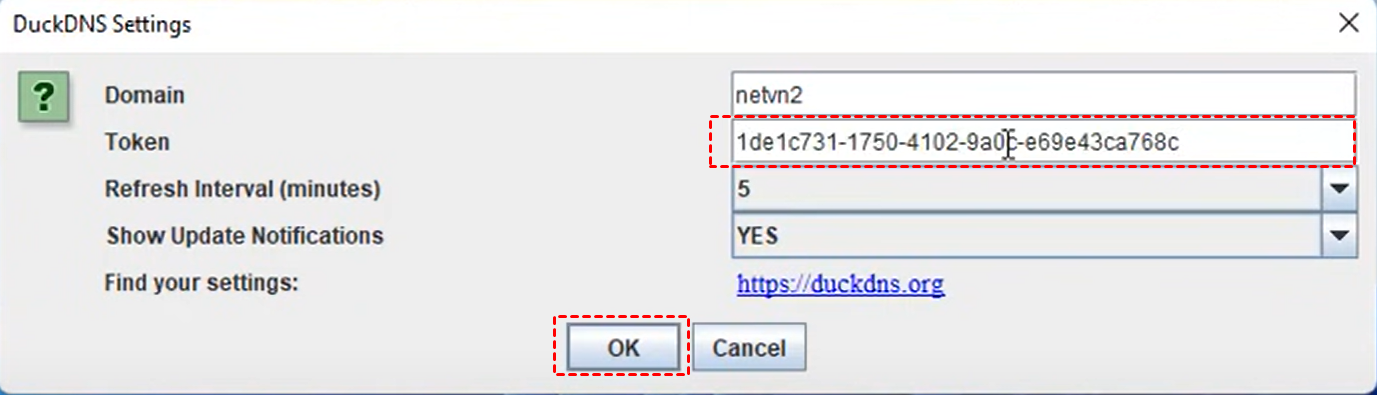
Step 8. Enter the token and click OK.
Part 6. Establish a Remote Desktop connection
Now you can establish a connection using the dynamic DNS for Remote Desktop.
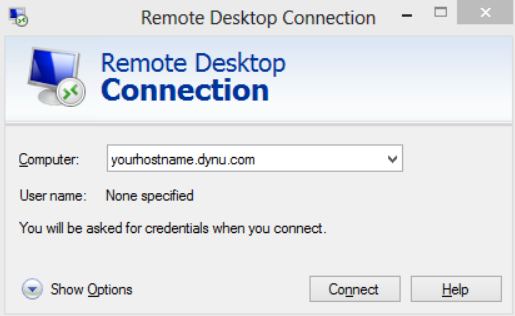
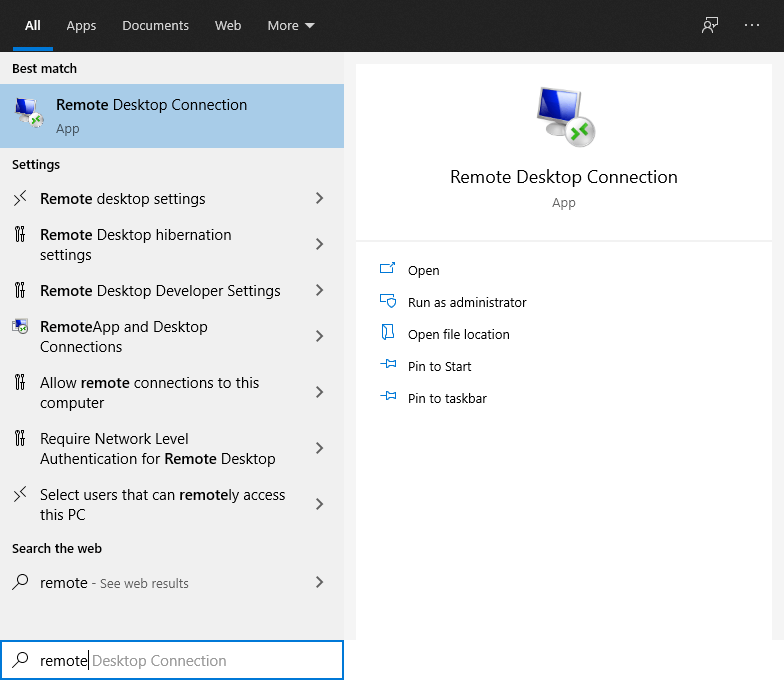
Step 1. Open Remote Desktop Connection on your client computer by searching it from the start menu.
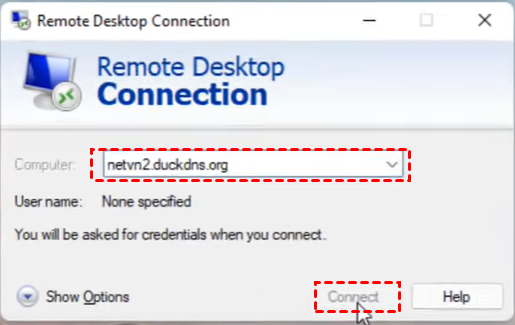
Step 2. Enter the dynamic DNS name you noted and click Connect.
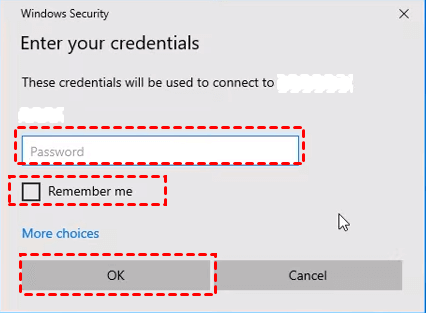
Step 3. Enter your credentials and click OK.
Bonus tip: An easier way to achieve remote access without an IP address
It may take you much time to use Remote Desktop with dynamic IP. Suppose you are looking for a time-saving option. In that case, we recommend using the best remote access software AnyViewer for the following advantages compared to RDP:
Easier to use. AnyViewer supports one-click unattended access without IP address and port forwarding.
Windows Home/Standard supported. AnyViewer server side supports Windows 11/10/8.1/8/7, all editions, and Windows Server 2019/2016/2012 R2/2022. AnyViewer client side supports Windows, iOS, and Android devices.
More free features. AnyViewer has many advanced features, including remote desktop file transfer, multiple sessions, instant chat, and more, which are unavailable in RDP.
More secure. AnyViewer uses end-to-end encryption with strong 256-Bit Elliptic Curve Cryptography (ECC) algorithm to protect your data during the session. While the RDP port might be an open window for hackers to access your systems.
Download AnyViewer on your devices:
Step 1. Click Sign up to register a new account on the host PC, then log in.

Step 2. Log in to the same account on the client computer.

Step 3. Go to the Device interface to get a list of your assigned devices. Click the device you want to connect to, and then select One-click control.

- Notes:✎...We advise upgrading your account if you have more than two remote PCs. With the inexpensive corporate memberships that AnyViewer offers, you may take advantage of more extensive rights.
- Set up to 100 devices for one-click control.
- Establish more concurrent sessions.
- Create a connection in privacy mode to blacken the screen and disable the keyboard & mouse of the host PC.
- Enjoy high-quality image performance.
Conclusion
That’s all for how to Remote Desktop withdynamic IP. The process may be complicated for non-technical users. Therefore, we recommend using AnyViewer with simple steps to control your remote computer.
