
Easily Fixed: RDP Full Screen Not Working [3 Solutions]
In this post, you’ll briefly understand the causes of RDP full screen not working issue, and the solutions to the issue. Also, a RDP alternative is recommended to offer more option.
By Ellie / Updated on December 26, 2025
The issue: RDP full screen not working
I use a laptop and I am docking and undocking frequently. Often when I connect to another machine using Remote Desktop, the screen size gets messed up when I dock again. By 'messed up' I mean that it stays the size of my laptop screen (wide screen ratio). Clicking maximize will not get it to go full screen. Any ideas (other than a reboot) on how I can reset this?"
- Question from SuperUser
Why is RDP not full screen?
Such RDP full screen not working problem means that you can’t maximize the window of the session to full screen when connecting to a remote computer. When facing RDP full screen not working, people always get very annoyed. To solve the problem, you need to figure out the causes of the problem first.
This issue occurs if the display setting in Remote Desktop Connection is changed from the default setting (Full Screen) to a different setting. This setting change is saved in the Default.rdp file. When a connection starts, the display setting that is saved in the Default.rdp file is used.
How to solve RDP full screen not working issue
After figuring out why RDP is not full screen, please refer to the three solutions to work out the issue.
Solution 1. Change the Display configuration
The Remote Desktop Connection client has a handy screen resolution slider that scrolls from small to large for your screen. Make sure to set the slider to Full Screen if you want a full-screen remote connection for each connection. Please follow the steps below.
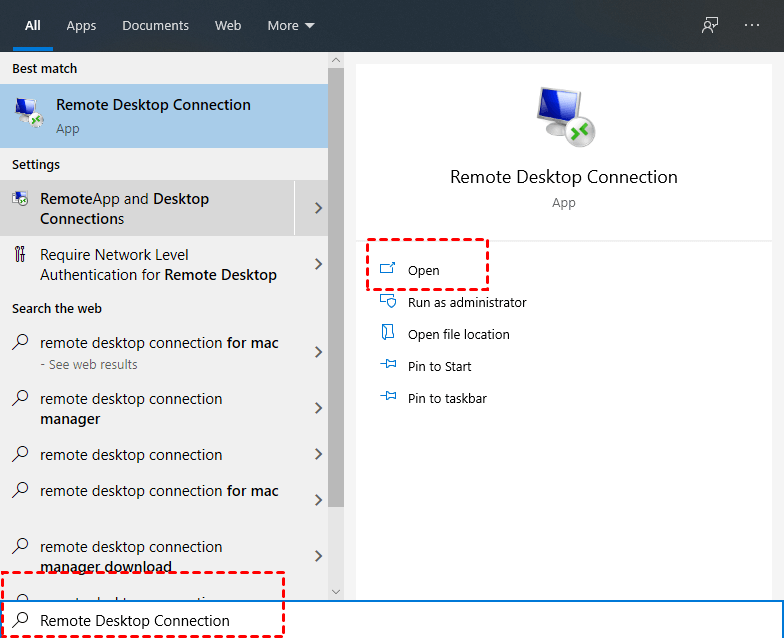
Step 1. Search for Remote Desktop Connection in the Search box. And then open it.
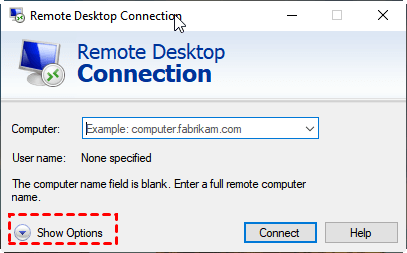
Step 2. In the Remote Desktop Connection dialog box, click Show Options.
Step 3. Click the Display Tab. Move the Display configuration slider to Large (Full Screen), and then connect to the remote computer.

Solution 2. Create a shortcut to go back into full-screen mode
The above-mentioned solution works for many users. But still, some users have criticized this solution because it didn’t address the real problem.
They reflected that the real problem is that when you switch from RDP into one machine with a given resolution, and then to another with a different resolution, it always remembers the last resolution. So you end up with a mismatched RDP window that will not go full screen until you disconnect, then adjust the slider again.
To solve the problem, you can go back into full-screen mode by pressing Ctrl + Alt + Pause/Break. This allows you to switch without disconnecting and reconnecting.
But still, there are two gotchas for this solution. On the one hand, it actually doesn't change the resolution, so it may go into full-screen mode with the blue bar at the top, but still have scrollbars at the side. On the other hand, some keyboards may don’t have a Pause/Break key.
Solution 3. Force RDP to use a specific size
The third solution is that you can force the Remote Desktop Connection to use a specific size through the Run function. You just need to press Windows key + R to invoke the Run dialog box, and then type in “mstsc.exe /h:X /w:X” and press OK.

Here, h means height and w means width. X means the height and width of the Remote Desktop viewing window that you desire. Remote Desktop Connection will remember your settings for future remote screen display settings.
Free alternative to Remote Desktop for Windows PCs and Servers
As you may go through tedious procedures to fix RDP full screen not working issue, here we recommend you an easy-to-operate remote control software, AnyViewer. After you successfully connect to another computer, there is a Full Screen button in the middle at the top of the screen. You could just click it to achieve full screen.
It is also a free, stable, and fast remote control software for Windows with high safety, which allows you to remotely access and transfer your important files and folders on your computer. Following the following steps, you can achieve full-screen remote control instantly.
Step 1. Download, install and launch AnyViewer on both computers. Go to Log in, and then click Sign up. (If you already have signed up on its official website, you can log in directly.)

Step 2. Fill in the signup information.

Step 3. Then you can see you successfully logged in to AnyViewer. Your device will automatically be assigned to the account you've logged in to.

Step 4. Log in to the same AnyViewer account on the two devices, then you can achieve a direct connection by clicking One-click control.

Note: You can also upgrade your account to a Professional or Enterprise plan to assign more devices and enjoy more rights.
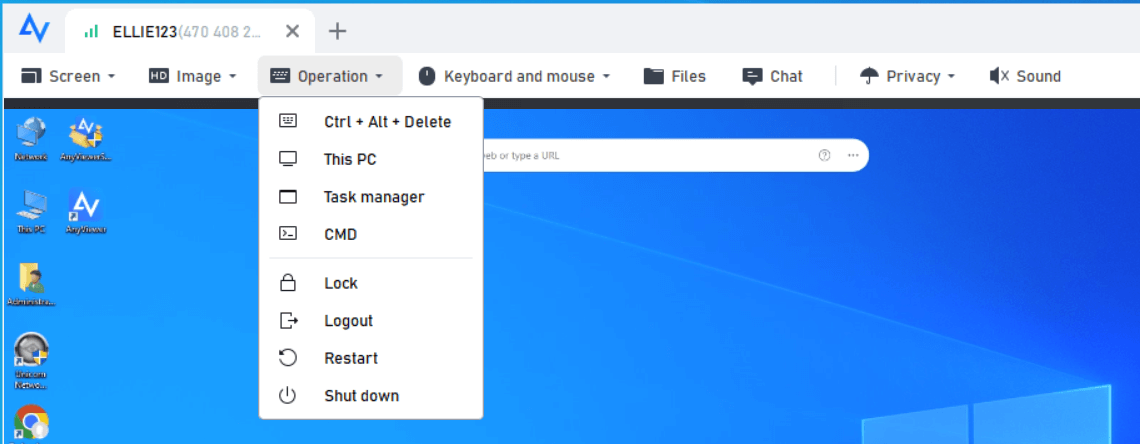
In addition, AnyViewer can also provide users with some practical functions for remote control after a successful connection. Such as lock, logout, restart, command prompt (cmd), etc.
Users can choose image quality according to the network connection speed. If the network connection speed is better, it can provide a higher image quality. The default wallpaper hiding function makes the remote connection smoother.
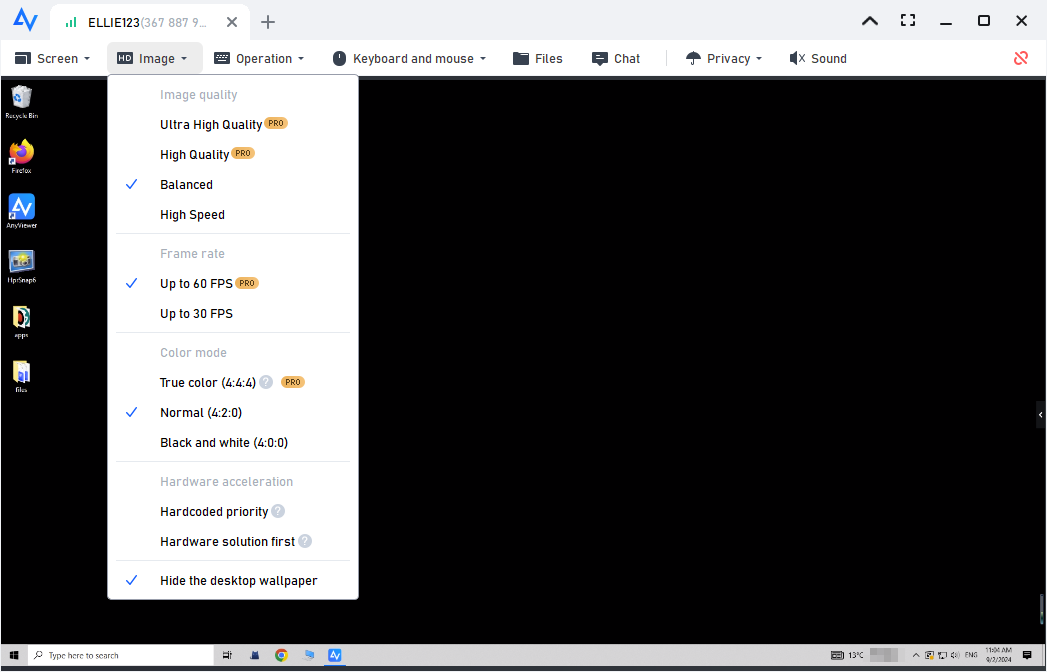
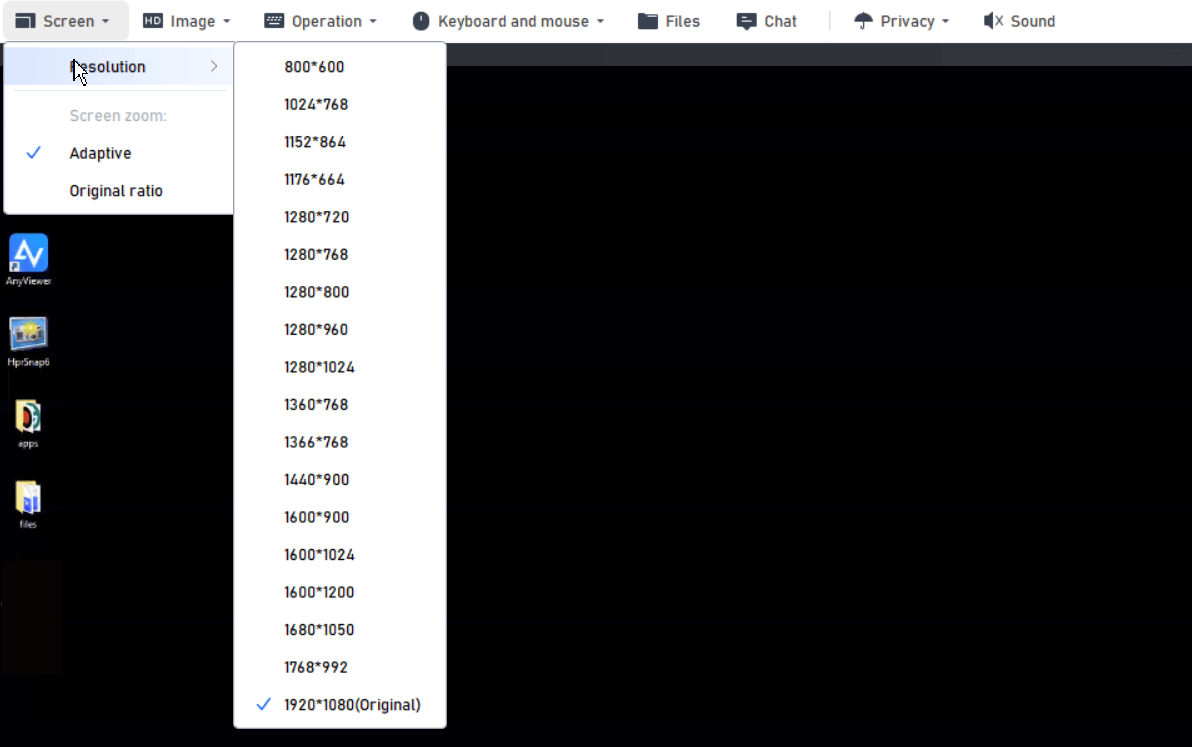
AnyViewer provides users with different resolutions. Users can choose according to their preferences.
Conclusion
In conclusion, you can troubleshoot RDP full screen not working problem in three ways. Firstly, you can change the size of the screen in Display Configuration. Secondly, you can go back into full-screen mode by pressing Ctrl + Alt + Pause/Break. Finally, you can force the Remote Desktop Connection to use a specific size through the Run function. Besides, we offer you a Remote Desktop alternative, AnyViewer. It is very easy to operate. you can change the size of the screen, the resolution of the screen, and the image quality freely.
