
8 Tested Ways to Fix VNC Viewer Black Screen Issue on Windows 10, 11
This post introduces how to fix VNC viewer black screen. If you are facing the same problem, you are going to the right place. Keep reading to get the tips!
By AnyViewer / Updated on December 13, 2024
How do I fix black screen on VNC viewer?
Hi. I've been using VNC viewer for a while, but lately I've had trouble connecting to my remote computer since I keep receiving a black screen. I'm not sure what's causing this problem. Can anyone suggest any possible solutions to fix VNC viewer black screen?I'm using Windows 10 on both of my machines.”
- Question from a user

How to fix VNC viewer black screen on Windows 10, 11 [8 solutions]
VNC is a popular remote desktop software that allows users to access and control remote computers. However, encountering a black screen while using VNC viewer can be frustrating. The black screen issue can occur due to various reasons, such as network connectivity problems, display settings, or software conflicts.
In this troubleshooting guide, we will walk you through the steps to fix the VNC viewer black screen on Windows 10/11and regain seamless remote access to your computer.
Solution 1. Restart VNC server and viewer
Sometimes, a simple restart can resolve temporary issues or conflicts causing the black screen. You can restart both the VNC server and viewer applications to refresh the connection.
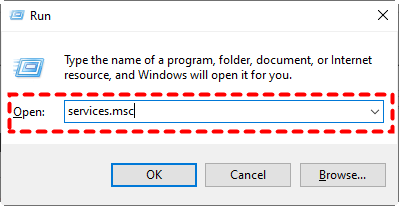
Step 1. Press Win + R and input “services.msc”, then click OK.
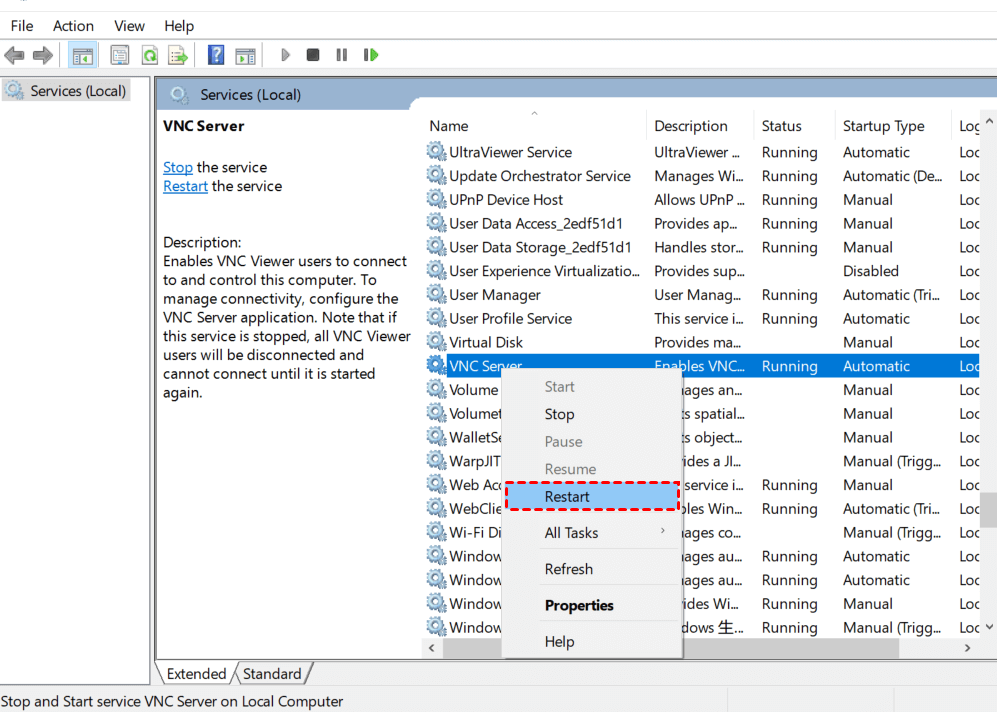
Step 2. Find and right-click VNC Server > Restart.
Step 3. Repeat the similar steps to restart VNC viewer.
Solution 2. Check network connectivity
A stable network connection is crucial for successful VNC viewer sessions. In this section, we will guide you through checking your network connectivity.
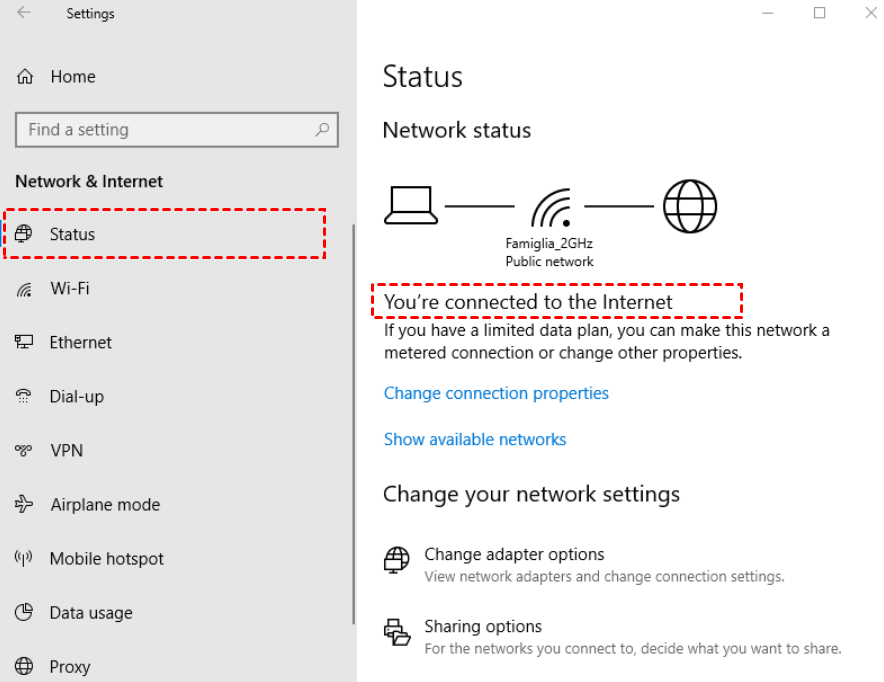
Step 1. Go to the Windows Settings app and select Network & Internet.

Step 2. Click Status on the left, then you can check the connection status on the right of the screen.
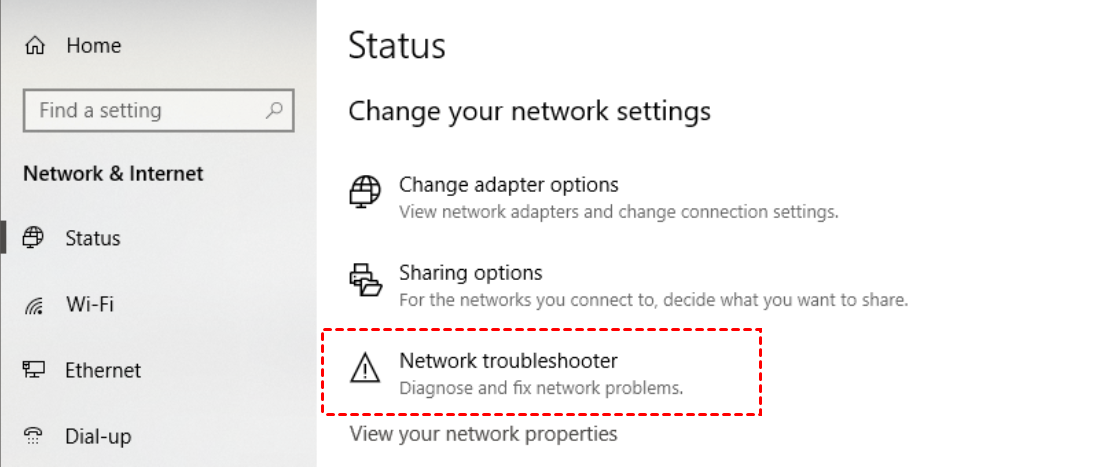
If you’re experiencing network issues, you can scroll down in the Status interface and click Network troubleshooter. Windows will attempt to identify and fix any problems with your network connection.
Solution 3. Check for conflicting applications
Certain firewall configurations, antivirus programs, or other remote access software can interfere with VNC connections and result in VNC black screen. You need to temporarily disable or configure these programs to allow VNC traffic.
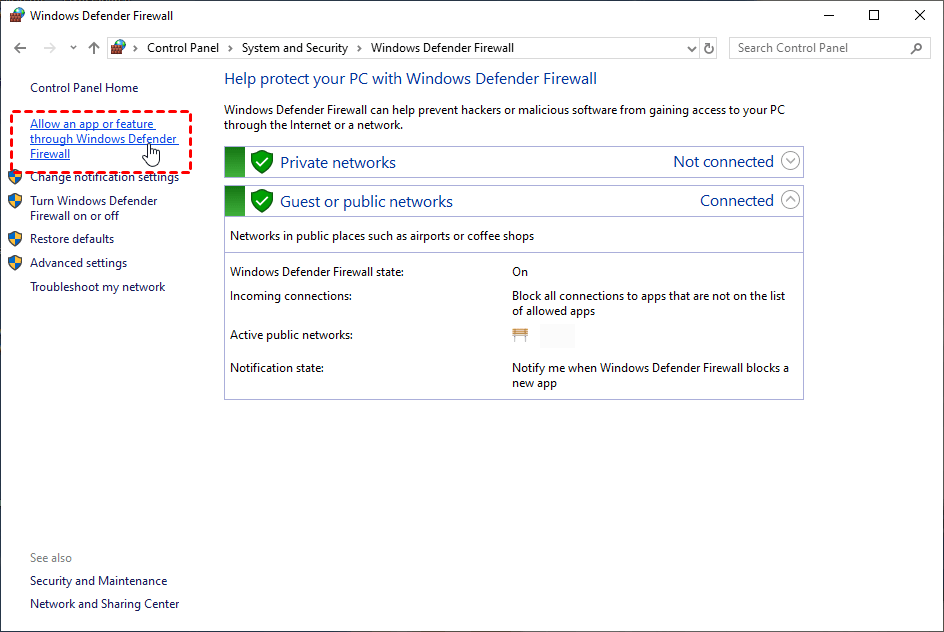
Step 1. Launch Control Panel and click System and Security > Windows Defender Firewall, click Allow an App or Feature Through Windows Defender Firewall on the left pane.
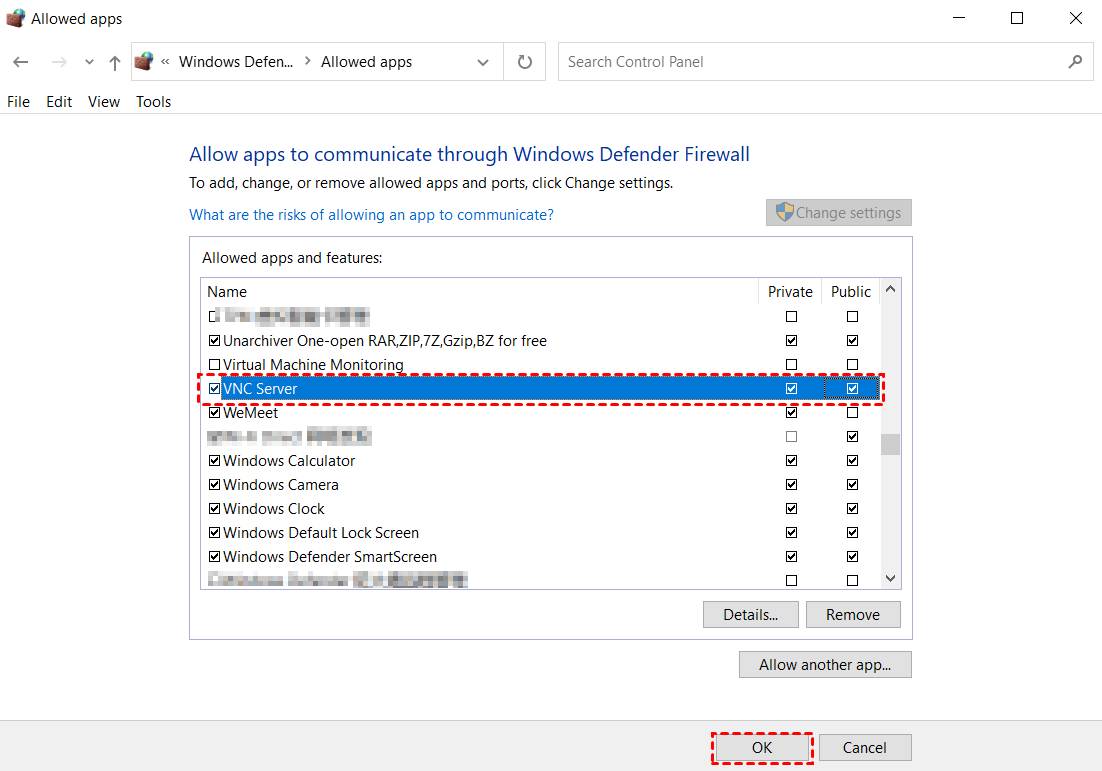
Step 2. Click Change settings, check VNC server and VNC viewer, then click OK.
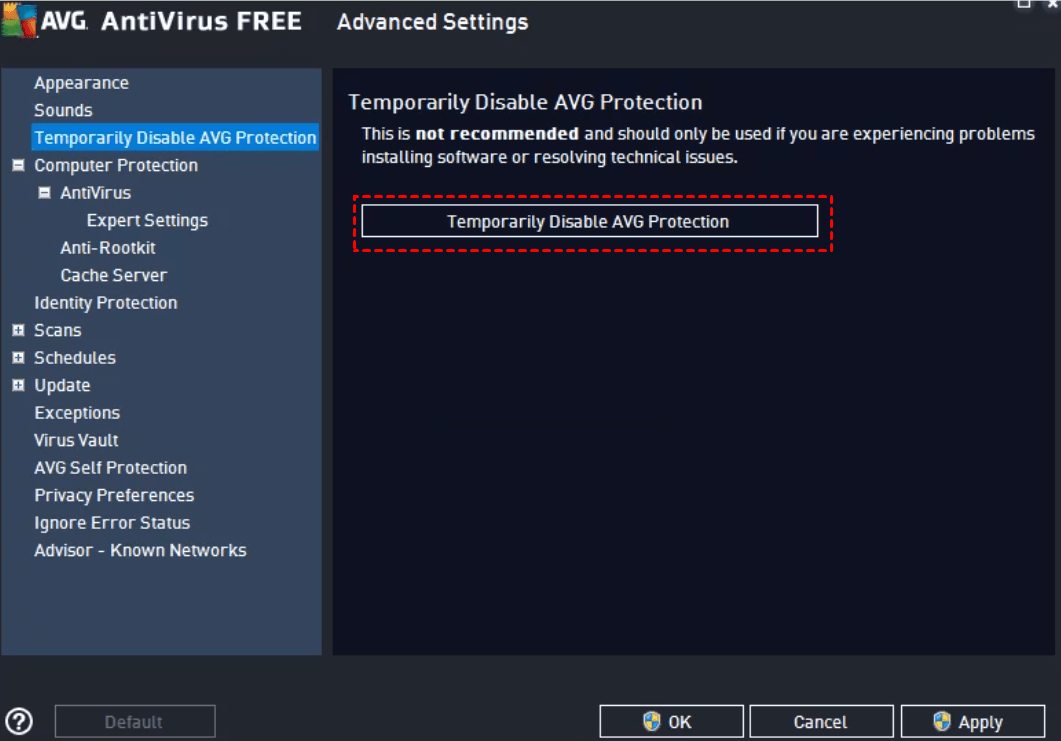
Step 3. Open the third-party antivirus software, click the appropriate icon on the left, then choose the shield settings tab.
Solution 4. Update VNC software
Outdated versions of VNC server or viewer software can cause compatibility issues. You can update the VNC software on both the client and remote computers to ensure you have the latest and most stable versions.
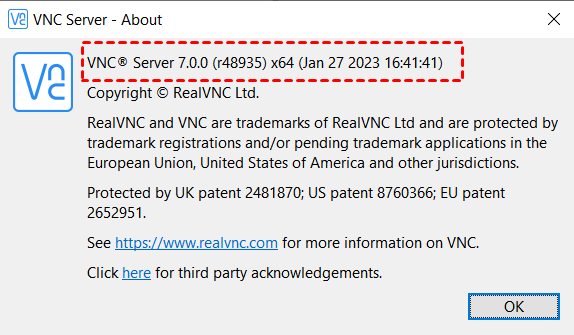
Step1. Identify the version of your existing VNC software. This information is typically available within the software's settings or about section.
Step 2. Visit the official website of the VNC software you are using. Look for a "Downloads" or "Updates" section where you can find the latest version of the software. Then download the latest version of your VNC software.
Solution 5. Adjust VNC viewer settings
Misconfigured display settings within the VNC Viewer can lead to a black screen.Try to adjust the VNC Viewer settings to fix the problem.
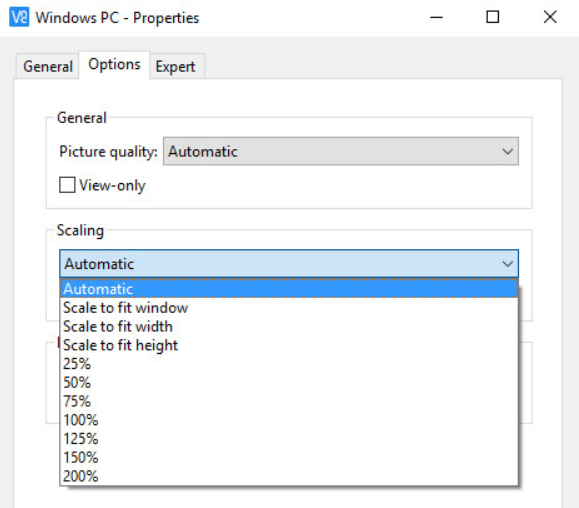
Step 1. Open the VNC viewer application and go to the settings or options menu.
Step 2. Change the display resolution, color depth, or other display-related settings. Ensure that the "View-only" mode is disabled for interactive access.
Solution 6. Check remote computer’s power settings
Power-saving or sleep mode settings on the remote computer can trigger a black screen. We will show you how to check and adjust the power settings to prevent the display or system from entering sleep mode while connected via VNC.
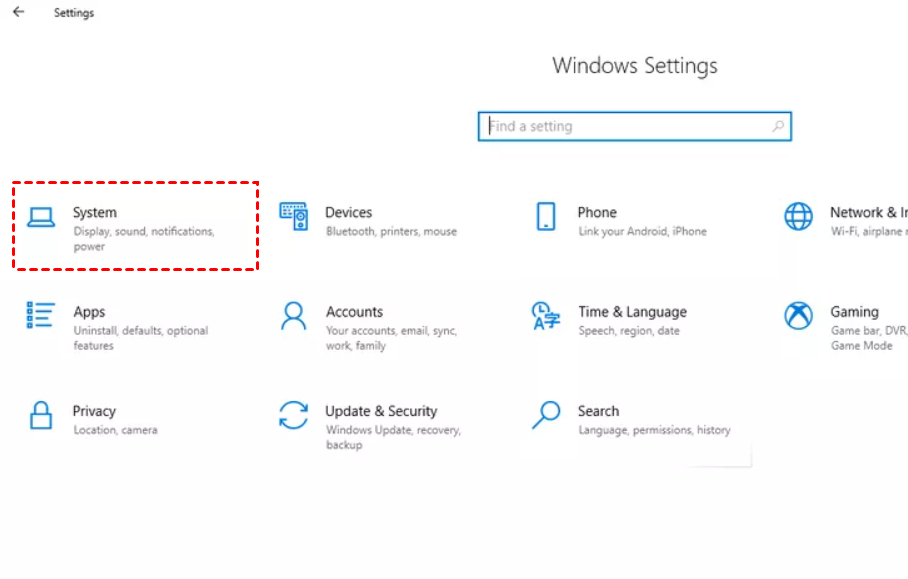
Step 1. Go to the Windows Settings app and select System.
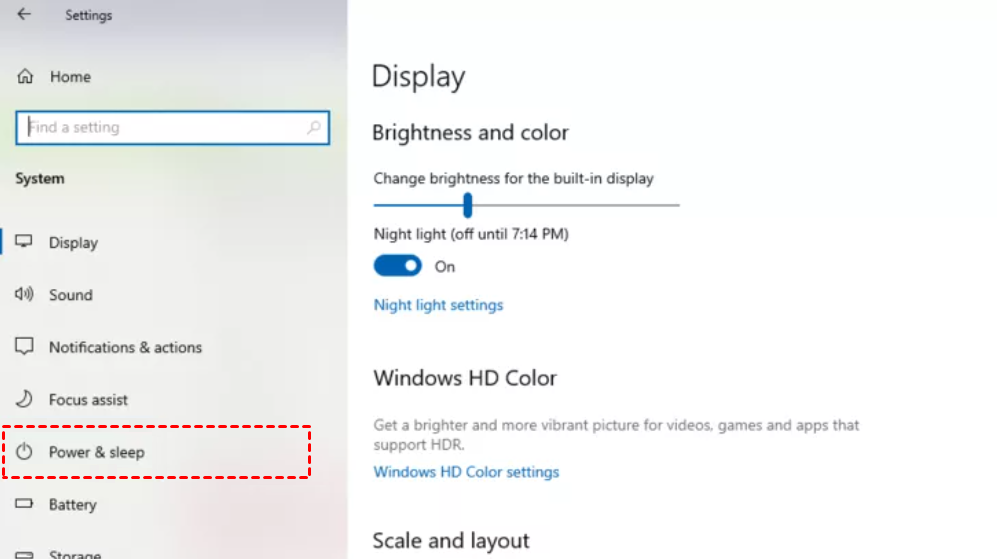
Step 2. Click Power & sleep from the left pane.
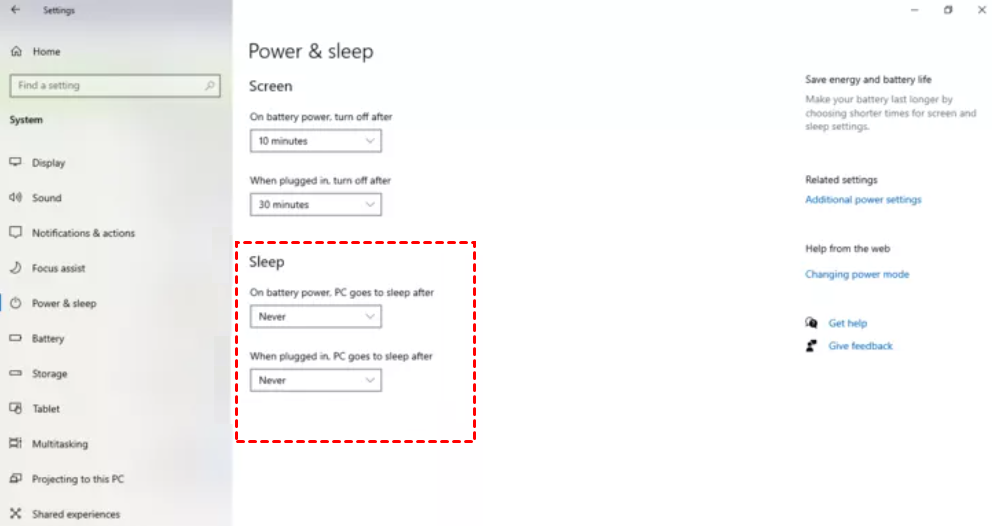
Step 3. Set "Never" in both of the drop-down choices next to "Sleep".
Solution 7. Disable hardware acceleration
Hardware acceleration settings within the VNC Viewer or on the remote computer can interfere with the display and result in a black screen. Try to disable hardware acceleration to see if it resolves the issue.
Open the VNC viewer settings, locate the hardware acceleration option and disable it.
Solution 8. Use VNC viewer alternatives
If the problem persists, trying alternative VNC viewer applications can help identify if the issue is specific to the VNC Viewer you are using.
If you're looking for a powerful alternative that brings a host of advantages and enhanced features to the table, The best remote desktop software AnyViewer is the perfect solution. AnyViewer offers an impressive set of features designed to streamline your remote desktop experience. With its intuitive user interface, even beginners can navigate and utilize its capabilities effortlessly. Here are some key advantages that set AnyViewer apart:
Exceptional performance: AnyViewer is optimized to provide lightning-fast connections with minimal latency. Experience smooth remote control sessions, even on low-bandwidth networks, without compromising on speed or responsiveness.
Enhanced security: Security is paramount when it comes to remote desktop access. AnyViewer offers end-to-end encryption via strong 256-Bit Elliptic Curve Cryptography (ECC) algorithm to ensure that your remote sessions are secure and safeguarded against unauthorized access.
Unattended access: AnyViewer enables one-click unattended access, making it convenient for providing remote support or managing servers anytime, even when the user is not present.
Multi-Monitor support: AnyViewer understands the need for multitasking. With its multi-monitor support, you can effortlessly navigate between multiple remote screens, enhancing productivity and providing a seamless user experience.
File Transfer and clipboard sharing: Transferring files and sharing data between local and remote machines is a breeze with AnyViewer. The built-in file transfer feature allows you to effortlessly exchange files, while clipboard sharing lets you copy and paste text between connected devices.
Download and install AnyViewer AnyViewer on your devices:
Step 1. Launch AnyViewer on the host computer and sign up for a new account using your email address and password.

Step 2. Open AnyVieweron the client device and log in using your account credentials. When you log in, the client computer will immediately be assigned to the account.

Step 3. Go to Device, select the device you want to connect, and click One-click control to start a connection.

- Notes:✎...AnyViewer provides flexible and cost-effective licensing options for personal and commercial use. Whether you're accessing your home computer remotely or seeking a reliable remote support solution for your business, you can pay little for more rights as follows:
- Manage up to 100 devices for one-click control.
- Connect to up to 10 devices simultaneously.
- Transfer unlimited large files (1TB per file) simultaneously.
- Create a connection in privacy mode to protect your privacy by blackening the screen and disabling the keyboard & mouse of the host PC.
- Enjoy high-quality image performance.
- ...
Conclusion
By following these step-by-step methods, you can effectively troubleshoot and resolve the VNC viewer black screen issue. Remember to proceed sequentially through each step and test the connection after implementing each solution. If you're looking for an alternative to VNC viewer, we recommend trying AnyViewer for a seamless and reliable remote desktop experience.
