
How to Share Mac Files with Windows Users
Sharing Mac files with Windows users is simple with the right methods. This guide shows you how to transfer files using built-in tools, cloud storage, USB drives, or remote access software like AnyViewer.
By Ellie / Updated on April 8, 2025
Can I share files from Mac to Windows?
Yes, transferring files from a Mac to a Windows PC is entirely doable—and often without extra software if both devices are on the same local network. However, if they're not connected to the same network, you'll need to consider other methods, such as using a professional remote file transfer software. Below, we break down all the available options.
How to share Mac files with Windows users with built-in file sharing
When your Mac and Windows PC are on the same network, setting up file sharing is a straightforward process. Both macOS and Windows come with built-in tools that make it easy to share files between the two systems. Below is a step-by-step guide to help you seamlessly transfer files between your Mac and a Windows computer.
Share files from Mac to Windows
Sharing files from a Mac to a Windows PC is simple when both devices are connected to the same network. Follow the steps below to enable and access shared folders across the two operating systems.
Part 1. Enable File Sharing on macOS
Step 1. Click the Apple menu and go to System Settings.
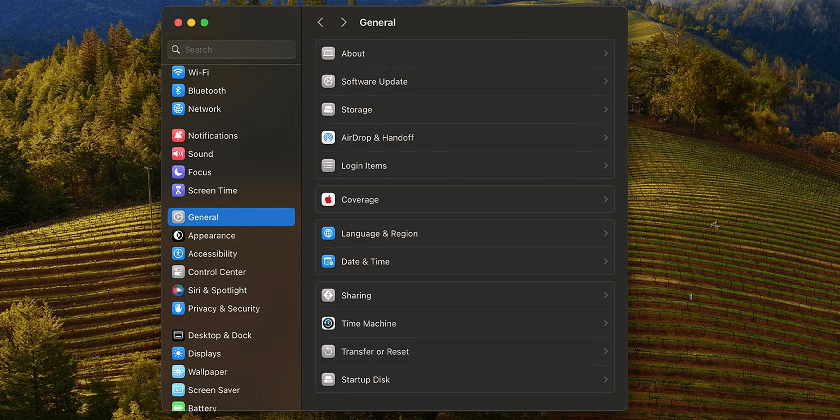
Step 2. Select General, then click Sharing.
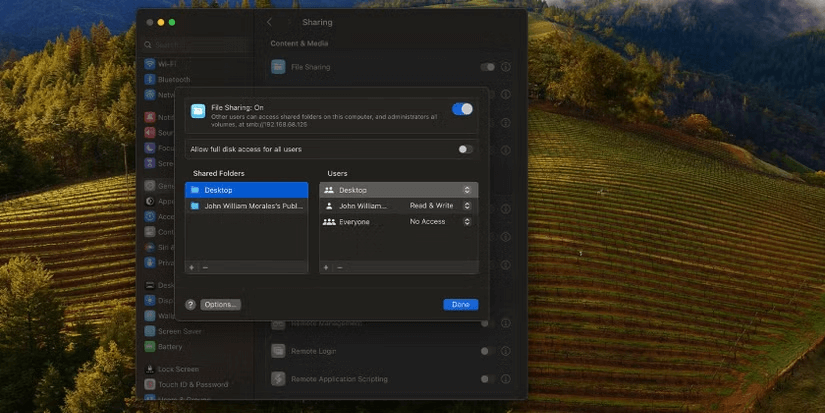
Step 3. Toggle File Sharing on by clicking the Info button.
Step 4. Hit Options, then check “Share files and folders using SMB.”
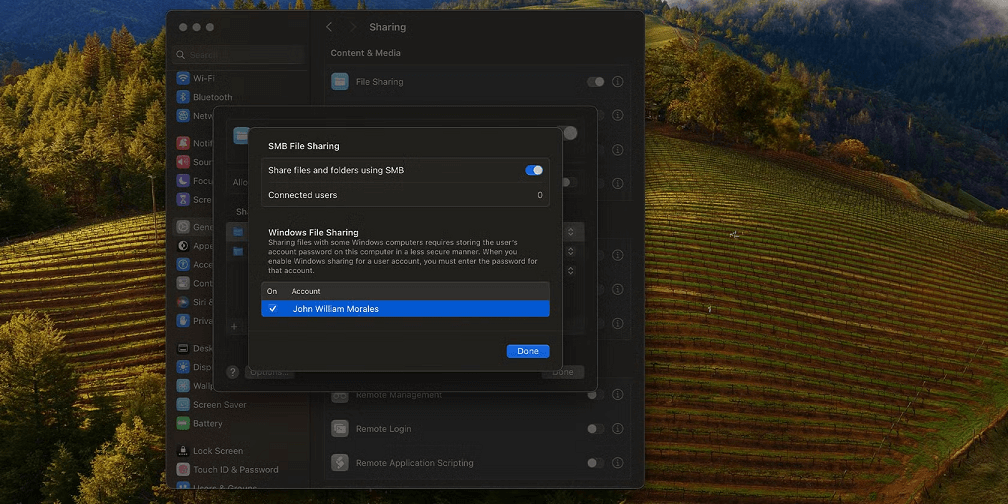
Step 5. Choose the user accounts you want to allow access.
Step 6. Enter the password for each selected user, then click OK.
Step 7. Click Done to apply the changes.
Step 8. Take note of your Mac's IP address listed at the top of the window.
Part 2. Access Shared Mac Files from Windows
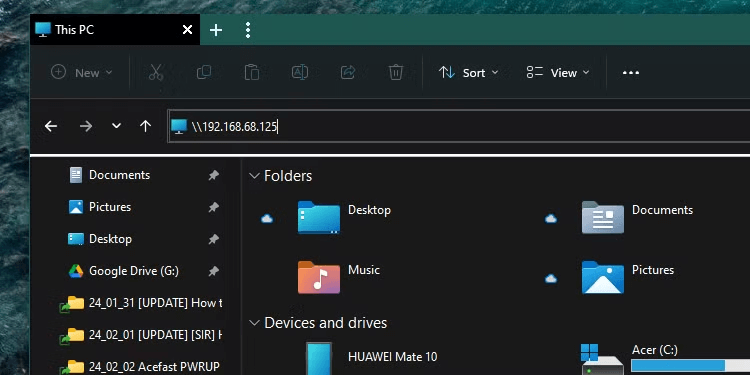
Step 1. On your Windows PC, open File Explorer.
Step 2. In the address bar, type your Mac's IP address using this format: \\192.168.x.x (omit smb://).
Step 3. When prompted, enter the Mac username and password exactly as set on your Mac.
Step 4. Once connected, you'll see the shared folders and can copy or move files just like with any local folder on your PC.
Share files from Windows to Mac
To access files stored on a Windows PC from a Mac, you'll first need to enable file sharing on the Windows machine. Once set up, both systems can communicate seamlessly over the same local network. Here's a step-by-step guide.
Part 1. Set Up File Sharing on Windows
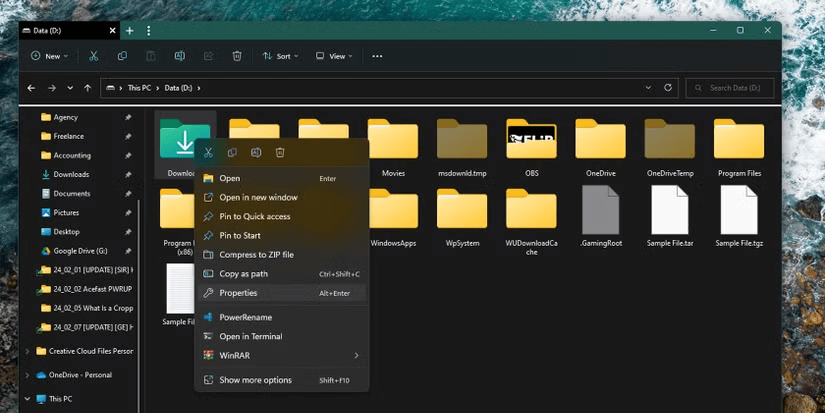
Step 1. In File Explorer, right-click the folder you want to share and choose Properties.
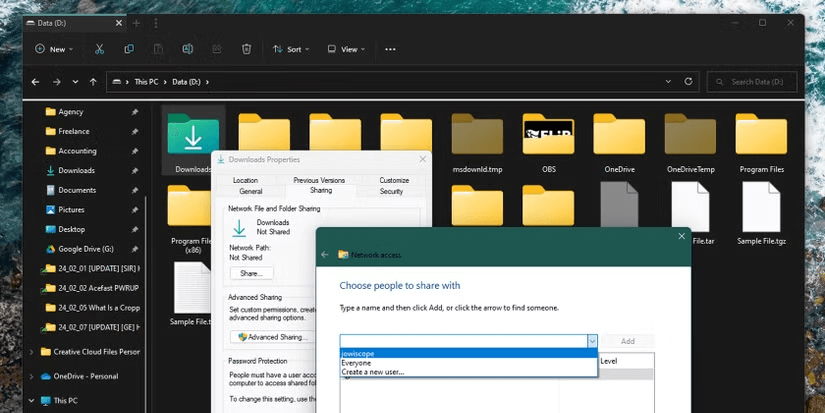
Step 2. Navigate to the Sharing tab and click the “Share…” button.
Step 3. From the dropdown list, select a user or choose “Everyone”, then click Add.
Step 4. Assign permissions — either Read (view only) or Read/Write (full access).
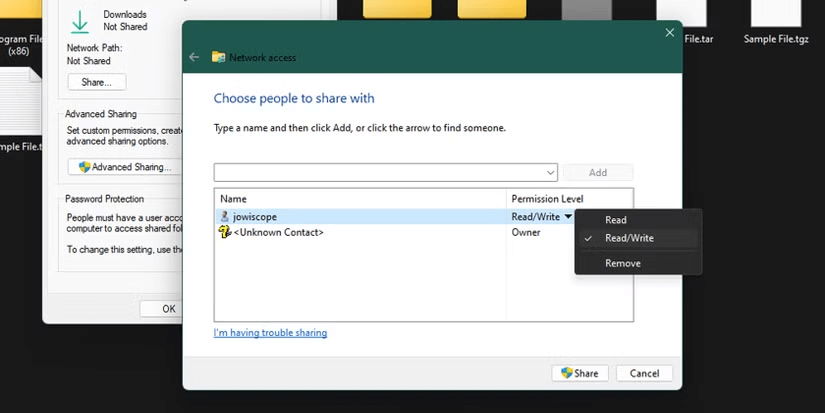
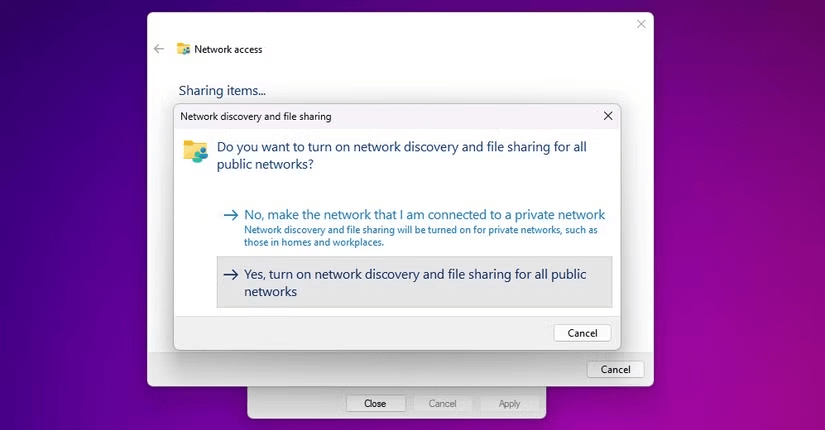
Step 5. Click Share to confirm. If prompted, enable Network Discovery and File Sharing by selecting Yes.
Step 6. Open Command Prompt or PowerShell, type ipconfig, and hit Enter.
Step 7. Locate and note your computer's IPv4 address under the Ethernet or Wi-Fi section.
Part 2. Connect to Shared Windows Folders from Mac
Once file sharing is active on your Windows PC, follow these steps to connect from your Mac:
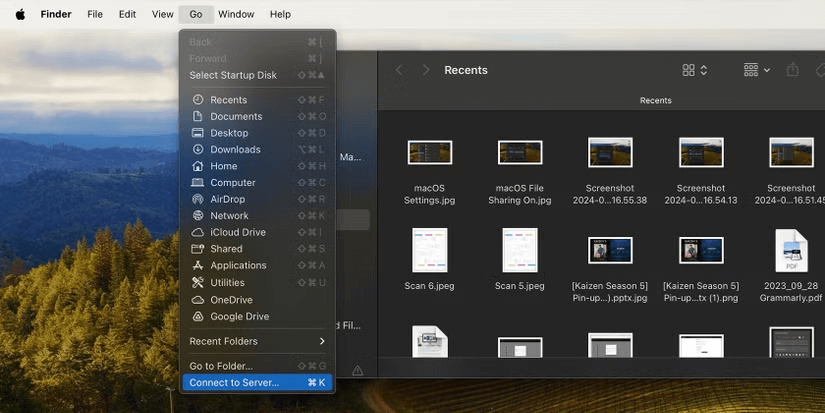
Step 1. Open Finder on your Mac.
Step 2. In the menu bar, click Go, then select Connect to Server.
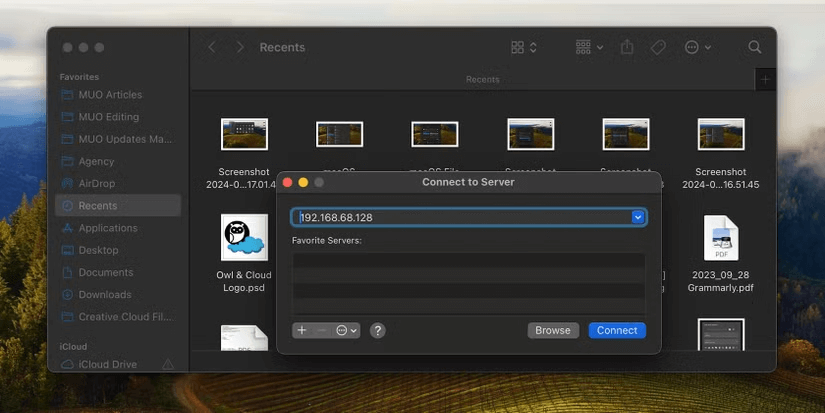
Step 3. Enter your Windows PC's IP address in this format: smb://192.168.x.x and click Connect.
Step 4. Enter your Windows username and password, then press Return.
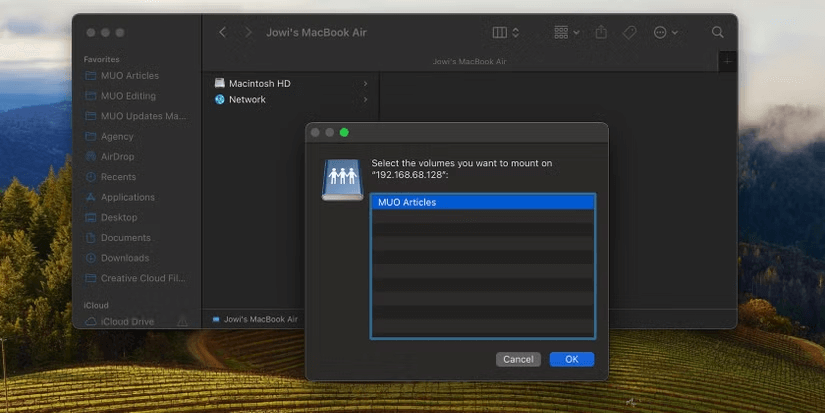
Step 5. Choose the shared folder you want to access and click OK.
Step 6. The folder will now appear under Locations in the Finder sidebar for quick access.
Alternative ways to share files between Mac and Windows remotely
The steps above work well when both devices are on the same local network. However, if you need to transfer files from a distance or prefer to avoid setting up network sharing manually, there are several remote-friendly options available. Here are a few reliable alternatives to consider:
Way 1. Remotely share files between Mac and Windows using AnyViewer
AnyViewer stands out as a powerful remote access solution that makes transferring files between macOS and Windows a breeze. It eliminates the need for complex setup or network tweaks, allowing users to remotely control Windows from Mac and move files securely and efficiently—even across different networks.
Why Use AnyViewer for File Sharing?
- Effortless Transfers: Move files and folders between Mac and Windows, even when they aren’t on the same local network.
- Intuitive Interface: Easy to use—no admin permissions or passwords required.
- Fast & Secure: Transfers are protected with advanced encryption for safety and speed.
- Beyond File Sharing: Offers full remote control, app access, system adjustments, and troubleshooting tools.
How to Transfer Files Between Mac and Windows Using AnyViewer
Step 1. Install AnyViewer on both your Mac and Windows PC.
Step 2. Sign in to your AnyViewer account on both devices. If you don’t have an account yet, you can quickly create one for free.

Step 3. On your Mac, open AnyViewer and go to the "Device" tab. Locate your Windows PC under "My Devices", click on it, and choose "File Transfer" to launch the transfer panel.
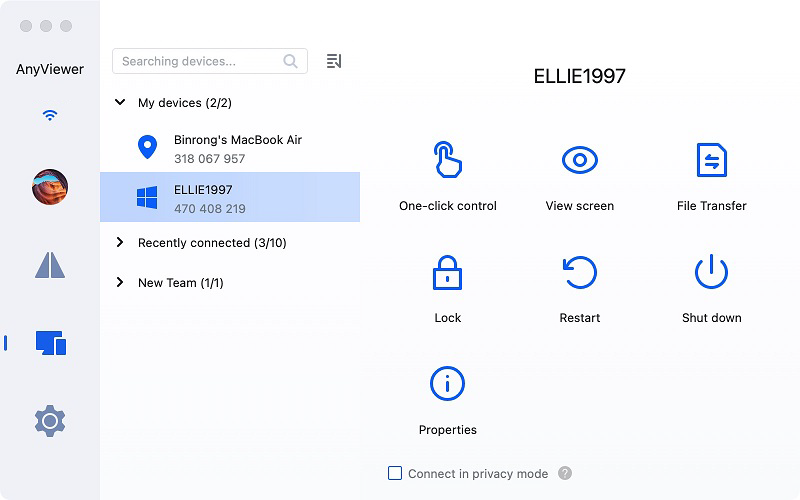
Alternative Option: You can also select "One-click control" to remotely access your Windows PC from your Mac. Once connected, open the file transfer manager from the toolbar to initiate the transfer.
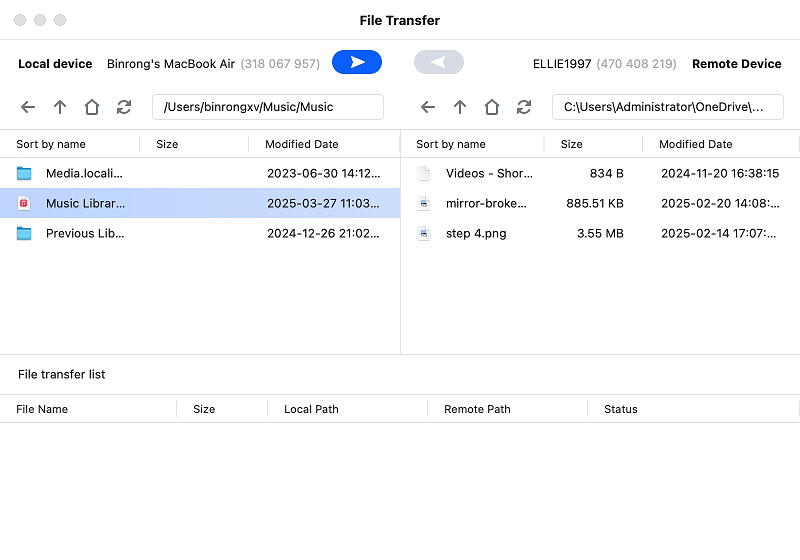
Step 4. In the transfer panel, select the file or folder you want to move. Click the arrow button to begin the transfer from Mac to Windows or vice versa.
- ★Tips: For better file transfer performance, consider upgrading to a Professional or Enterprise plan, which offers:
- Maximum file transfer speed: 10 MB/s
- 5 simultaneous file transfer threads
- Unlimited number of files per transfer
- Maximum single file size: 1 TB
Way 2. Sync folders between Mac and Windows using Cloud Storage
Cloud storage and file sharing services like iCloud Drive offer a hassle-free way to access and transfer files between your Mac and Windows PC—no cables or shared networks required. Once set up on both devices, your folders stay in sync automatically, making file sharing seamless across platforms.
Part 1. Set Up iCloud Sync on Your Mac
Step 1. Open the Apple menu and go to System Settings.
Step 2. Click on Apple Account (or Apple ID for older macOS versions).
Step 3. Select iCloud from the sidebar.
Step 4. Click on Drive (or iCloud Drive).
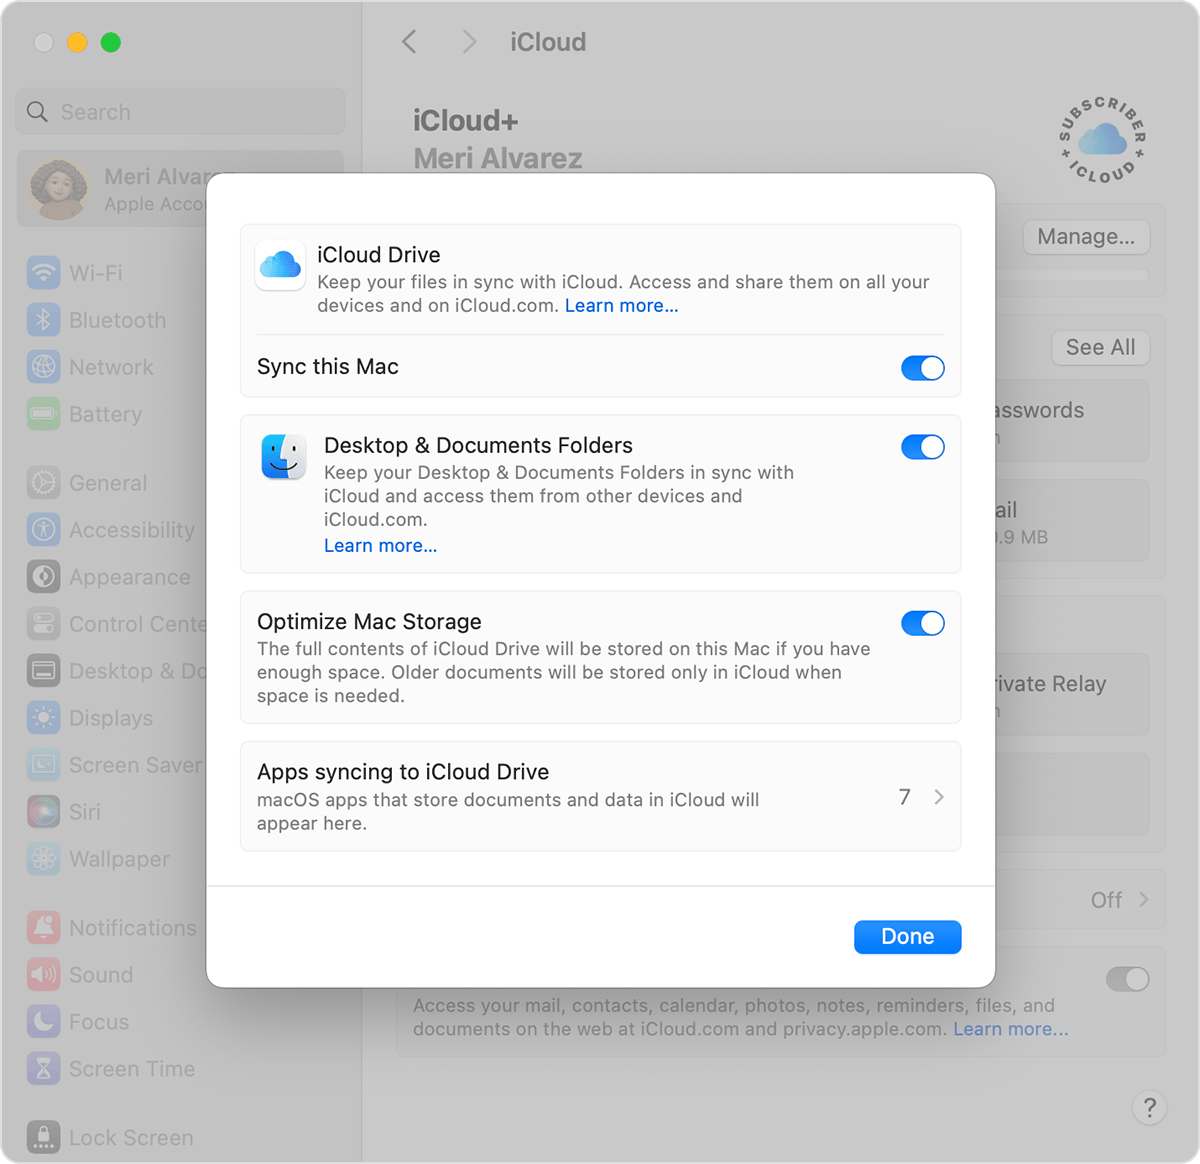
Step 5. Toggle on Sync this Mac.
Step 6. Enable Desktop & Documents Folders for automatic folder syncing.
Step 7. Click Done to apply your settings.
Part 2. Access Synced Files on Windows
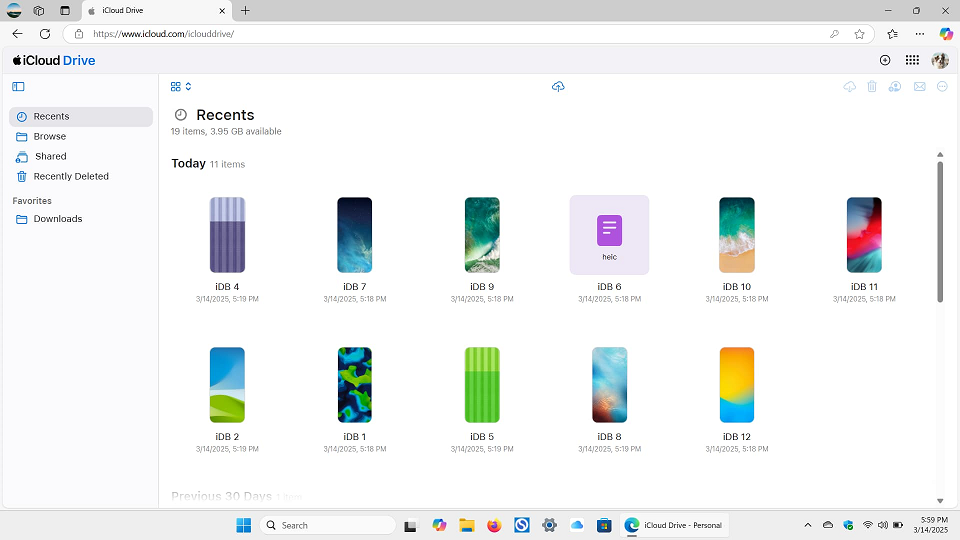
Step 1. On your Windows PC, open a browser and go to [iCloud.com](https://www.icloud.com).
Step 2. Sign in using your Apple ID.
Step 3. Click on iCloud Drive.
Step 4. Open the Desktop or Documents folders to view or download your synced files.
To send files from Windows back to your Mac, upload them to iCloud Drive via the web or the iCloud for Windows app. Your Mac will automatically pick up the changes—no manual transfer required.
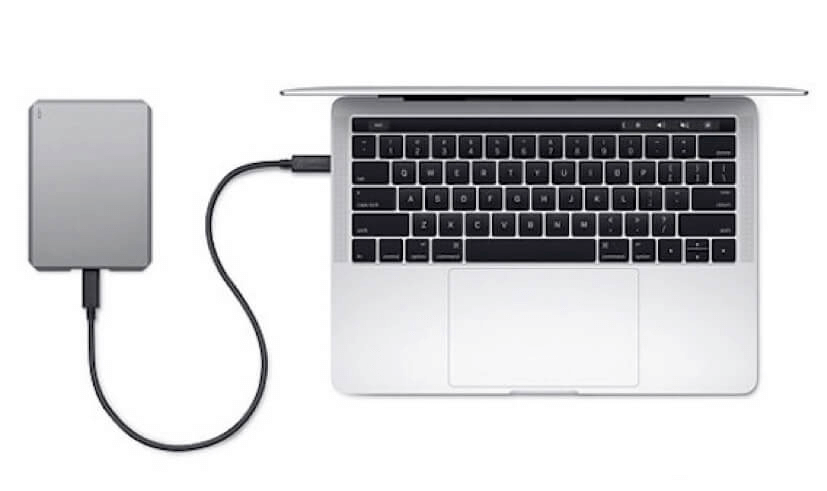
Way 3. Use a USB drive to transfer files between Mac and Windows
One of the easiest and most reliable ways to move files between a Mac and a Windows PC is with a USB flash drive or external hard drive. Just plug it in, copy the files, and you're good to go.
Make sure the drive is formatted with the exFAT file system—it's supported by both macOS and Windows and handles large files with ease. While this method doesn't offer real-time syncing, it's incredibly user-friendly and doesn't require any setup or internet connection.
Another plus? It's a “one-time purchase”, unlike cloud storage options that often come with monthly fees. If you choose this route, be sure to pick a drive that works well with both operating systems and suits your storage needs.
Conclusion
Sharing Mac files with Windows users doesn’t have to be complicated. Whether you're using built-in sharing features, cloud storage, a USB drive, or a powerful tool like AnyViewer, there are multiple ways to get the job done—both locally and remotely. Choose the method that best fits your needs and enjoy smooth, cross-platform file transfers with ease.
