
Fixed: Remote Desktop the Connection Has Been Lost [5 Solutions]
Troubleshooting Remote Desktop "The connection has been lost" error can be a perplexing task. However, fear not, as this article presents five proven methods to rectify this issue comprehensively.
By Ellie / Updated on January 22, 2026
Remote users keep getting "The connection has been lost" message
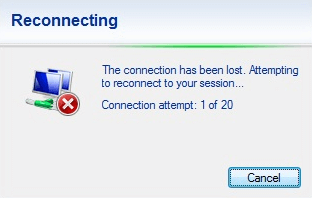
I have installed Windows 10 on my two computers, and I am finding the RDP connection between them keeps dropping out after about 10 seconds and shows below: 'Remote Desktop The connection has been lost. Attempting to reconnect to your session... Connection attempt: 1 of 20.' I never had this problem before Windows 10 update. Why does my Remote Desktop keep losing connection? Any ideas on how to fix this issue?”
- Question from Spicework Community
5 ways to fix Remote Desktop "The connection has been lost"
When controlling PC remotely, you may encounter Remote Desktop "The connection has been lost" error. Here are five solutions to help you fix this issue.
Solution 1. Disable WiFi on your router
According to some users, they found out what was causing the disconnects - turns out it was a problem with the router. When they completely turned off the WiFi on the router, the disconnects stopped. So, you could try disabling the WiFi on your router first and check if that fixes the Remote Desktop "The connection has been lost" error.
Solution 2. Ping IP Address via CMD
If the remote session over RDP is used frequently, this problem does not occur. When the remote session is dropped to the taskbar and another program becomes the primary application used while RDP is running in the background, it always freezes. Therefore, you can ping your IP Address via CMD to keep your connection active even if it is minimized.
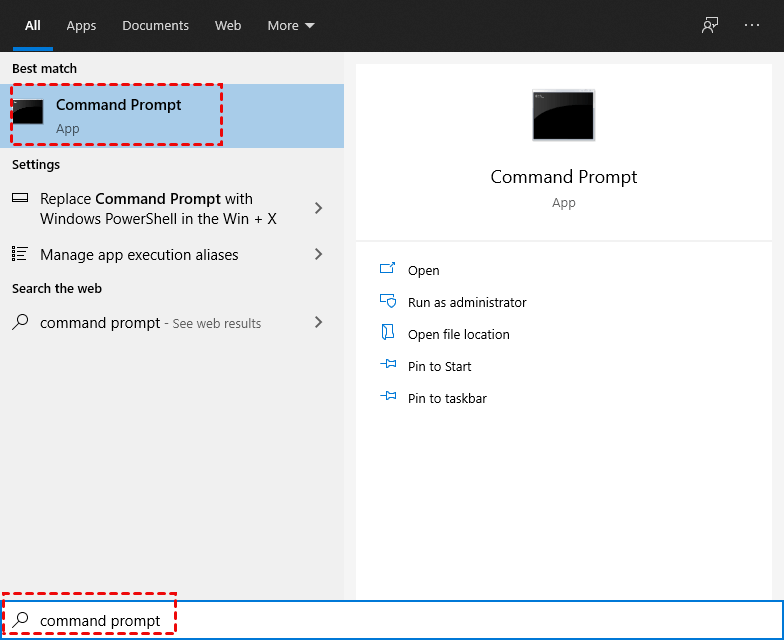
Step 1. Launch Command Prompt as an administrator.
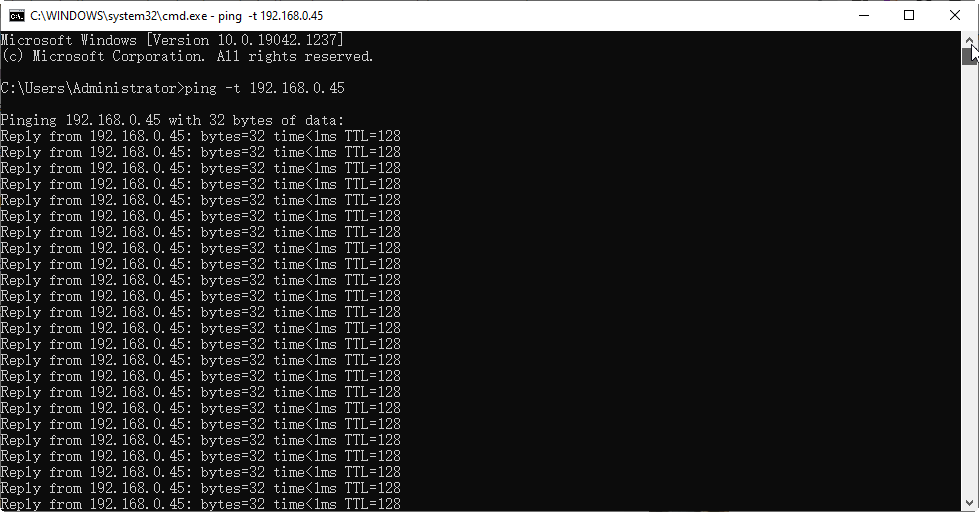
Step 2. Enter the command “ping -t SERVER_IP”. (Replace SERVER_IP with your IP Address)
Note: In case you don’t know how to find the IP Address, here are the steps. Press Win + R to invoke the Run dialog box. Type in “cmd” and press OK. Then type “ipconfig” and press Enter. Now you can see a group of IP addresses, of which the IPv4 address is the one you need.

Solution 3. Tweak your Auto-Tuning settings
Often, this issue arises due to a function called Auto-Tuning. Its purpose is to dynamically modify the TCP/IP receive window size, adapting to current network conditions. Yet, on an imperfect network, it might lead to timeout problems.
For adjusting your auto-tune settings, follow these steps:
Step 1. Launch Command Prompt as an administrator.
Step 2. Enter the following command:
netsh interface tcp set global autotuninglevel=restricted
Should you wish to revert this setting later, execute:
netsh interface tcp set global autotuninglevel=normal
Solution 4. Change the device settings used for remote session
It has been tested by some users that unselecting the option Smart cards or Windows Hello for Business helps troubleshoot the connection has been lost in Remote Desktop. Follows the steps below to make your RDP maintains the connection.
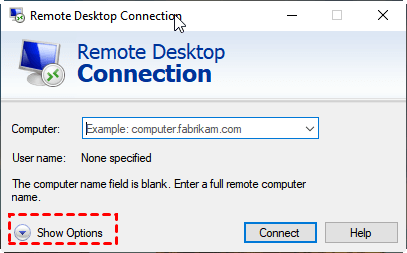
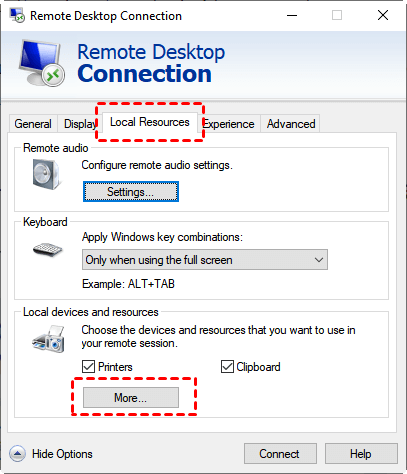
Step 1. Search for Remote Desktop Connection in the search box and then start RDP. Select More Options.
Step 2. Switch to Local Resources and then click More.
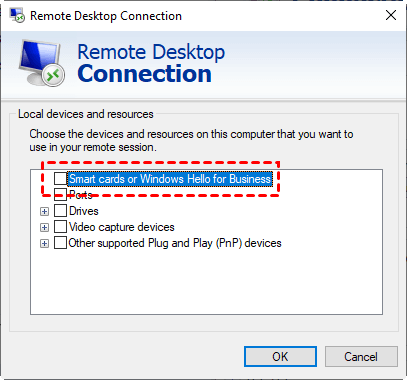
Step 3. Find the option Smart cards or Windows Hello for Business and then unselect it.
Solution 5. Check the Group Policies
This problem may be caused by the session time limit setting. Policy settings in this node control time limits for Remote Desktop Services sessions on a Remote Desktop Session Host server. To stop Remote Desktop connection from disconnecting, you can change Policy settings.
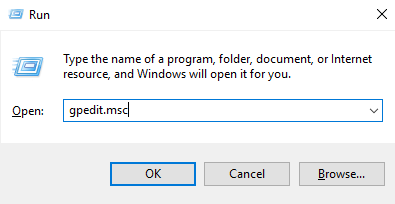
Step 1. Press Win + R to invoke the Run dialog box. Type in gpedit.msc and hit OK to open Registry Editor.
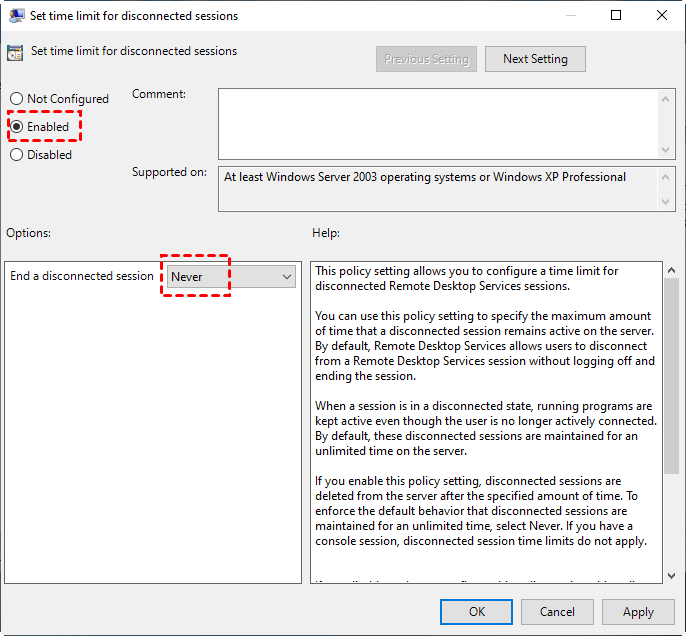
Step 2. Navigate here: Computer Configuration > Administrative Templates > Windows Components > Remote Desktop Services > Remote Desktop Session Host > Session Time Limits. Find Set time limit for disconnected session and Set a time limit for active but idle Terminal Services sessions on the right pane.
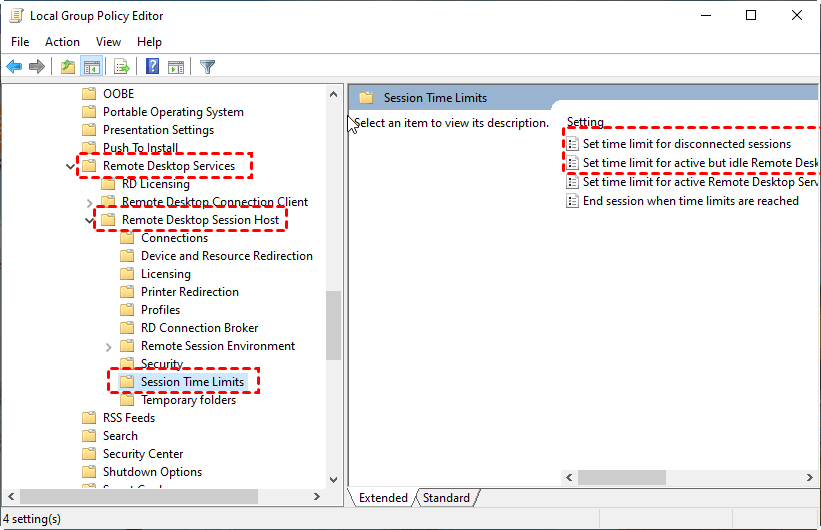
Step 3. Enable Set time limit for disconnected session to Never, and then enable Set time limit for active but idle Terminal Services sessions to Never.

AnyViewer: Best free Remote Desktop alternative
Is there any way that could help you to completely avoid Remote Desktop "The connection has been lost" error? The answer is YES! You can try the free yet stable third-party remote desktop software for Windows, AnyViewer. Apart from stable connection, it is picked up also due to the highlights below:
- Compatible: It works with all Windows versions, from old Windows 7 to the latest Windows 11, no matter Home edition or Professional edition. Thus you don't need to pay money to upgrade Windows Home to Professional for remote access.
- Secure: End-to-end ECC encryption prevents data leaking on both ends; the Lock interface feature prevents AnyViewer setting from being changed when you let others use your computer for a while.
- Feature-rich: This too is packed with user-friendly features, for example, the chat function makes communication easy for both parties, while the File Transfer feature lets you swap files between two computers without a hitch.
- Simple: Both unattended remote access and attended access over LAN or from a different network are supported.
Now, download it and read the following to learn how to use it to access an unattended PC with one click.
Step 1. Install and launch AnyViewer on both computers. Go to Log in > Sign up to create an AnyViewer account. (If you already have signed up on its official website, you can log in directly.)

Step 2. Then you can see you successfully logged in to AnyViewer. Your device will automatically be assigned to the account you've logged in.

Step 3. Log in to the same AnyViewer account on the two devices; On your local device, go to Device, and then you can achieve a direct connection by clicking One-click control.

- ★Tips
- AnyViewer also offers advanced plans where you can:
- Assign more devices for one-click remote access.
- Enjoy high-quality image.
- Connect to a remote computer in privacy mode.
- Faster file transfer.
- ...
Conclusion
When you get Remote Desktop "The connection has been lost. Attempting to reconnect to your session" error, you can fix it with the solutions listed above or resort to a professional and reliable remote access software to remotely connect to one computer from another computer without obstacle.
