
Top 3 Mac Screen Sharing Alternatives
Need a Mac screen sharing alternative? AnyViewer offers top security and cross-platform support. Zoom and Google Meet are also good, but AnyViewer is the best for privacy and performance on Mac.
By Ellie / Updated on December 27, 2024
Is there a better Mac client than Screen Sharing?
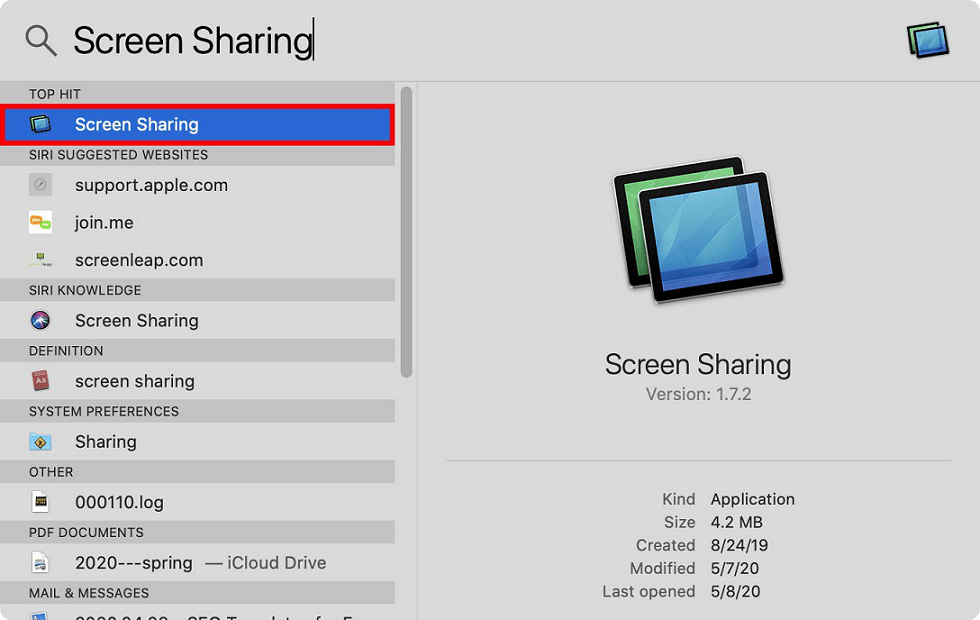
Mac Screen Sharing is the built-in macOS feature that allows users to view and control another Mac remotely via their own Mac. It's a great tool for troubleshooting, collaborating with coworkers, or offering tech support. However, it's not always the most feature-rich option, especially if you need to share your screen with non-Mac users or require advanced functionalities.
Are there better Apple Screen Sharing alternatives for Mac? In this article, we'll dive into some top options, help you choose the best one, and explain what makes them stand out.
Top 3 Mac Screen Sharing alternatives
Various macOS screen-sharing apps stand out for their unique strengths, catering to different needs. While some focus on ease of use, others prioritize advanced security features. Here are the top three alternatives for Mac screen sharing.
Way 1. AnyViewer
The best remote screen-sharing software for Mac is AnyViewer, known for its robust security. It has comprehensive ECC-256 end-to-end encryption that keeps your session secure and prevents unauthorized access or other data breaches. Moreover, AnyViewer offers exceptional performance with its user-friendly design and operates faster than HTTP/FTP due to the patented high-speed protocols.
AnyViewer is fully compatible with Mac, Windows, Android, and iOS, allowing you to easily share your Mac screen with another Mac, a Windows device, an iOS device, or an Android device. It bridges the gap between different platforms, making cross-device screen sharing seamless.
Here's how to share your Mac screen with other devices using AnyViewer, for instance, sharing your Mac screen with a Windows computer:
Step 1. Download and install AnyViewer on your Mac. Create an account and sign in.

Step 2. Download and install AnyViewer on your Windows computer. Log in using the same account credentials.

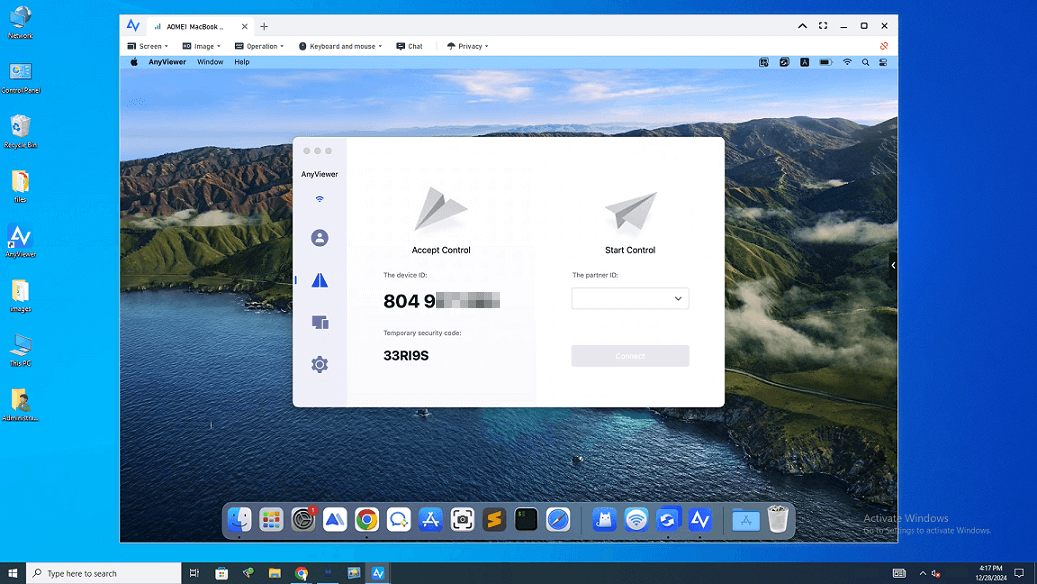
Step 3. On your Windows computer, go to the Device tab, select your Mac, and click "View Screen" for watching screen or "One-click control" for full control.

Step 4. Your Mac screen will now be displayed on your Windows computer.
Why choose AnyViewer:
- Unlimited Remote Sessions: AnyViewer allows unlimited remote sessions, giving you the flexibility to connect or share screen as often as needed.
- Enhanced Performance: Enjoy Ultra HD image quality with minimal lag, ensuring smooth and high-quality remote sessions.
- Collaboration Tools: With group management and monitoring features, AnyViewer enhances team collaboration and boosts productivity.
- Top-Notch Security: Using military-grade encryption, AnyViewer ensures secure screen sharing and control, safeguarding your sensitive data from leaking.
Bonus tip: Upgrading to a Professional or Enterprise account unlocks advanced features such as:
- Adding more users for unattended remote access.
- Controlling unlimited Mac at the same time.
- Higher image qualities for remote control and screen sharing.
- Creating device groups to simplify the management of multiple Mac devices.
- Setting roles and permissions to regulate user access effectively.
Way 2. Zoom
Zoom is a widely used video conferencing app, especially popular in remote work environments. Known for its effectiveness in virtual meetings, this Mac screen-sharing application allows users to share their entire desktop, specific apps, tabs, or windows, while keeping sensitive information private.
Step 1. Start a Zoom meeting and click the Screen Share icon.
![]()
Step 2. Double-click the content that is displaying the error message.
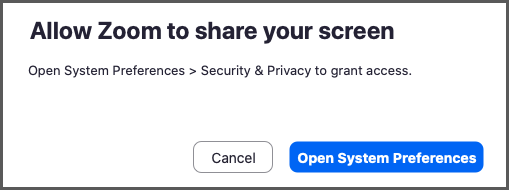
Step 3. A pop-up message will appear. Click Open System Preferences.
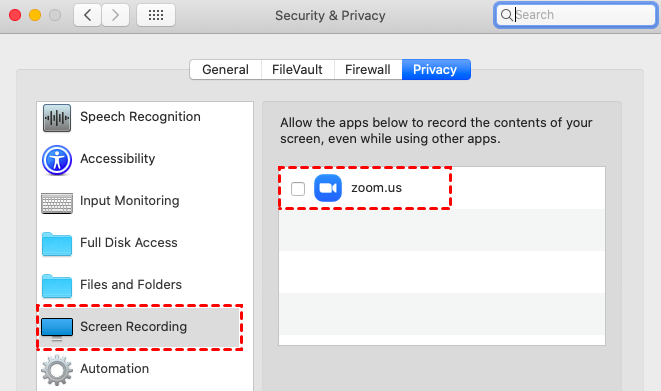
Step 4. In the System Preferences window, go to the Privacy tab and select Screen Recording from the left column. Then, enable the Zoom.us option.
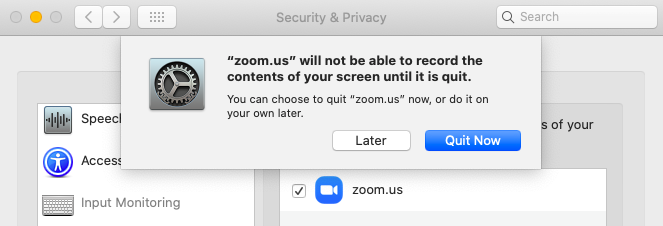
Step 5. Once you've enabled Zoom, you may see a message prompting you to restart Zoom. You can click Later to continue using screen sharing right away, but it's recommended to click Quit Now and restart Zoom at your earliest convenience.
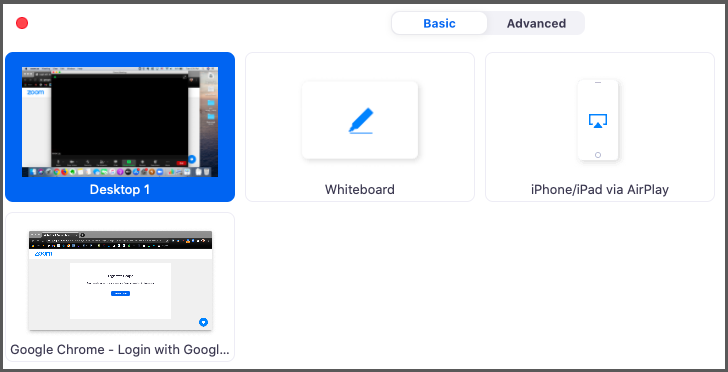
Step 6. After restarting, you should now be able to see the screen preview in the Share Screen window.
Pros:
- Zoom Pro includes AI companions that assist with user queries and provide summaries of meetings.
- Hosts can share their screens with up to 100 participants for free, with meetings lasting up to 40 minutes.
Cons:
- Some users report issues with Zoom's customer support.
- There are occasional complaints about video and audio lags during meetings.
Way 3. Google Meet
Google Meet is entirely browser-based, allowing you to share your screen effortlessly. Follow these steps:
Step 1. Open your browser and navigate to https://meet.google.com/.
Step 2. Sign in with your Google account and click New Meeting, then select Start an Instant Meeting.
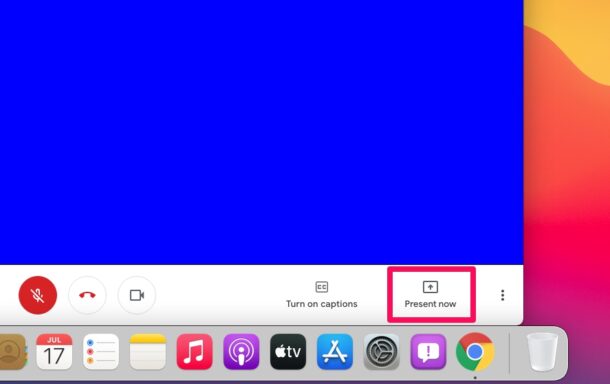
Step 3. Once the meeting begins, click Present Now at the bottom of the window (indicated by an upward-facing arrow inside a rectangle).
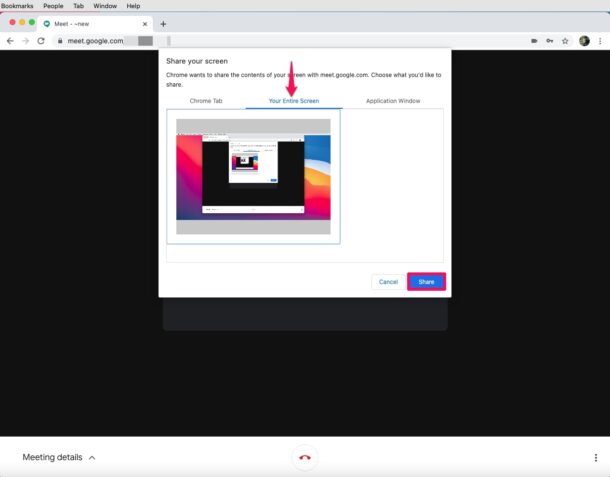
Step 4. Choose whether to share your entire screen, a specific window, or a tab. Then, click Share to begin presenting.
Pros:
- Google Meet provides unlimited free screen sharing for all participants with a Google account.
- It's easy to use with no additional software required.
- For meetings with up to 100 participants, there are no time restrictions on sessions (for paid Google Workspace users).
Cons:
- The free version lacks some advanced features like background noise cancellation and breakout rooms.
- Since it's browser-based, performance can be impacted by your browser's capabilities or compatibility issues with certain devices.
- Video and audio quality may suffer on slower internet connections or older devices.
Conclusion
In conclusion, while macOS Screen Sharing is useful, there are better options for more features. AnyViewer stands out with its strong security, easy cross-platform use, and great performance. Zoom and Google Meet also have their benefits, but AnyViewer offers the best privacy and collaboration tools for Mac users. Whether for personal or work-related needs, AnyViewer is a top choice for sharing your Mac screen.
