
Tutorial: How to Restart RDP Service
Some users want to restart RDP Service, but don’t know how to do it. Don’t worry, this post offers you three methods on how to restart RDP service remotely.
By Ellie / Updated on December 13, 2024
How do I restart RDP service?
“I have encountered a problem when using Remote Desktop and I need to restart RDP service. How can I do this without rebooting my computer, cause some programs are running on my computer and I don’t want to interrupt them? Any suggestions?”
Three methods on how to restart RDP service
Remote Desktop is a useful tool that has brought great convenience to our work and life. But sometimes, we may encounter annoying RDP problems like RDP shift key not working. At this time, maybe the first fix occurring to us is to restart RDP service. In this post, we offer you three methods to restart RDP service remotely.
Method 1. Using PowerShell
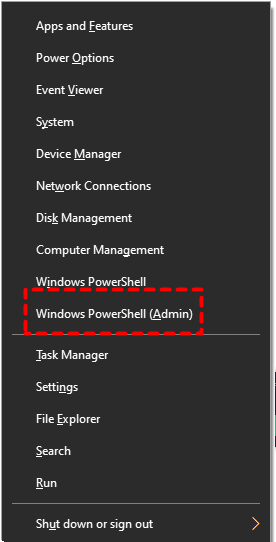
Step 1. Press Win + X, and then select Windows PowerShell (Admin).
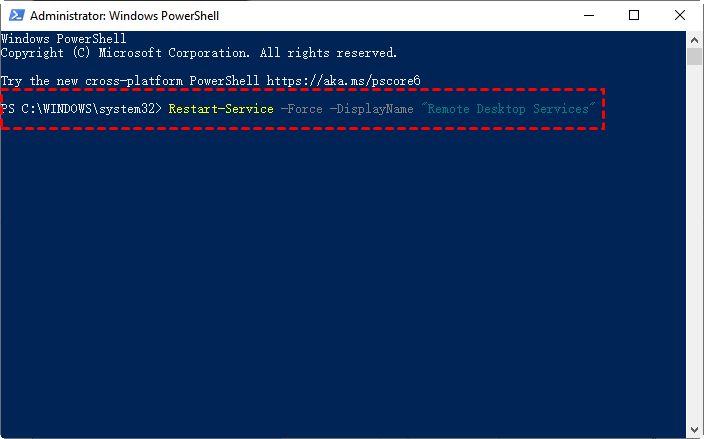
Step 2. Enter the following command and then press Enter to restart your service.
Method 2. Using Services Console
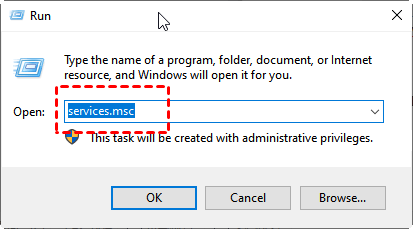
Step 1. Press Win + R to open the Run dialog box. Type in “services.msc” and press OK.
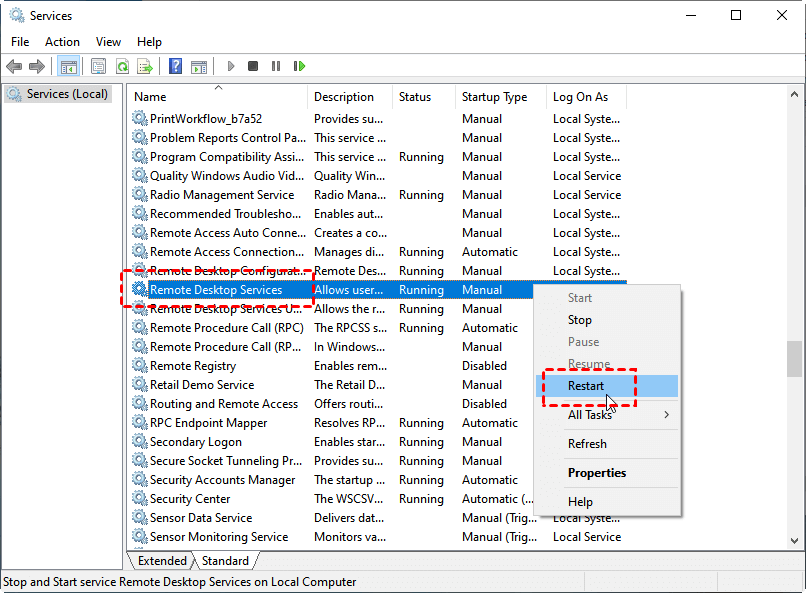
Step 2. Locate and right-click on the Remote Desktop Services, then choose Restart to restart your service.
Method 3. Using Task Manager
Step 1. Press Ctrl + Shift + Esc to invoke Task Manager.
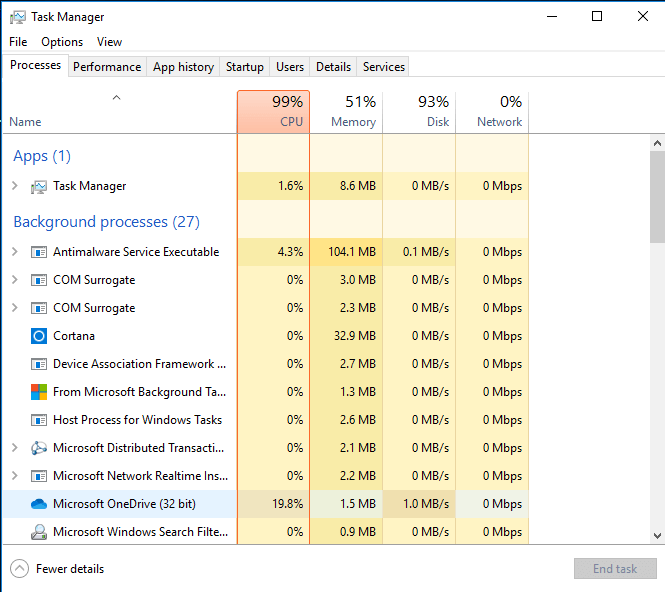
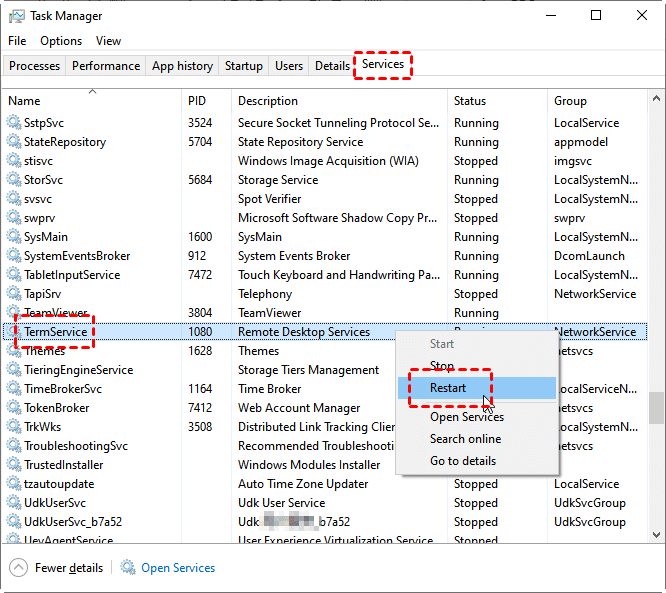
Step 2. Go to the Services tab, find and right-click TermService, and then choose Restart.
Best Remote Desktop alternative: AnyViewer
Restarting the RDP service does not always resolve all issues. If you're having trouble with RDP, you might want to consider a Remote Desktop alternative. We'd like to introduce you to AnyViewer, a free and simple third-party remote desktop software.
Why should you choose AnyViewer? Compared with RDP, AnyViewer has three outstanding points.
- First, when using AnyViewer, you don’t need to know the IP address or computer name of the other computer.
- Second, AnyViewer can achieve remote access easily even the two computers are under different networks.
- Third, AnyViewer can work perfectly fine on multiple Windows versions, including Windows 10 Home edition, which is not supported by RDP.
Next, let’s see how to use AnyViewer. Depending on whether to sign up for it, you have the following two options.
Option 1. For unattended remote access with one-click
Step 1. Download, install, and launch AnyViewer on both computers. Go to Log in, and then click Sign up. (If you already have signed up on its official website, you can log in directly.)

Step 2. Fill in the signup information.

Step 3. Then you can see you successfully logged in to AnyViewer. Your device will automatically be assigned to the account you've logged in to.

Step 4. Log in to the same AnyViewer account on the two devices, then you can achieve a direct connection by clicking One-click control.

Note: If you upgrade your account to Professional or Enterprise plan, then you can assign more devices. Also, you can connect to another computer in privacy mode, which means you can black the screen and block the mouse and keyboard of the remote computer.
Option 2. Other two connection methods
If you don't want to log in to the same account on the two computers, you can also use the following two methods to achieve remote connections. But we should note that you're not allowed to use certain features like file transfer using these two methods, as some features are designed for logged-in users.
Methods 1. Send a control request to your partner
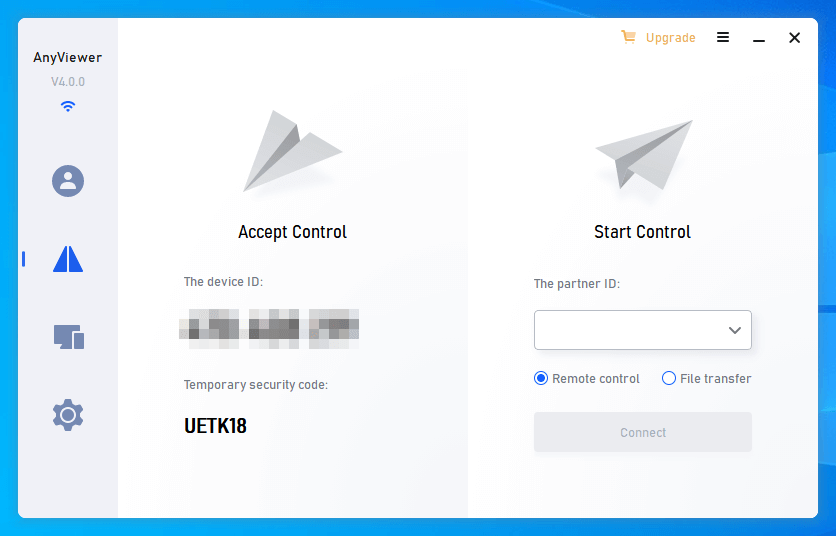
Step 1. On the client computer, input the device ID of the host computer and then click Connect.
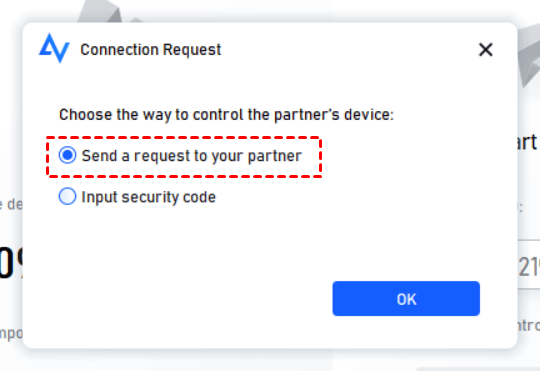
Step 2. Then there will be a pop-up window, choose Send a control request to your partner. And then click OK.
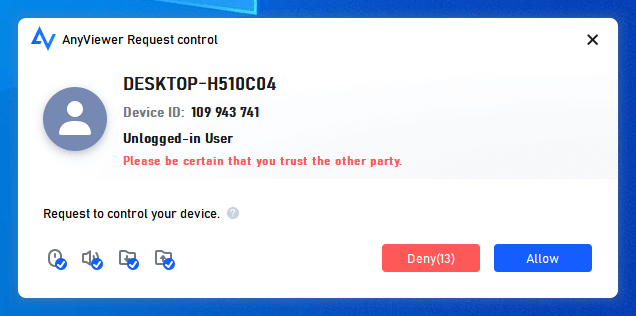
Step 3. The host computer will receive a pop-up request. People sitting in front of the host computer need to click Allow to make the connection successful.
Methods 2. Input security code
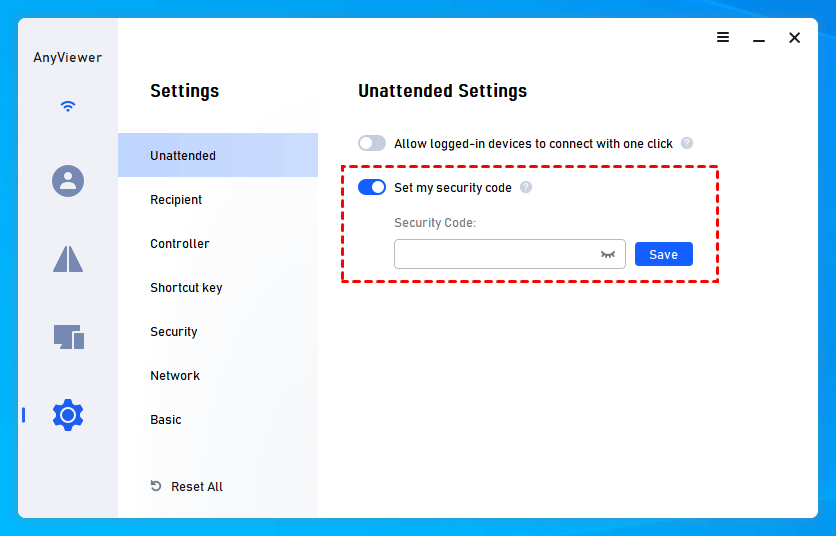
Step 1. On the host computer, go to Settings > Recipient. Tick the third option and then set the permanent security code.
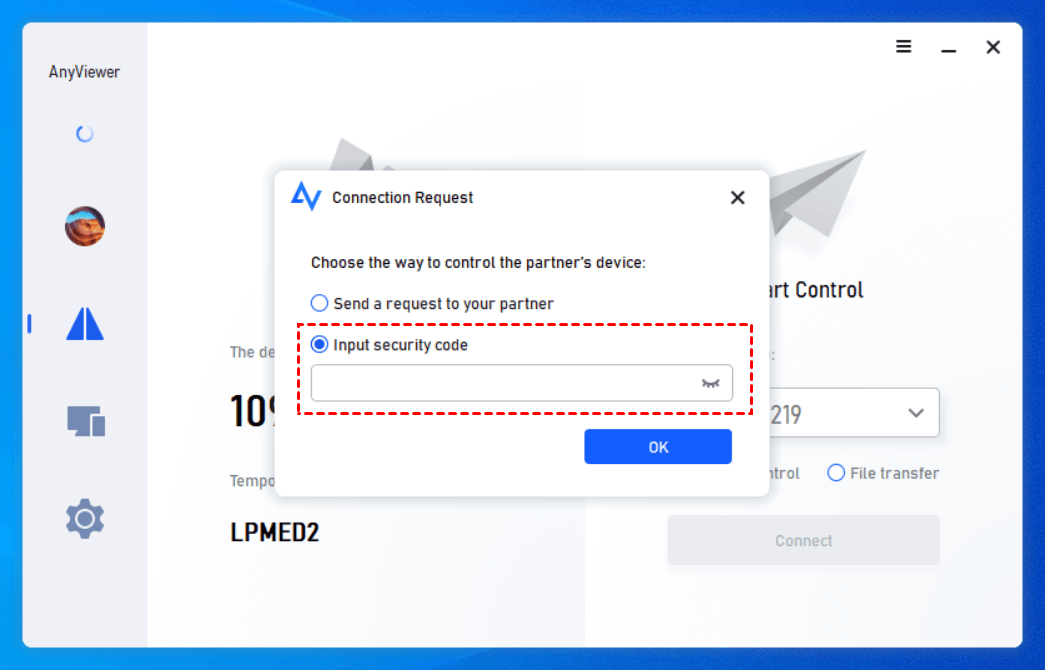
Step 2. On the client computer, input the device ID of the host computer and click Connect. Choose Input security code, then enter either the permanent security code or the temporary security code of the host computer and click OK.
Conclusion
This post mainly introduces how to restart RDP service using PowerShell, Services Console, and Task Manager. If you’ve ever encountered any problem when using RDP, you can use one of the three methods to restart RDP service to see if the problem has been solved.
