
How to Remotely Format a Computer
What to do if you want to format a computer but you’re too far away from it? You can use the remote desktop software to first remotely access and then remotely format the computer.
By Ellie / Updated on December 13, 2024
How do I remotely format a PC?
So my old PC is in storage at my parents’ house, and I’m planning on giving it to a friend. But, before I do that, I want to erase all of my old data on there and make it as fresh/fast as possible. The only problem is that I’m now working in another country and won’t be able to return until later in the year. My parents aren’t particularly computer savvy, so I can’t really instruct them on how to do it themselves. How do I remotely format a computer?”
- Question from Reddit
Previously, this appeared to be impossible. However, with the advent of remote desktop software, a tool that allows you to control remote PCs from any computer as long as it was connected to the Internet, you will be able to perform any task on a remote computer from your computer.
Remotely format a computer over AnyViewer
In this part, we’ll see how to use AnyViewer to remotely format a computer. The whole process is divided into two parts. Firstly, you need to remotely connect to another computer, and secondly, you can start to remotely format a computer.
Part 1. Remotely connect to a computer over AnyViewer
There are two ways to remotely connect to a computer over AnyViewer.
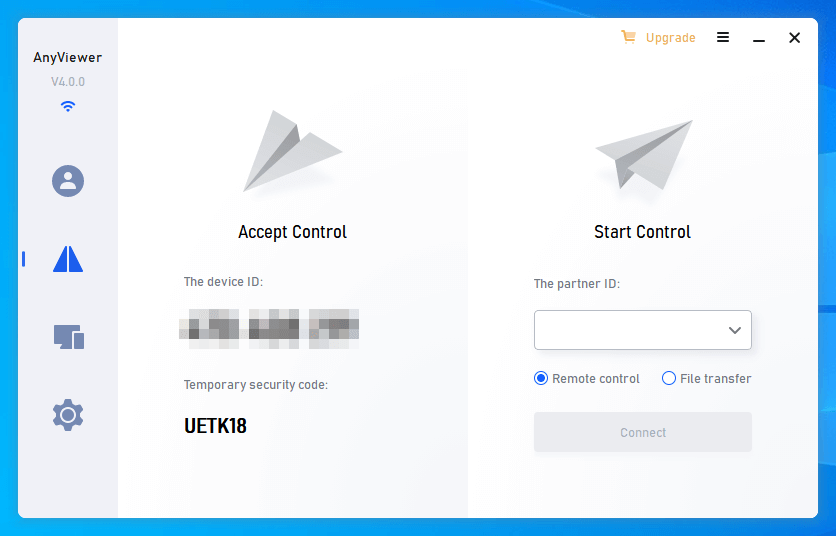
Step 1. Download, install and launch AnyViewer on both computers.
Step 2. Go to Log in, and then click Sign up. (If you already have signed up on its official website, you can log in directly.)

Step 3. Fill in the signup information.

Step 4. Then you can see you successfully logged in to AnyViewer. Your device will automatically be assigned to the account you've logged in.

Step 5. Log in to the same AnyViewer account on the two devices, then you can achieve a direct connection by clicking One-click control.

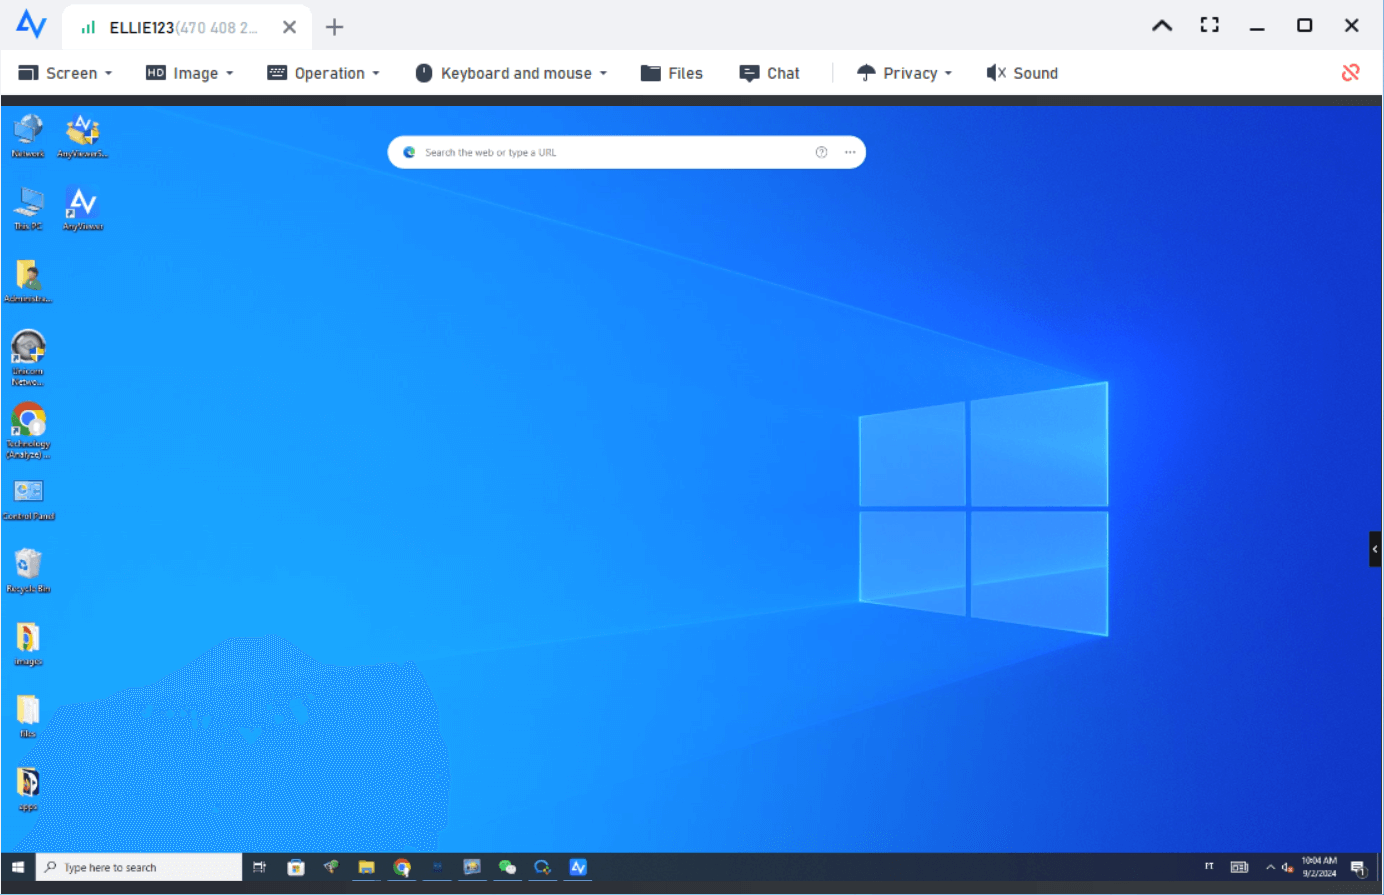
Then you can start to remotely control another computer.
Part 2. Remotely format a computer
In the second part, you can start to remotely format a computer. You can simply restore your computer system to factory default,
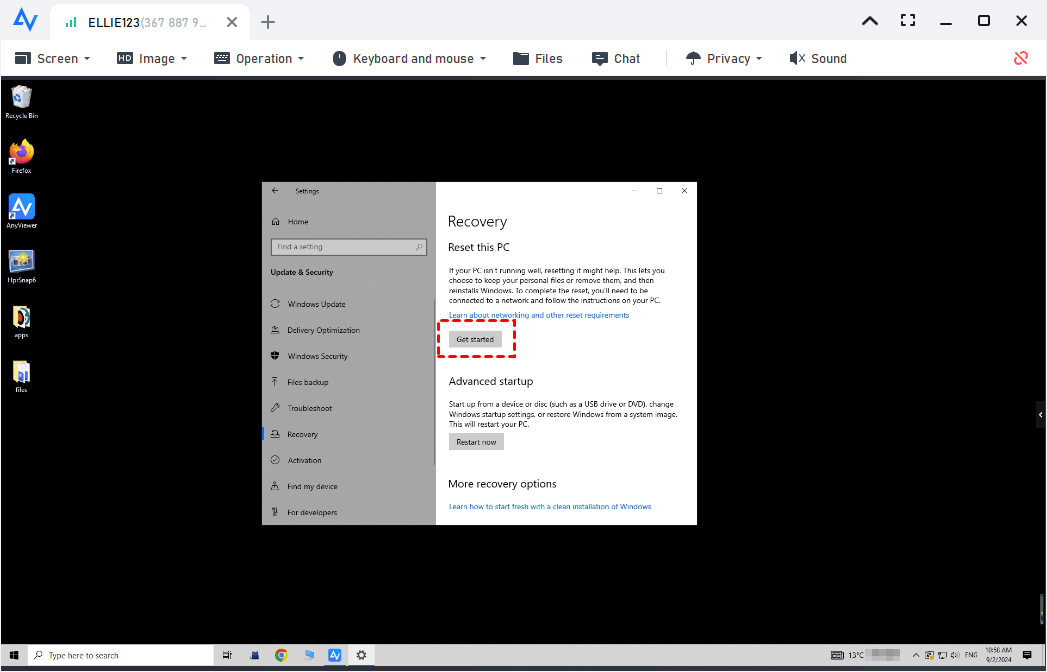
Step 1. Navigate here: Settings > Update & Security > Recovery, and click Get Started under Reset this PC.
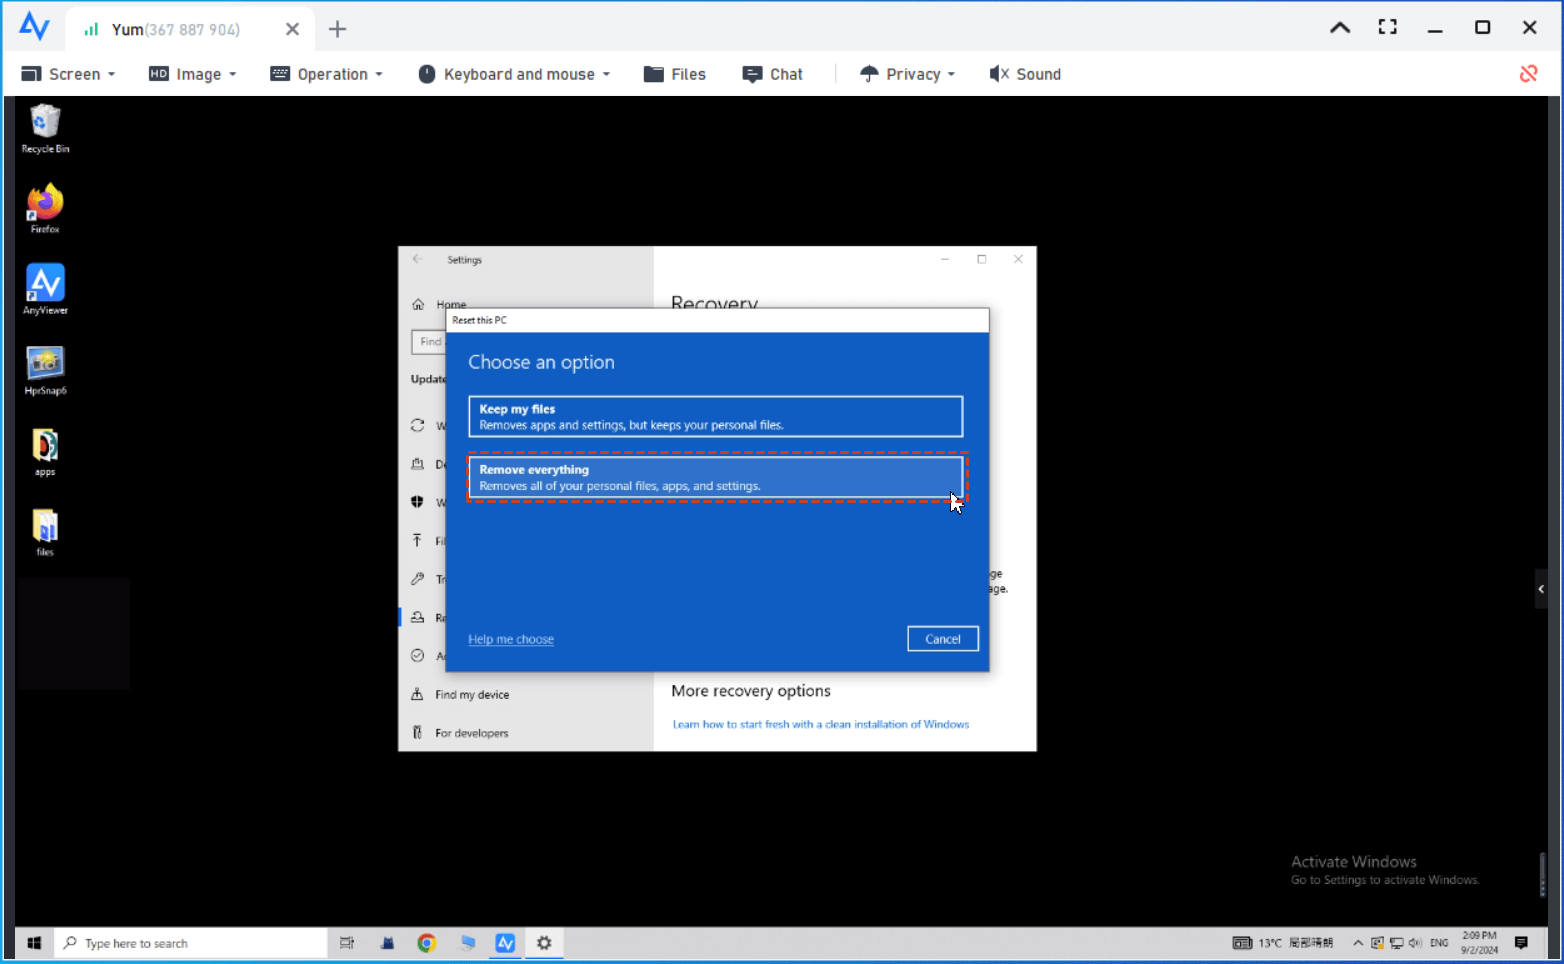
Step 2. You are then asked if you want to keep your files or delete everything. Select Remove everything, click Next, then click Reset. Wait until everything’s done.
But it’s worthy to note that this move only makes the data becomes invisible to the OS, they still can be recovered by data recovery tools. Therefore, we recommend you to use AOMEI Partition Assistant Professional, a professional tool that can wipe all data from a chosen hard drive (HDD or SSD) securely and permanently. Let’s see how to use it.
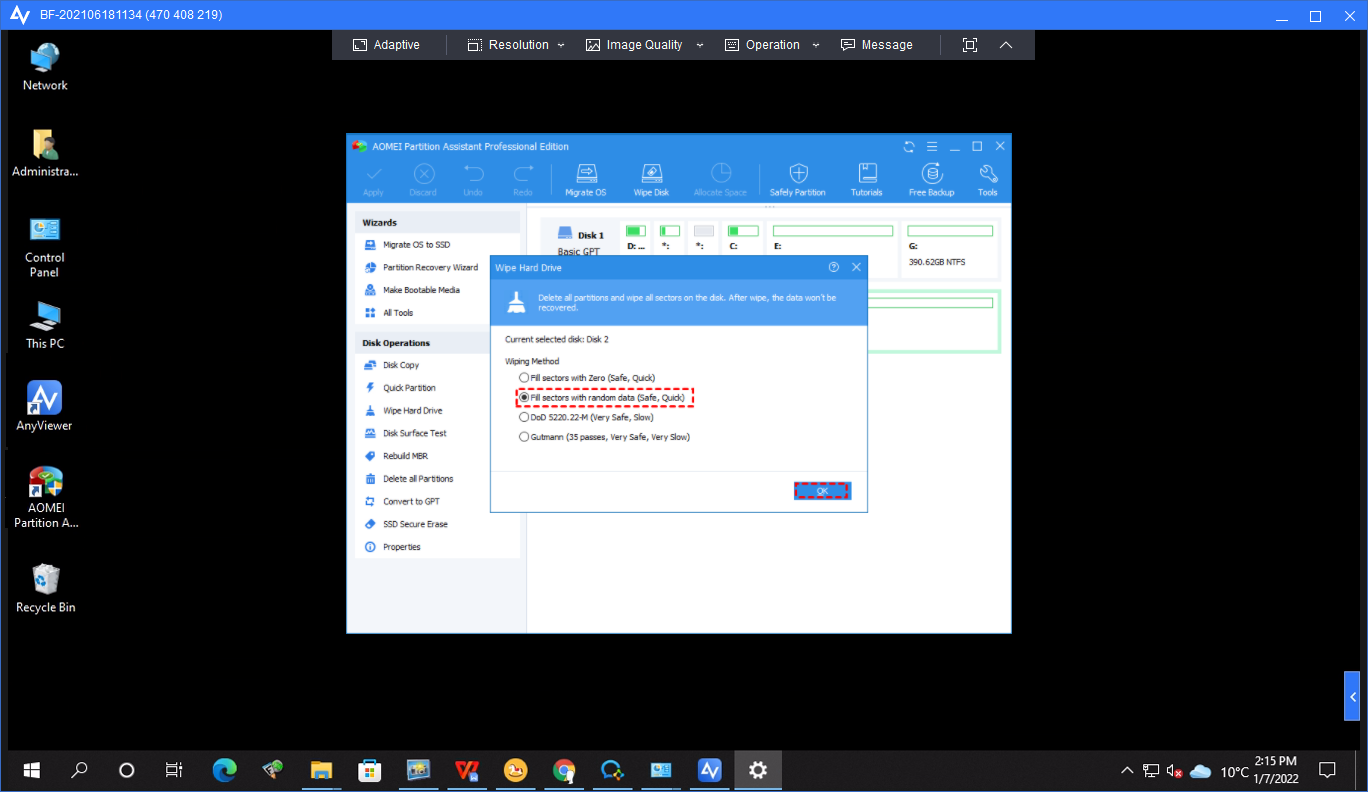
Step 1. Install and launch AOMEI Partition Assistant. Right-click the drive you need to wipe and select Wipe Hard Drive.

Step 2. Choose a method to wipe the hard drive. Here we choose Fill sectors with random data.
Step 3. Click Apply in the toolbar to execute the operation.
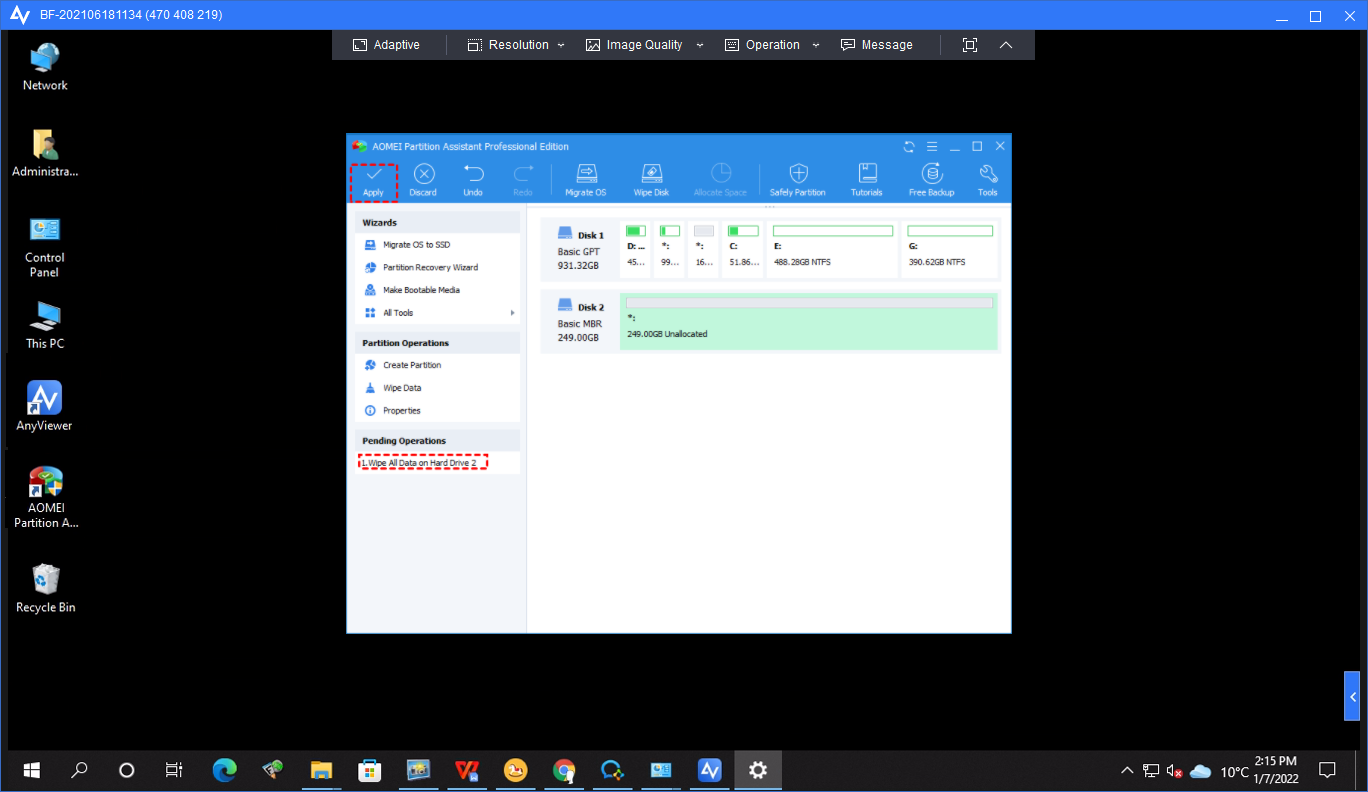
After this, all the data that you want to erase has been wiped, you can give your old computer to your friend with no worry.
Conclusion
This post introduces how to remotely format a computer with the third-party remote desktop software AnyViewer. Basically, there are two steps. Firstly, you need to remotely control another computer using AnyViewer. Secondly, you can start to wipe your computer just like you’re actually sitting in front of it. Besides, a professional tool AOMEI Partition Assistant Professional is also recommended to help you wipe all data from a chosen hard drive securely and permanently
