
4 Ways to Remotely Monitor Several Computer Screens on One Screen
This guide explores remotely monitor several computer screens on one screen, its benefits, and leading solutions like AnyViewer. We cover efficiency, productivity, and collaboration enhancements, as well as strategies for overcoming common challenges. Readers gain insights into implementing remote screen monitoring effectively for success in today's digital world.
By AnyViewer / Updated on December 13, 2024
How do you have multiple screens on one monitor?
In today's digital age, where remote work and collaboration are increasingly prevalent, the ability to remotely monitor several computer screens on one screen simultaneously or view multiple desktop screens from one computer can significantly enhance productivity and efficiency. Whether you're managing a team, overseeing projects, or providing technical support, being able to remotely monitor several computer screens on one screen at a time streamlines workflows and facilitates seamless communication. In this article, we'll explore various methods and tools that allow you to achieve remotely monitor several computer screens on one screen effortlessly.

How to remotely monitor several computer screens on one screen [5 options]
Want to know how to remotely monitor several computer screens on one screen at a time? There are multiple methods and tools available to achieve this. In this article, we will discuss several common options to remotely monitor several computer screens on one screen at once. If you're looking for answers, keep reading and you're sure to get something out of it.
|
Option |
Key Features |
Compatibility |
Cons |
|
- Screen wall feature - Customized screen walls - One-click control -File transfer -Real-time sound synchronization -Text chat -Multi-monitor support |
Windows, Android, iOS |
-Requires installation of AnyViewer on all devices. |
|
|
-Multi-monitor support -Secure connections via RDP |
Windows 11, 10, 8 |
-Limited to Windows operating systems. -Requires configuring RDP settings. -May not support older versions of Windows. |
|
|
- Remote access with Splashtop -Switch between monitors during sessions -View each remote monitor in separate windows -Arrange windows across multiple local monitors |
Windows, macOS, iOS, Android, Linux |
-Requires downloading and installing Splashtop on both local and remote devices. -Switching between monitors may not be as seamless as other options. -May require additional setup for multi-window viewing. |
|
|
-Open new connections in tabs -Manage multiple connections within the same window |
Windows, macOS, Linux, iOS, Android |
-Requires installation of TeamViewer on all devices. -The interface might not be as user-friendly for beginners. -Some advanced features may only be available in paid versions. |
Option 1. AnyViewer
AnyViewer distinguishes itself as a leading remote desktop software, offering a screen wall feature that enables effortless monitoring of multiple computer screens simultaneously on one screen. The Screen Wall feature in AnyViewer simplifies the task of monitoring activity on multiple computers simultaneously. By creating customized screen walls and seamless integration of preferred devices, users can easily observe and manage screens with just one click, making management processes more efficient.
Respected for its adaptability, reliability and intuitive interface, AnyViewer offers a comprehensive set of features designed to enable users to easily view and control multiple desktop screens from a single computer. Furthermore, it provides one-click control, file transfer, real-time sound synchronization of remote devices, text chat, multi-monitor support, and a host of other features.
Step 1. Begin by downloading and opening AnyViewer on both of your devices. Choose the "Log in" option and proceed with "Sign up" to create a new account. Ensure consistency by using the same accounts on both devices.

Step 2. Upon successful login to AnyViewer, your device will automatically link to the logged-in account.

Step 3. Navigate to the "Device" section, select your local device, and then choose "Screen wall."
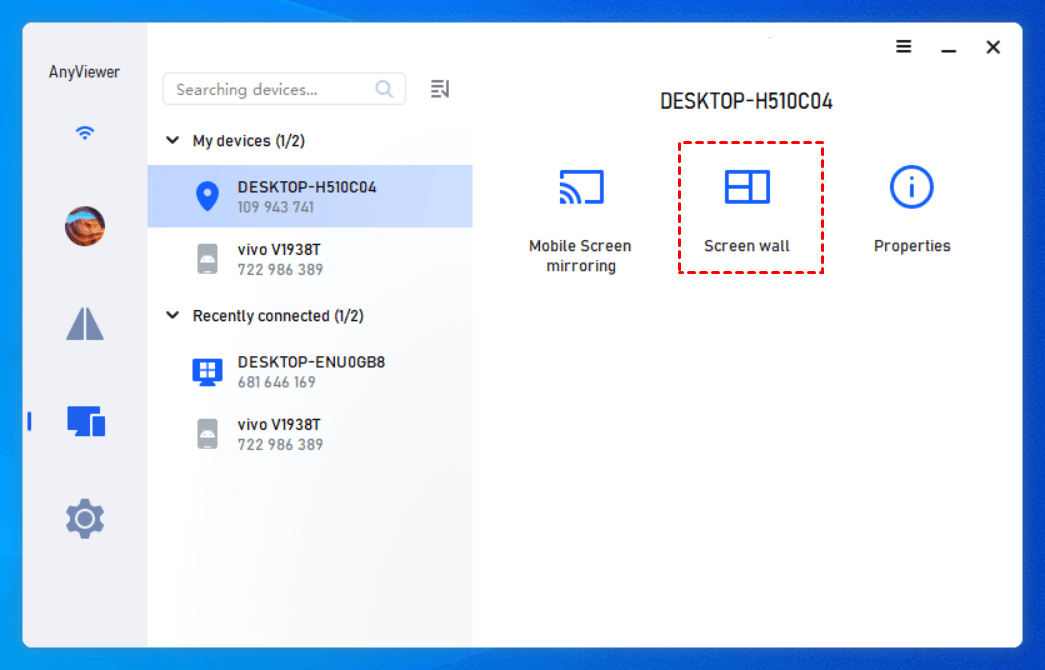
Step 4. Click on "Create screen wall."

Step 5. Select all the computers you want to monitor simultaneously, then click "Add."

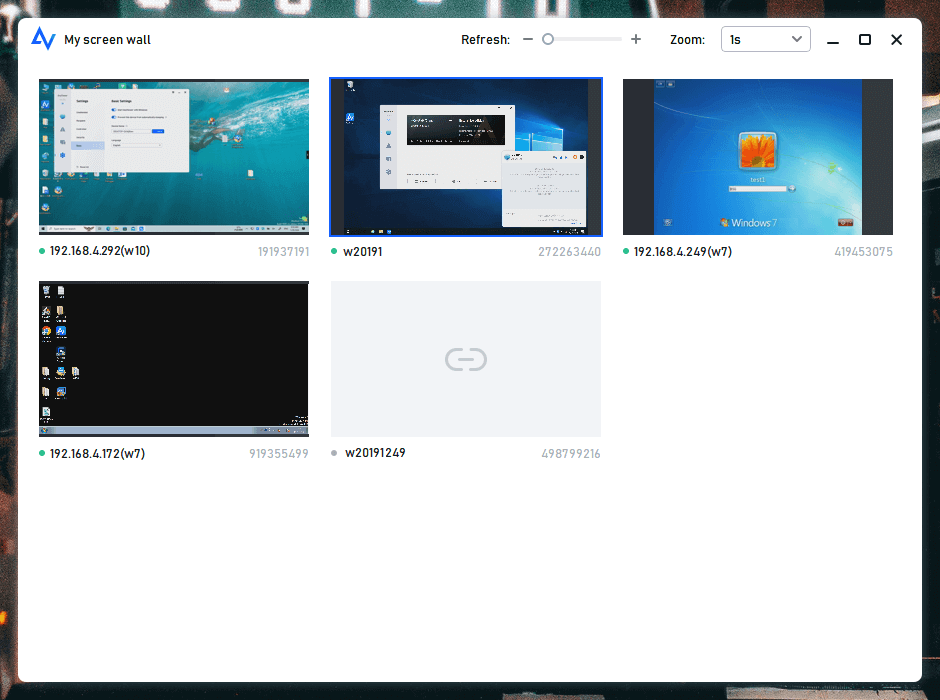
Step 6. You'll now be able to monitor the activities of all selected devices within a unified window, giving you the flexibility to manage them according to your preferences.
- ★Tips: For businesses experiencing heightened demands, consider upgrading to a Professional or Enterprise plan. This upgrade offers the ability to monitor multiple desktop screens simultaneously, streamline group management, conduct mass deployment, and unlock additional features.
Option 2. Remote Desktop
Microsoft Remote Desktop is an integrated feature of Windows, enabling users to access and manage remote desktops from other Windows computers. It supports multi-monitor configurations and ensures secure connections through Remote Desktop Protocol (RDP). Whether you're managing a distributed team, providing technical support, or overseeing projects, Remote Desktop offers the essential features and functionalities to enhance productivity and efficiency. Configuring RDP settings is straightforward, but it's only compatible with Windows versions 11, 10, and 8.
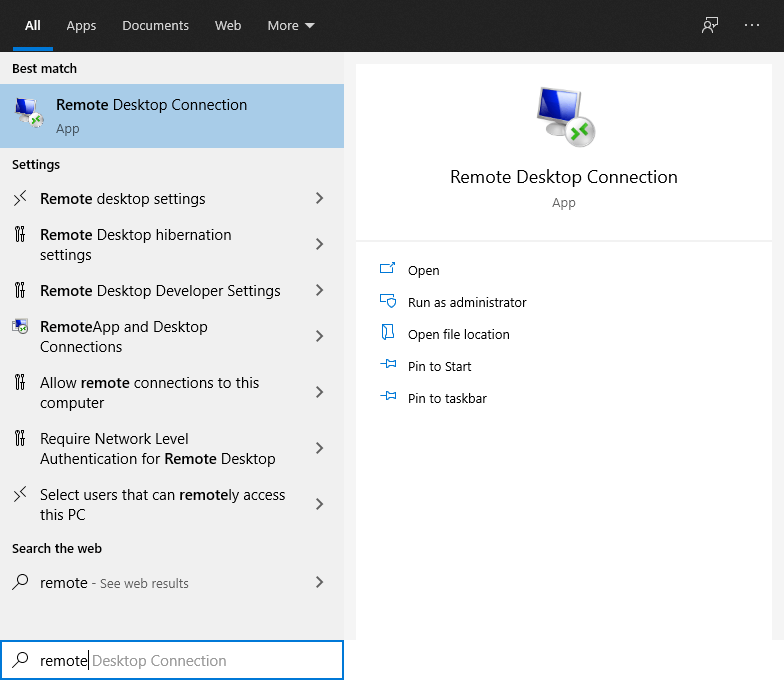
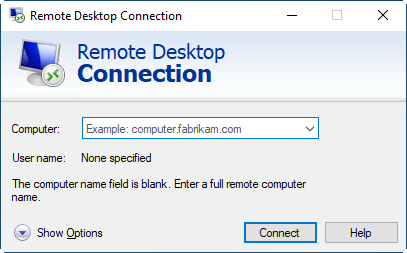
Step 1. On the local computer, search for "remote desktop connection" in the search box, and then open it.
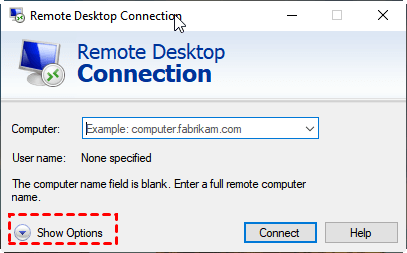
Step 2. Click on "Show Options."
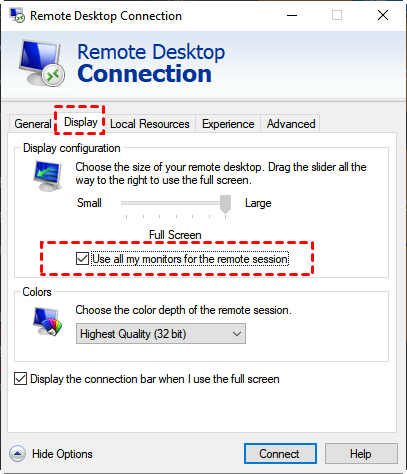
Step 3. Navigate to the Display tab and check the box labeled "Use all my monitors for the remote session."
Step 4. Enter the IP address of the remote computer, and then click on "Connect."
Step 5. Enter the credentials of the remote computer and the remote connection will be established successfully. You'll then be able to view multiple monitors with Remote Desktop simultaneously.
Option 3. Splashtop
Splashtop emerges as a leading software solution tailored to streamline the process of remotely monitoring several computer screens from a unified interface. Whether you're managing a distributed team, providing technical support, or overseeing projects, Splashtop offers the essential features and functionalities to enhance productivity and efficiency.
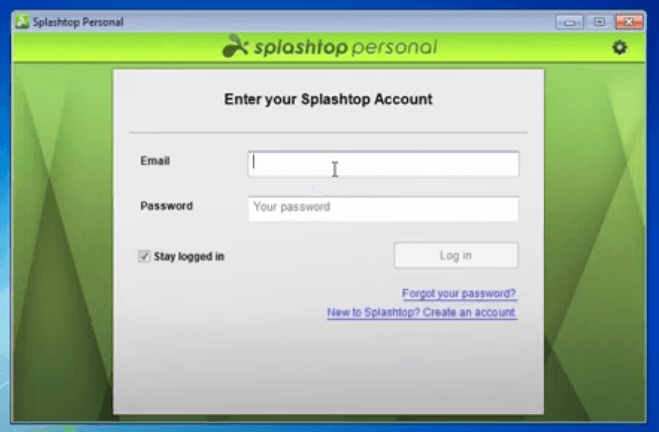
Step 1. Begin by downloading and installing Splashtop on your device, then proceed to sign in.
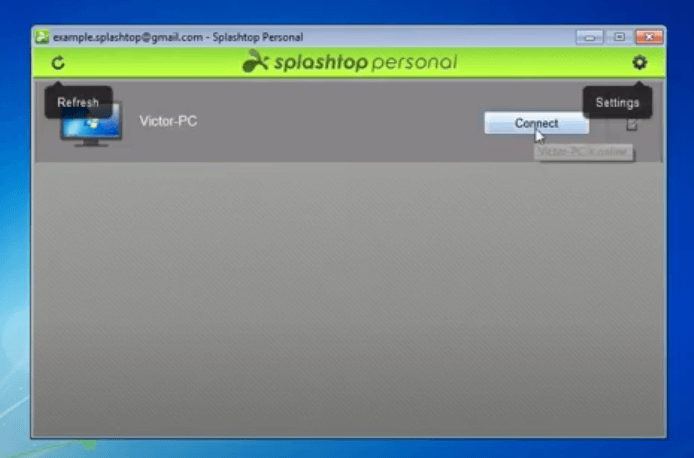
Step 2. Upon successful login, you'll be presented with other devices that also have Splashtop installed. To establish a connection to the remote device, simply click "Connect."
Step 3. During a remote access session, you can switch between monitors by clicking the "Switch Monitor" button located in the toolbar at the top of the screen. The blue dot on the monitor icon will indicate the monitor you are currently viewing, or you'll see the multi-monitor symbol.

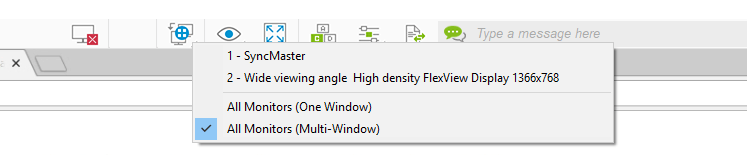
Step 4. Click on "All Monitors (Multi-Windows)”, which enables you to view each remote monitor in a separate window on the local computer. You can then arrange these windows across multiple local monitors as needed.
Option 4. TeamViewer
TeamViewer stands as a premier software solution engineered to streamline the process of remotely monitoring several computer screens from a single, unified interface. Whether you're managing a distributed team, offering technical support, or overseeing projects across multiple devices, TeamViewer delivers the essential features and functionalities to elevate your remote monitoring experience to new heights.
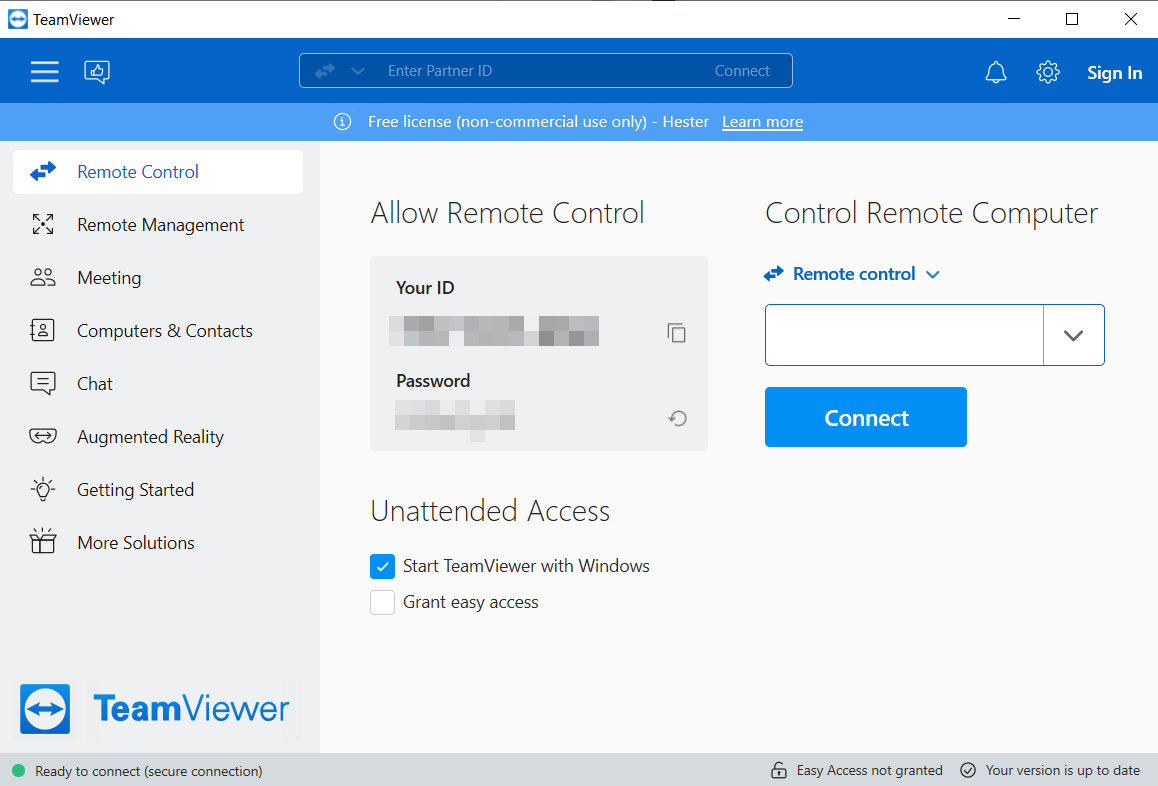
Step 1. Start by launching TeamViewer on your local computer.
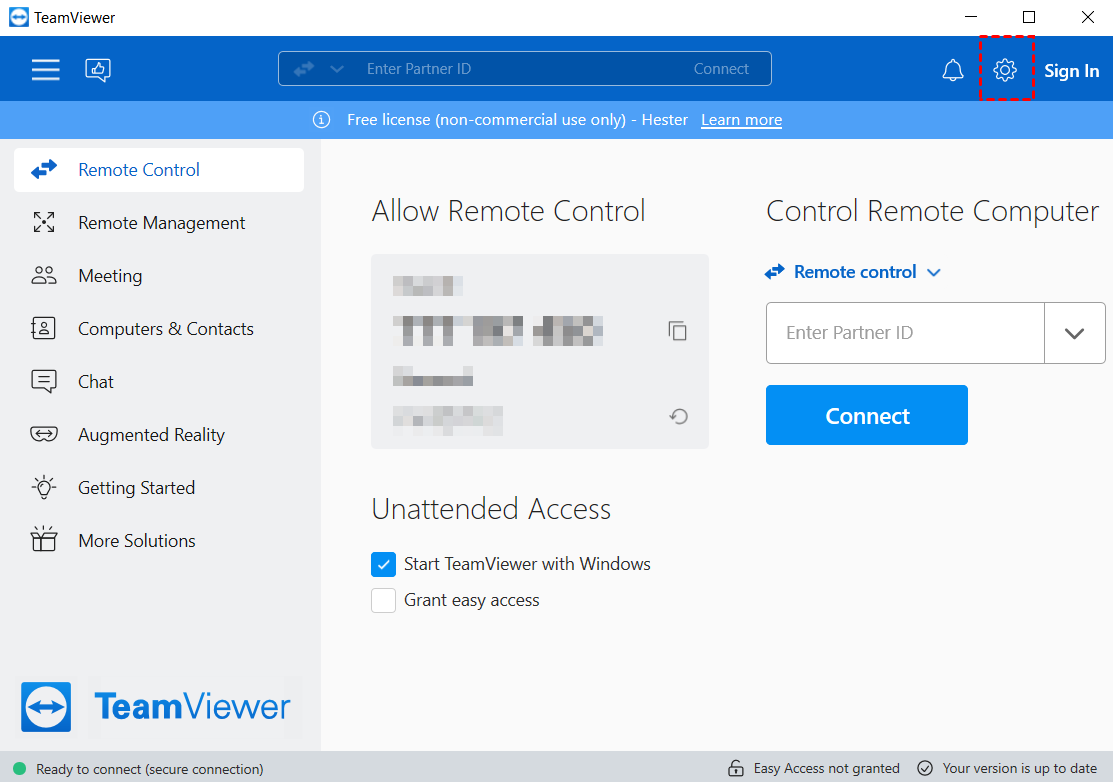
Step 2. Click on the settings icon located in the upper right corner.
Step 3. On the left-hand side, find "Remote Control" and click on it.
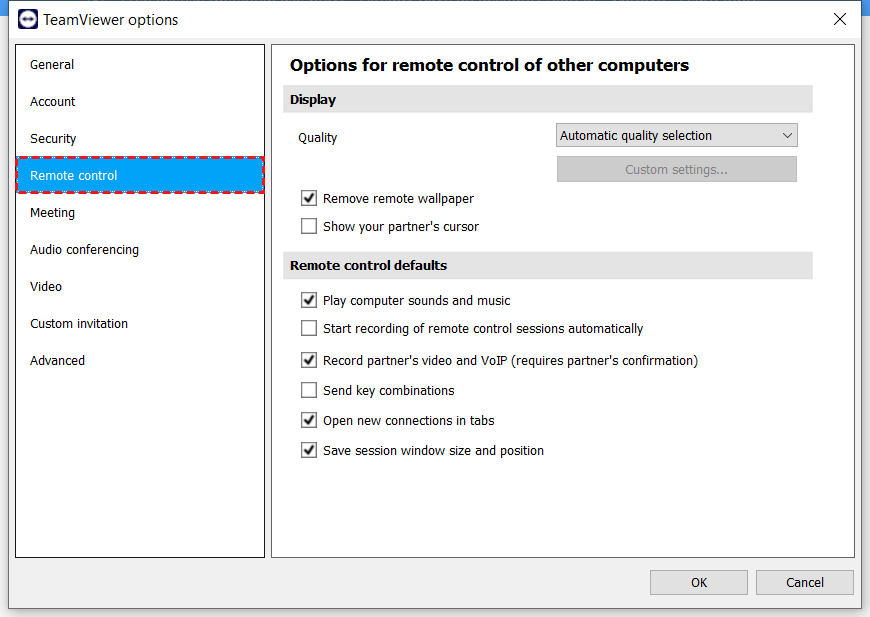
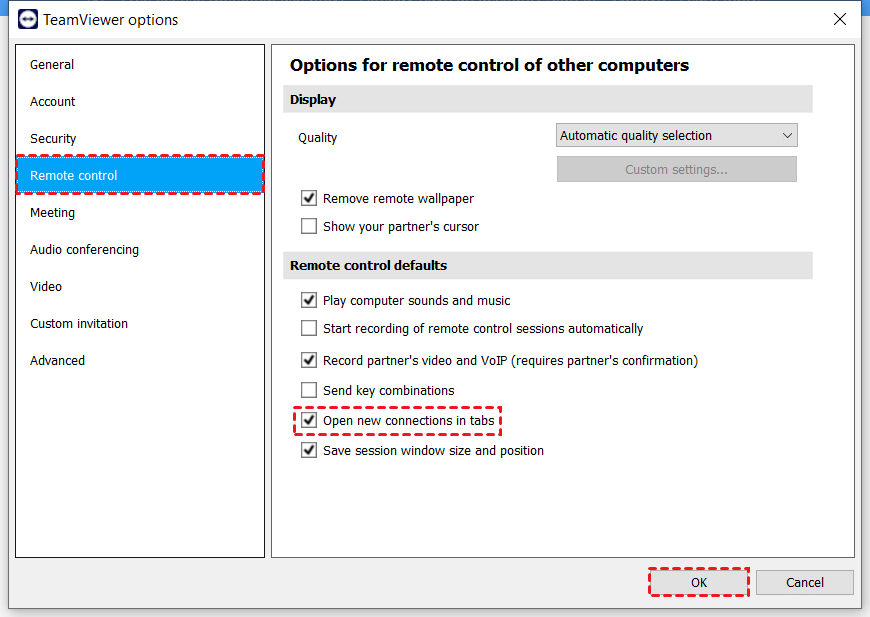
Step 4. Once clicked, find "Open new connections in tabs" on the right side and enable it by checking the box. Then, click "OK."
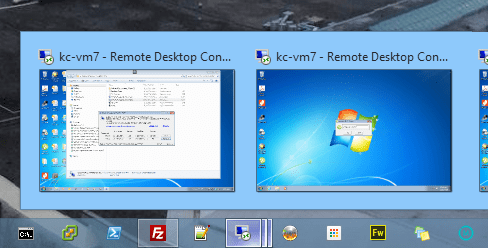
Step 5. Next, open your initial connection. Afterward, return to your TeamViewer interface and launch the second connection. It will open within the same window as the first one.
Conclusion
In today's dynamic work environment, the ability to remotely monitor several computer screens on one screen is essential for effective collaboration, productivity, and support. By leveraging the methods and tools outlined in this article, you can effectively monitor multiple computer screens from a single interface, empowering you to stay connected and productive in today's increasingly digital world.
With its comprehensive features, reliability, and user-friendly interface, AnyViewer stands out as the optimal solution for achieving this capability seamlessly. Whether you're managing a remote team, providing technical support, or overseeing projects, AnyViewer empowers you to stay connected, productive, and in control, no matter where you are. Experience the power of remote monitoring with AnyViewer today and unlock new levels of efficiency and collaboration in your workflow.
