By
Ellie
![]() / Last
Updated November 24, 2022
/ Last
Updated November 24, 2022
Why control PC from PC remotely?
Nowadays, remote control has taken vital importance in our daily life. Increasingly people are calling for PC to PC remote control software free for the following reasons:
- You need to edit a file stored on your work computer from home.
- You need to run a program on your office computer while you are on a business trip.
- You want to show your classmates the photos you stored on your home computer from school.
- You need to help your parents deal with some computer difficulties from another city.
PC to PC remote control software free [3 options]
Here in this post, we offer you three computer to computer remote control software, including their tutorials, pros and cons.
Option 1. AnyViewer: the easiest option for Windows 10 [recommended]
AnyViewer is a PC remote control freeware for Windows 10 that allows you to remote access any PC located anywhere. You can choose it for the following reasons:
- It is easy to set up. You only need two steps to prepare your AnyViewer for remote control, signing up for it and logging into it. No more tedious setup process anymore.
- It provides you with the easiest way to establish unattended remote access to your remote computer.
- It is developed by a strong technical team, providing you with a stable and fast connection.
- It is secured by Elliptic Curve Cryptography (ECC) encryption, protecting your data from leakage during a remote connection.
- It is a professional remote control software for Windows. In addition to Windows 10, it also supports Windows 11/8.1/8/7 and Windows Server 2022/2019/2016/2012 R2.
As mentioned above, it is very simple to remotely control PC from another PC over AnyViewer. Just follow the steps listed below to install and use it.
Step 1. Download, install and launch AnyViewer on both computers. Go to Log in, and then click Sign up. (If you already have signed up on its official website, you can log in directly.)

Step 2. Fill in the signup information.

Step 3. Then you can see you successfully logged in to AnyViewer. Your device will automatically be assigned to the account you've logged in to.

Step 4. Log in to the same AnyViewer account on the two devices, then click One-click control to achieve unattended remote access.

- Notes:✎...
- You can also upgrade your account to a Professional or Enterprise plan to enjoy more rights:
- Faster file transfer speed. Transfer speed for a free account is 500 KB/s, and for a paid account is up to 10 MB/s.
- Increasing number of files transferred in a single time.
- Larger size of a single file that can be transferred.
- More devices can be assigned to the same account for unattended remote access.
- More Currently connected devices are displayed for chekcing connection history.
- Connect in privacy mode to protect privacy.
- Initial more concurrent connections to one computer.
Option 2. Microsoft Remote Desktop: the build-in program in Windows 10
Microsoft Remote Desktop, also known as RDP, is a built-in program in Windows. Next, you’ll learn how to use Microsoft Remote Desktop.
There are a few drawbacks of RDP you need to know before using it:
- If you’re planning to use RDP outside your office network, you’ll need to configure the remote network to accept incoming connection requests through VPN or forward ports on your router. This is also a very complicated process.
- It doesn't support devices running Windows Home Edition, for example, Windows 10 Home Edition does not support RDP.
Part 1. Enable Remote Desktop on the host computer
Step 1. On the host computer, navigate here: Control Panel > System and Security > System > Remote Setting.
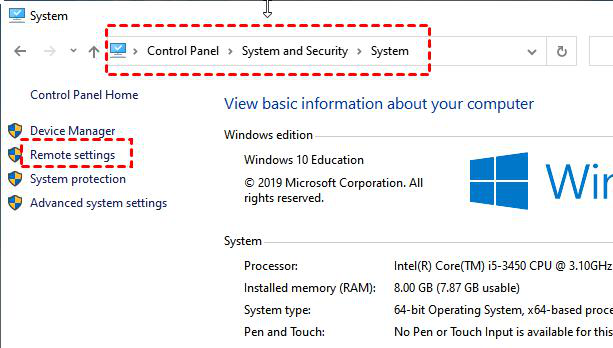
Step 2. Locate and click “Allow remote connections to this computer” and hit OK.

Part 2. Change Windows Firewall settings
Step 1. On the host computer, navigate here: Control Panel > System and Security > Windows Defender Firewall.
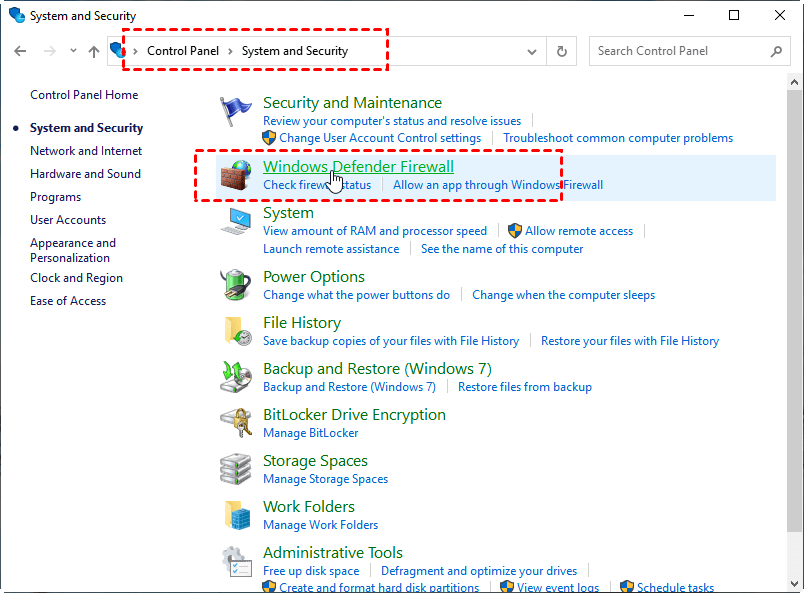
Step 2. Click on “Allow an App or Feature Through Windows Defender Firewall”.
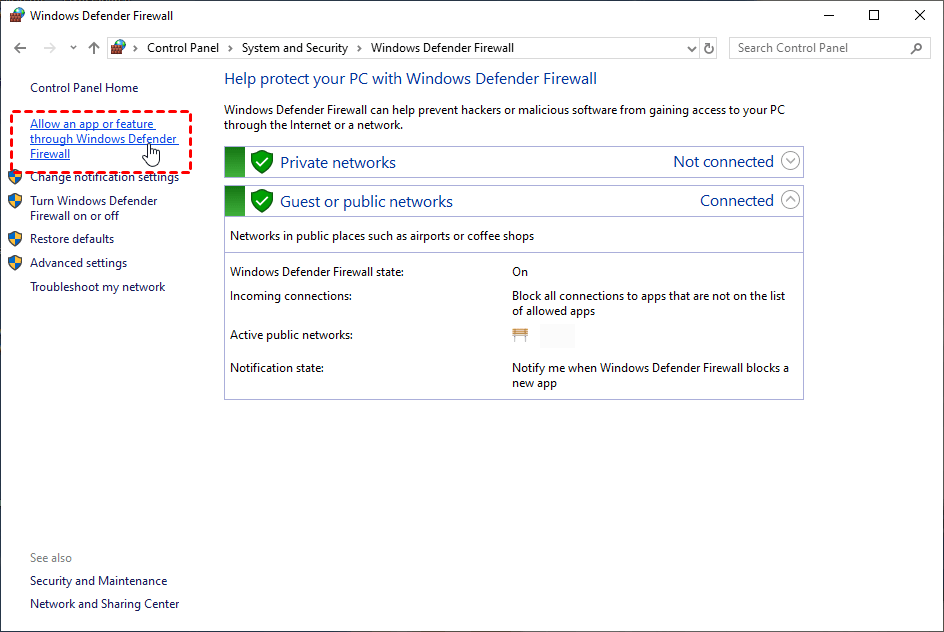
Step 3. Then select “Remote Desktop” and hit OK.

Part 3. Note down the IP address and computer name
Step 1. On the host computer, press Windows key + R to invoke the Run dialog box. Type in “cmd” and press OK.

Step 2. Get the IP address by typing in “ipconfig” at the blinking cursor and pressing Enter. Make note of the IPv4 Address.

Step 3. Then type “query user” to see the username.

Part 4. Connect to another computer
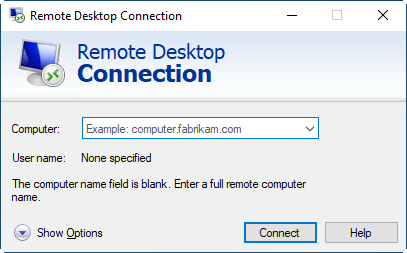
Step 1. On the client computer, search for Remote Desktop Connection in the Search box. And then open it.
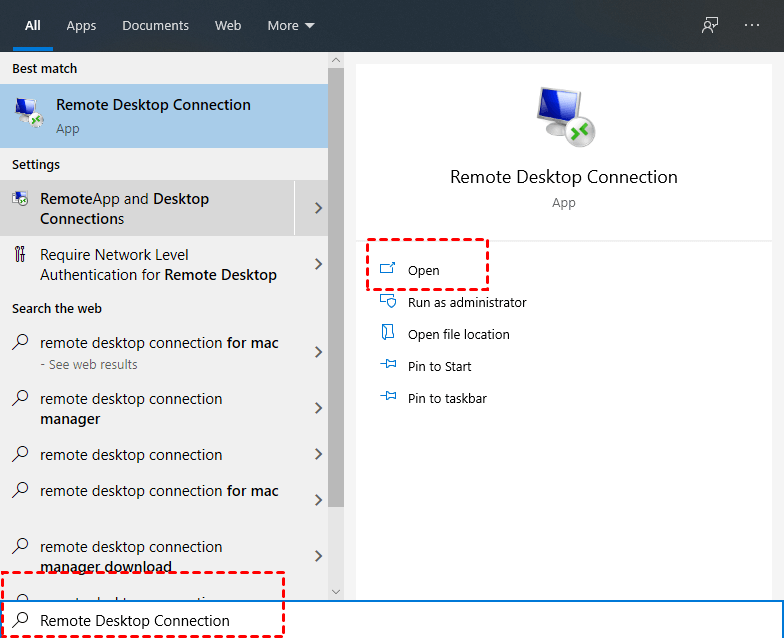
Step 2. In Remote Desktop Connection, type the name of the PC you want to connect to in the box (introduced above), and then select Connect.
Option 3. Chrome Remote Desktop: Google Chrome extension
Chrome Remote Desktop, developed by Google, is accessible as a simple Chrome extension, providing users with a convenient way to start remote control. Here are steps on how to use it.
Part 1. Set up on the host computer
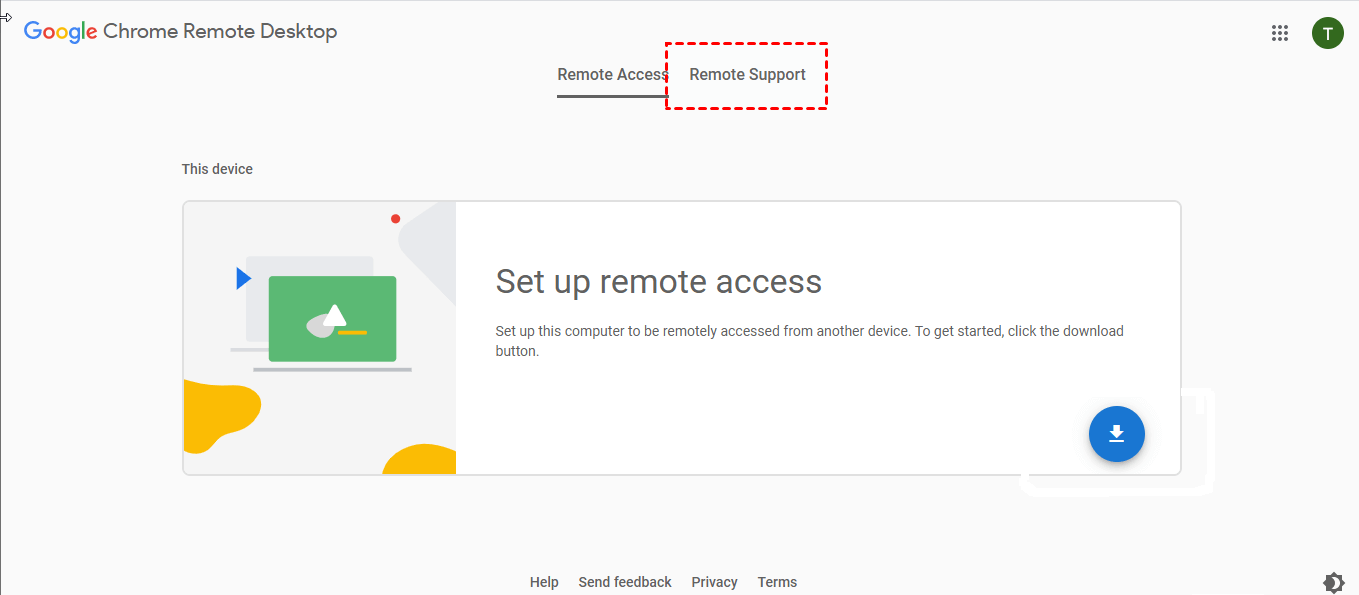
Step 1. Download Chrome and log in to your Google account after installation. Enter "remotedesktop.google.com/support" in the address bar at the top of the screen to enter the Chrome Remote Desktop website and switch to the Remote Support interface above.
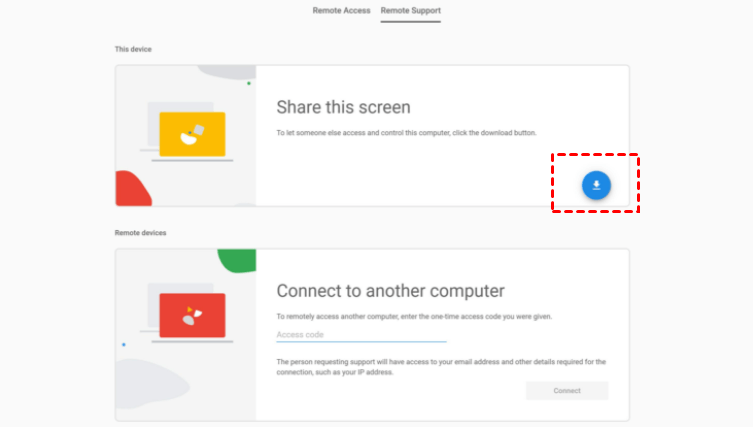
Step 2. Click the blue Download button in the lower right corner of Share this screen.
Step 3. Click on Add to Chrome to add the Chrome Remote Desktop in your Chrome browser.
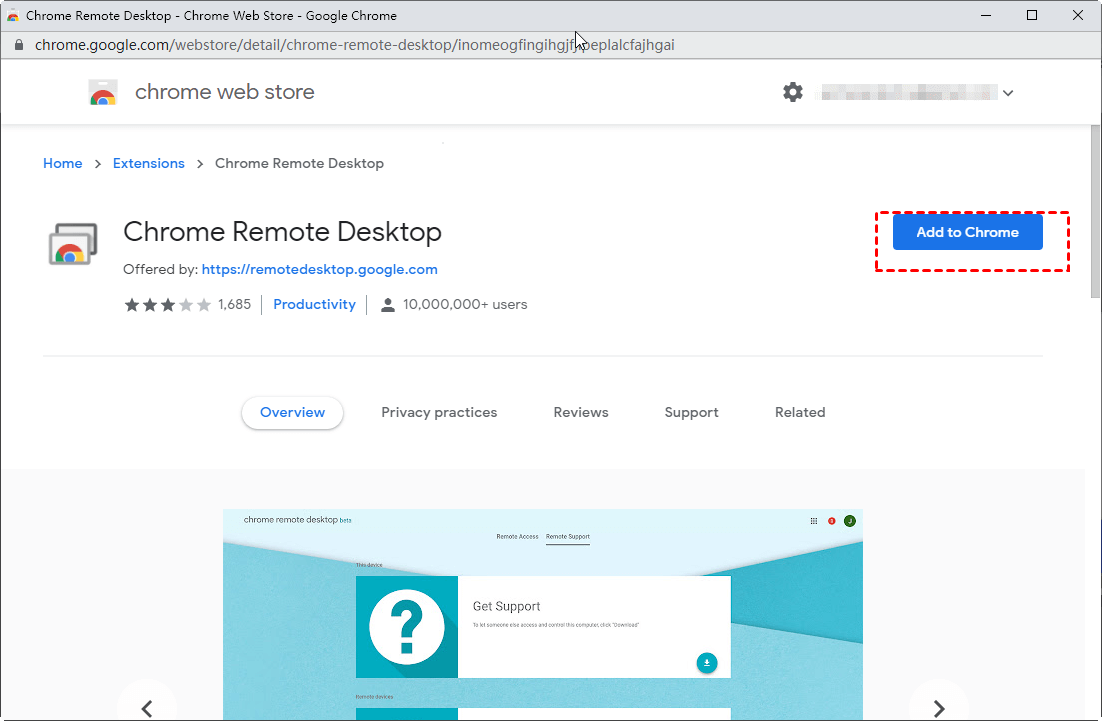
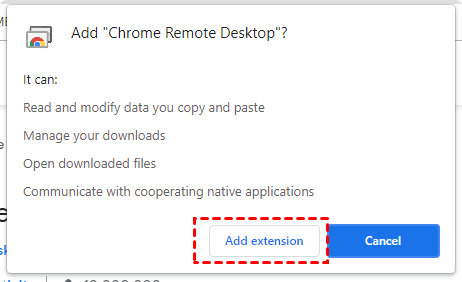
Step 4. Click Add extension in the pop-up window.
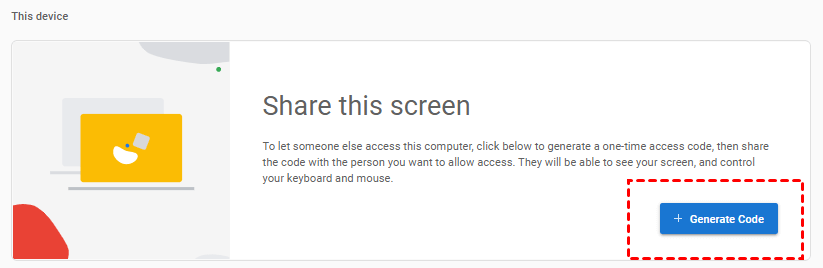
Step 5. Wait to automatically jump back to the Remote Support interface, click the blue Generate Code button in the pop-up window of Share this screen.
Step 6. The 12-letter code will automatically generate. You can choose to copy it or remember it (the access code will expire in 5 minutes).

Part 2. Remote control on the client computer
Step 1. Download Chrome and log in to the same Google account like that on the host computer after the installation. Repeat the above-mentioned Chrome Remote Desktop download and installation steps.
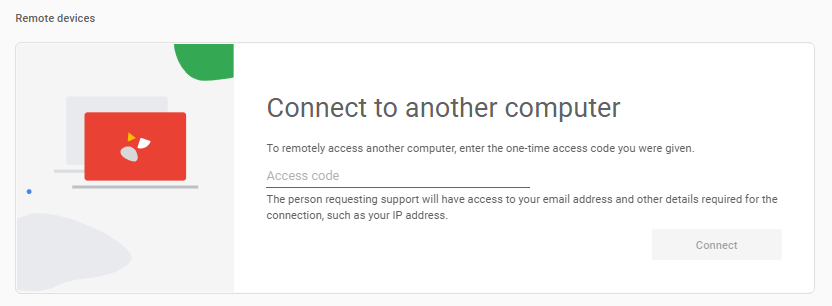
Step 2. After automatically jumping back to the Remote Support interface, find the Remote device sector. Enter the code automatically generated on the host computer before in the Access Code box.
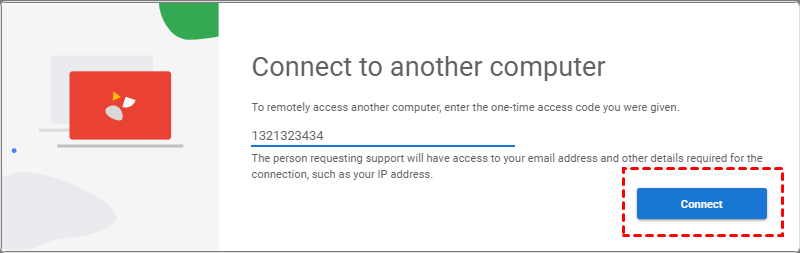
Step 3. Now you can see Connect button turn blue, click it.
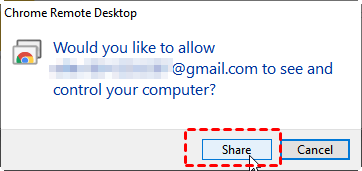
Step 4. The Chrome Remote Desktop window will automatically pop up on the host computer, just click Share.
Chrome Remote Desktop is not very complicated in operation and can be well adapted to different network environments, but you need to download Google Chrome on both computers. Besides, the automatically-generated access code will expire only in 5 minutes. It is not very friendly to novice users. Despite the automatically-generated access code expiring in 5 minutes, Chrome Remote Desktop provides users with permanent access. Follow the steps listed below.
Chrome Remote Desktop permanent access
Part 1. Set up on the host computer
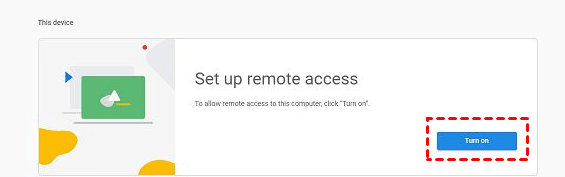
Step 1. Turn on remote access.
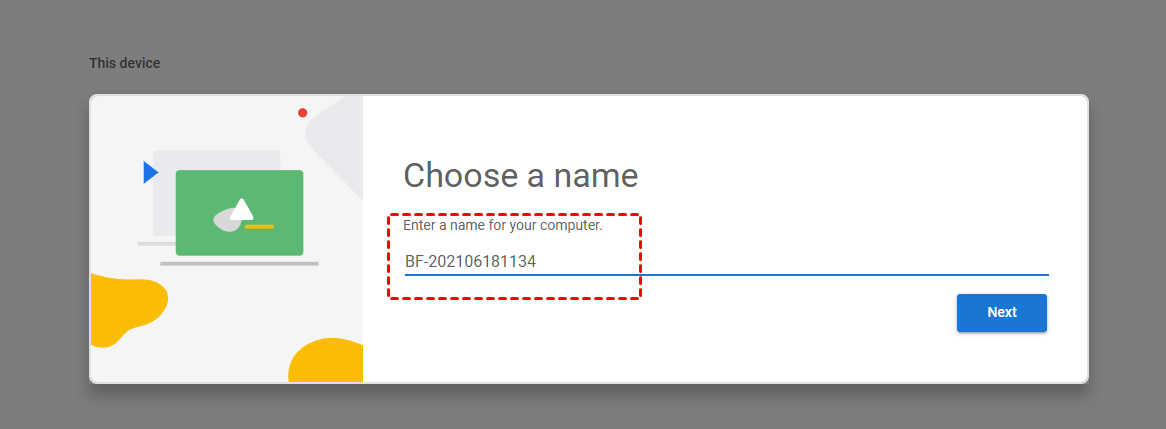
Step 2. Enter a name for your computer and then click Next.
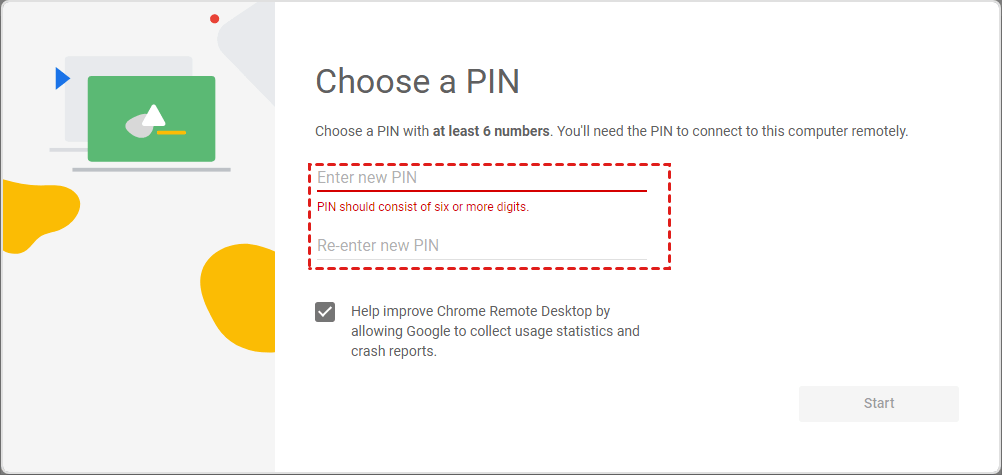
Step 3. Choose a PIN with at least 6 numbers, and then enter it twice to start the program.
Part 2. Remote control on the host computer
Step 1. Open Chrome browser and navigate here. Then log in to the same Google account. Once logged in, you can see the available computers.
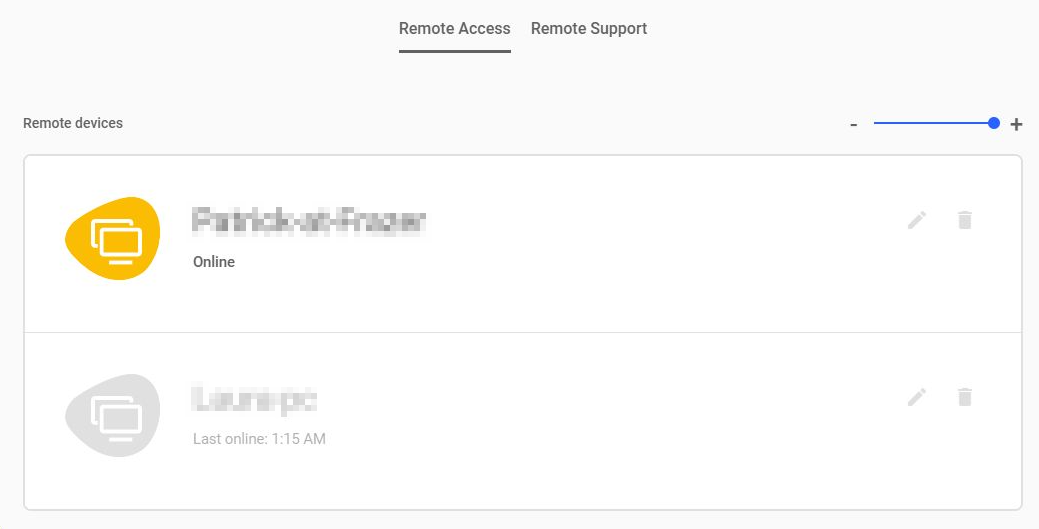
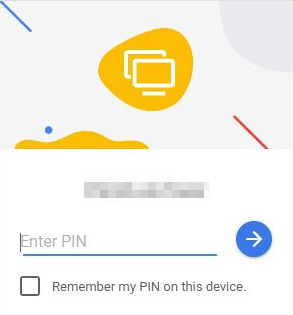
Step 2. Click on the computer set up previously, and enter its PIN. Then you could start your remote control.
Conclusion
In summary, this post introduces three remote control software, including their tutorials. Their pros and cons are clearly identified in the following table. Choose the one you prefer!
Free Remote Desktop Software

- Quick Remote Connection
- Control Multiple Computers
- High Quality Image
- Support Latest Windows OS
Still Need Help?
Have your problem been solved? If not, please input query in the search box below.